photoshop制作960 Grid System的网页模板(9)
来源:未知
作者:学photoshop
学习:1321人次
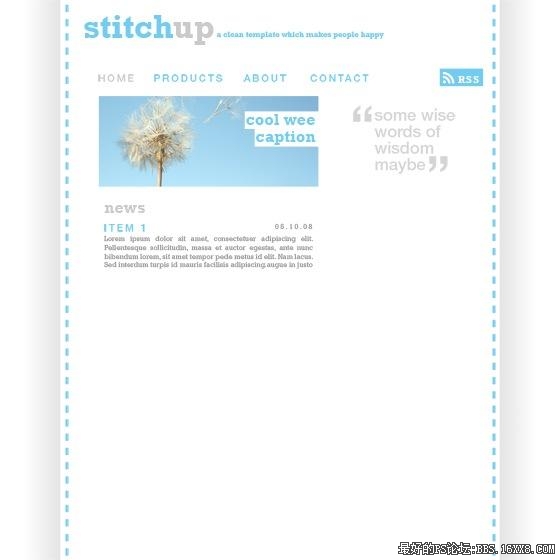
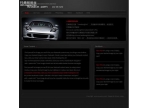
先看最终效果图
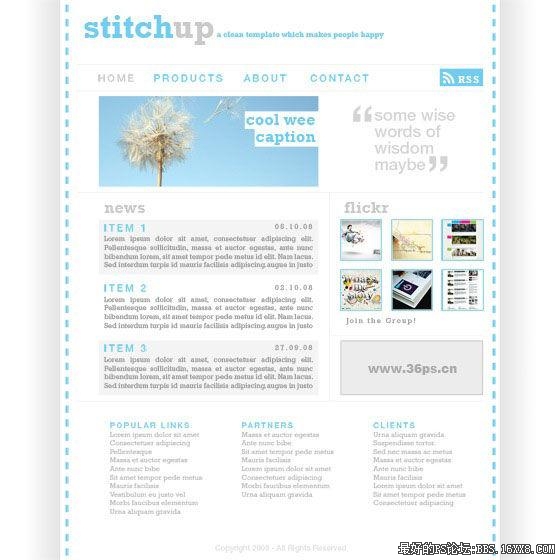
网格设计呢,通常显得很整齐规范,有时看上去也比较专业。但网格设计相对来说也是比较复杂的,往往需要精准的测量和栏目划分。960 Grid System/960网格系统,这是一套可以让你快速创建网格设计的工具,之所以叫960,就是说模板的宽度是960像素。而之所以用960像素来做为标 准,是因为960像素宽具有高度的灵活性。今天我们就来教大家制作一个960 Grid System的网页模板。
960 Grid System的特性是将960像素的网页分为12列的布局和16列布局。12列布局将总宽分成12份,每份的宽度是60px,而16列的布局分成16份,每份的宽度是40px,每部分左右边距都是10px,从而每列产生20px的空隙。
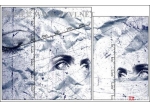
按照960 Grid System的定义,我们找一张960像素,12等份,每部分左右边距都是10px。这里缩小了图片,大家做的时候按照960像素去切割,去960 grid system官方网站可以下载布局好的素材。(参见"960 grid system"的官方网站介绍。)
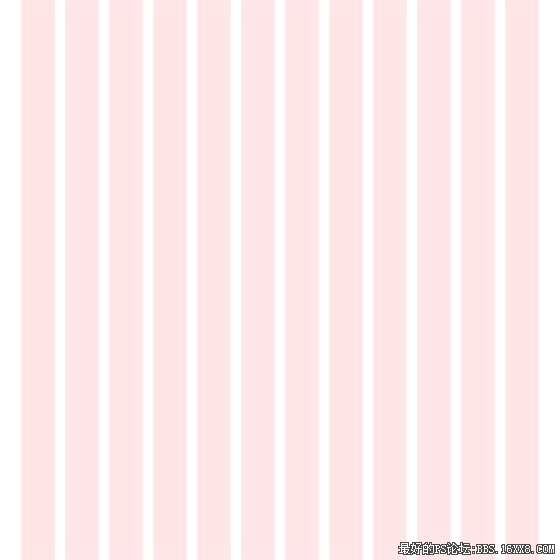
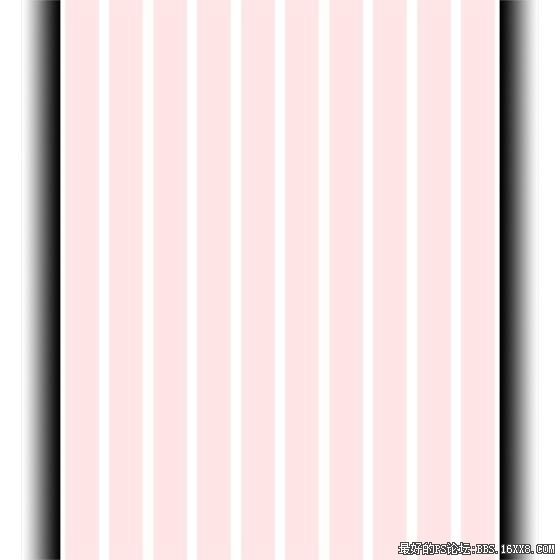
模版素材 新建图层,大小为填充中间的10等份,并与左右剩余的两个“等份”相距5像素。填充为为黑色。
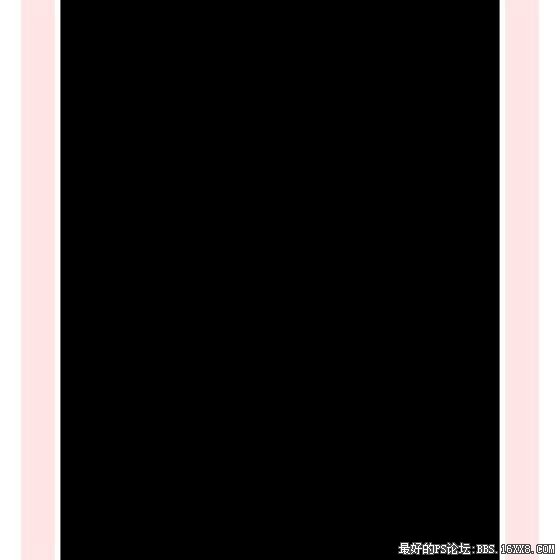
填充中间的10等份 接着新建一个图层,为左右各添加白到黑色的渐变色,效果如下:
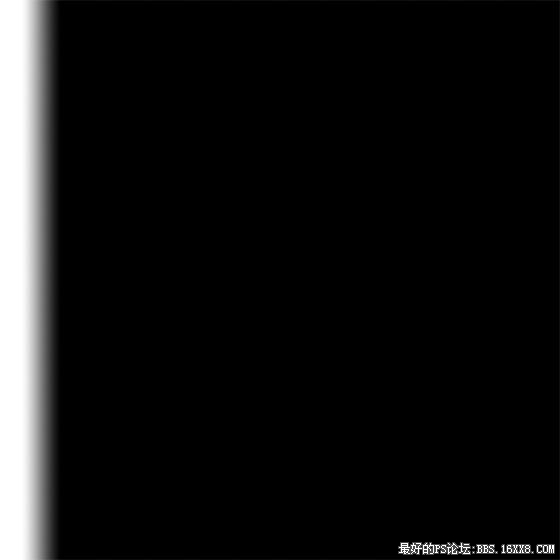
添加渐变色
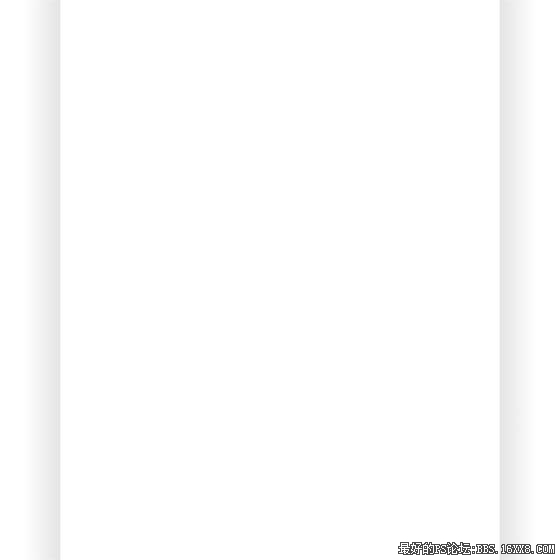
删除中间的黑色图层。
删除黑色图层 接下来把中间的十等份全部删除吧。当然,你可以隐藏中间的十等份,下面的操作可以参考这十等份来调节位置。
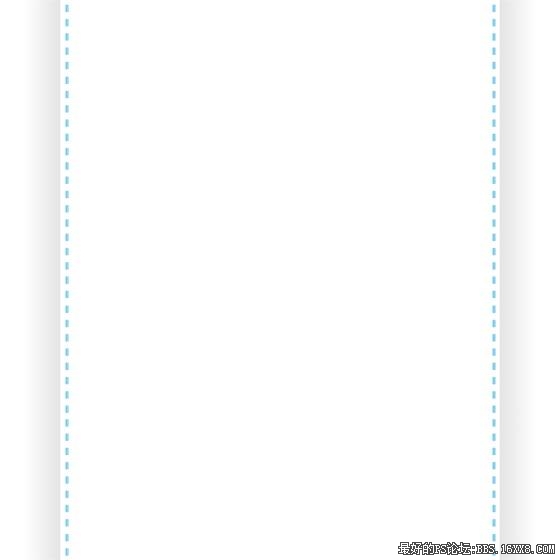
隐藏中间的部分 添加一条竖立的虚线,在网页制作的时候,这条虚线可以使用dashed border来制作,这里只是用ps来做效果而已。
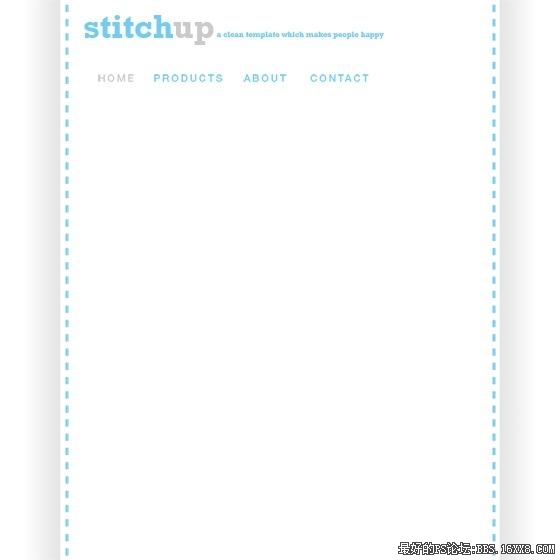
制作虚线 完成文字和导航,导航的位置这里可以参考之前“十等份布局”的大约位置来布局。
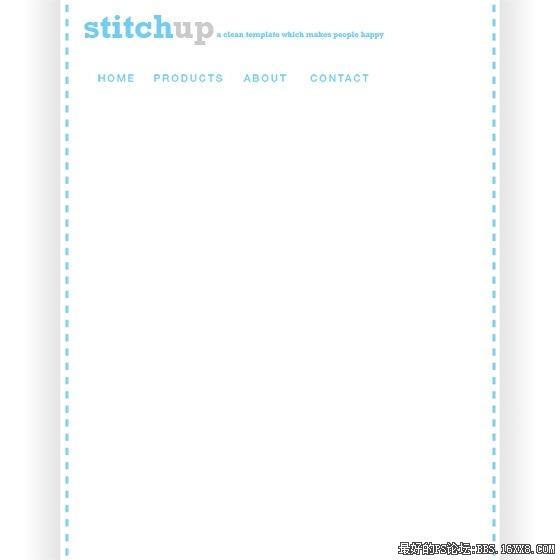
文字和导航
为了使读者知道在第几页,我们把当前标签换一个颜色。
更换当前标签颜色 添加RSS阅读标签的图片。
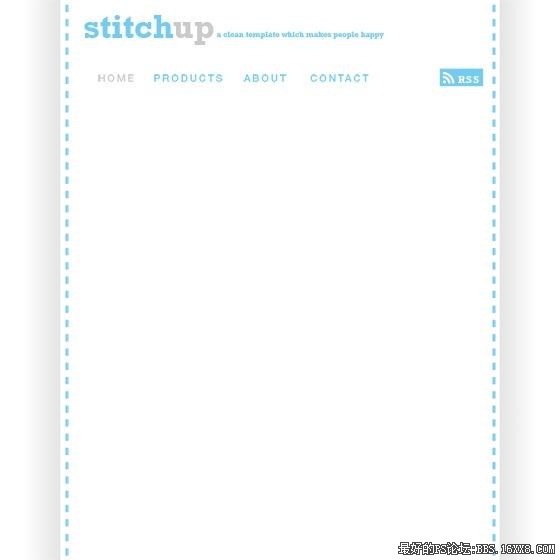
RSS阅读的标识
插入头图、文字
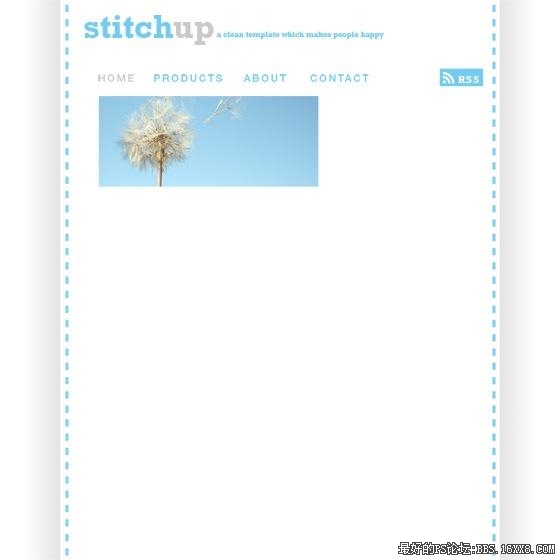
头图和文字
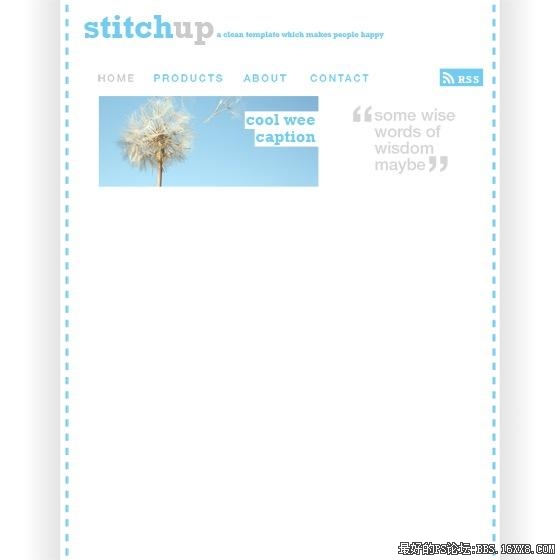
添加文字口号
栏目内容
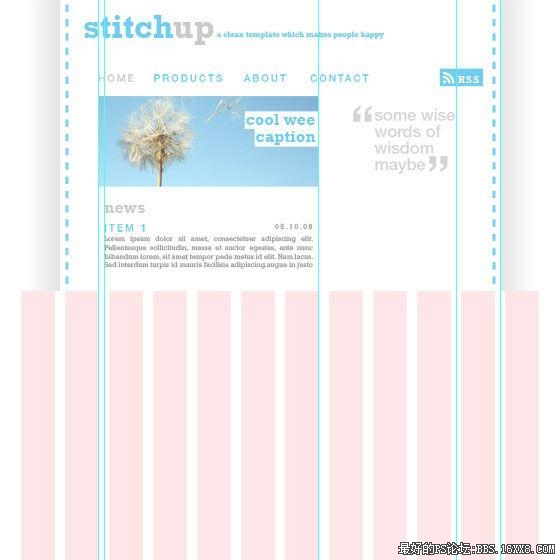
好下面我们来对应一下十等份的位置!
用基线确定位置 底色并复制

复制图层
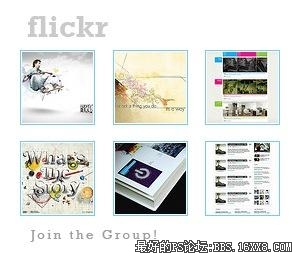
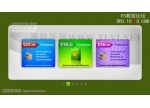
右侧添加75*75像素的图片
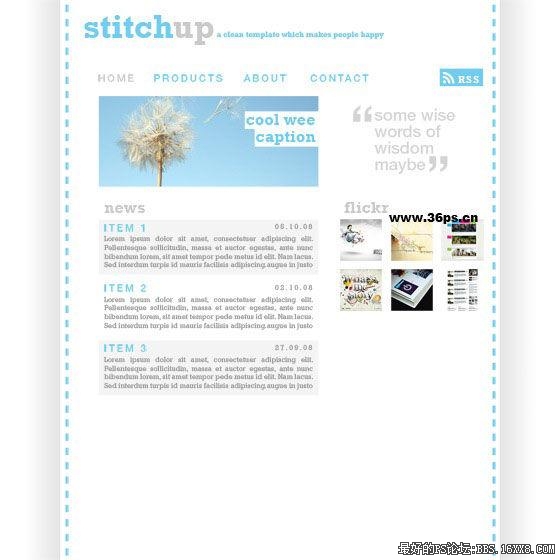
添加小图 我们再给这些图片加上一个像素天蓝色边框,在网页切割时候我们可以直接写CSS就可以了。
添加图片边框
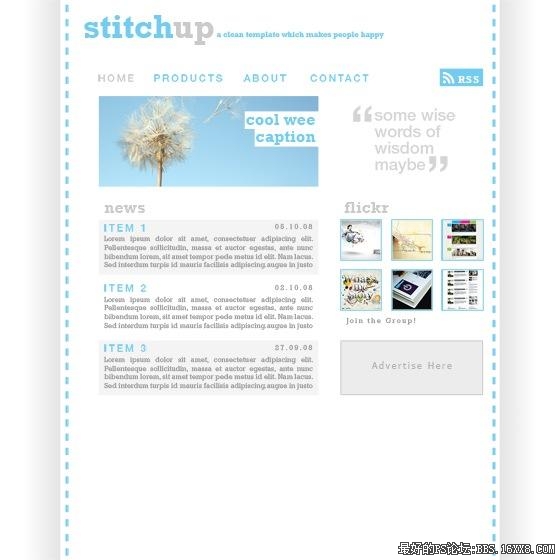
初步效果photoshop教程
加上其他文字,我们自己做960 Grid System就完成了!
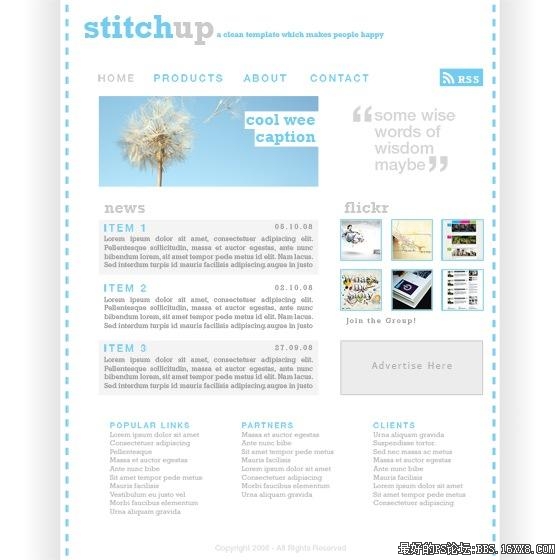
添加其它文字,完成 本实例其实制作起来非常简单,主要是根据960 Grid System的布局,把握好每一个元素的定位
网格设计呢,通常显得很整齐规范,有时看上去也比较专业。但网格设计相对来说也是比较复杂的,往往需要精准的测量和栏目划分。960 Grid System/960网格系统,这是一套可以让你快速创建网格设计的工具,之所以叫960,就是说模板的宽度是960像素。而之所以用960像素来做为标 准,是因为960像素宽具有高度的灵活性。今天我们就来教大家制作一个960 Grid System的网页模板。
960 Grid System的特性是将960像素的网页分为12列的布局和16列布局。12列布局将总宽分成12份,每份的宽度是60px,而16列的布局分成16份,每份的宽度是40px,每部分左右边距都是10px,从而每列产生20px的空隙。
按照960 Grid System的定义,我们找一张960像素,12等份,每部分左右边距都是10px。这里缩小了图片,大家做的时候按照960像素去切割,去960 grid system官方网站可以下载布局好的素材。(参见"960 grid system"的官方网站介绍。)
模版素材 新建图层,大小为填充中间的10等份,并与左右剩余的两个“等份”相距5像素。填充为为黑色。
填充中间的10等份 接着新建一个图层,为左右各添加白到黑色的渐变色,效果如下:
添加渐变色
删除中间的黑色图层。
删除黑色图层 接下来把中间的十等份全部删除吧。当然,你可以隐藏中间的十等份,下面的操作可以参考这十等份来调节位置。
隐藏中间的部分 添加一条竖立的虚线,在网页制作的时候,这条虚线可以使用dashed border来制作,这里只是用ps来做效果而已。
制作虚线 完成文字和导航,导航的位置这里可以参考之前“十等份布局”的大约位置来布局。
文字和导航
为了使读者知道在第几页,我们把当前标签换一个颜色。
更换当前标签颜色 添加RSS阅读标签的图片。
RSS阅读的标识
插入头图、文字
头图和文字
添加文字口号
栏目内容
好下面我们来对应一下十等份的位置!
用基线确定位置 底色并复制
复制图层
右侧添加75*75像素的图片
添加小图 我们再给这些图片加上一个像素天蓝色边框,在网页切割时候我们可以直接写CSS就可以了。
添加图片边框
初步效果photoshop教程
加上其他文字,我们自己做960 Grid System就完成了!
添加其它文字,完成 本实例其实制作起来非常简单,主要是根据960 Grid System的布局,把握好每一个元素的定位
学习 · 提示
相关教程
关注大神微博加入>>


网友求助,请回答!