Photoshop鼠绘教程:绘制桃子(7)
来源:作者:程序 来源:中国教程网
作者:bbs.16xx8.com
学习:1431人次
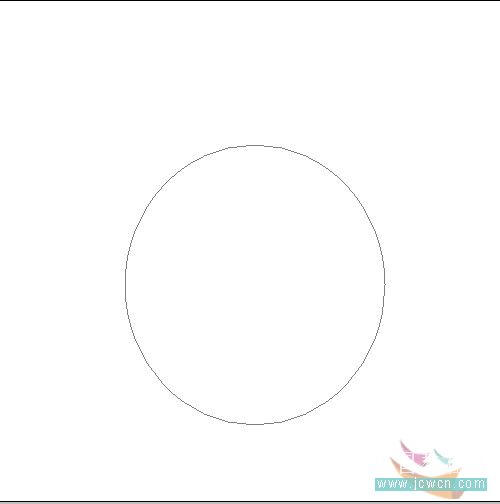
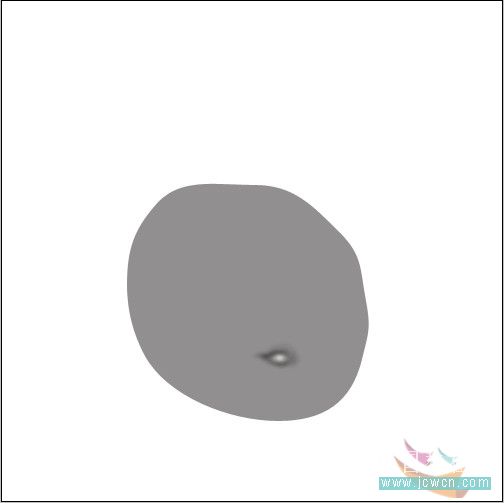
1、新建文件,椭圆工具拉出选区,用添加锚点工具调整后转为选区,填充灰色如图。
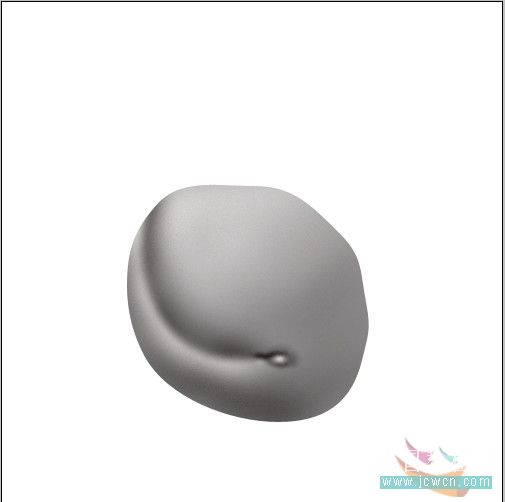
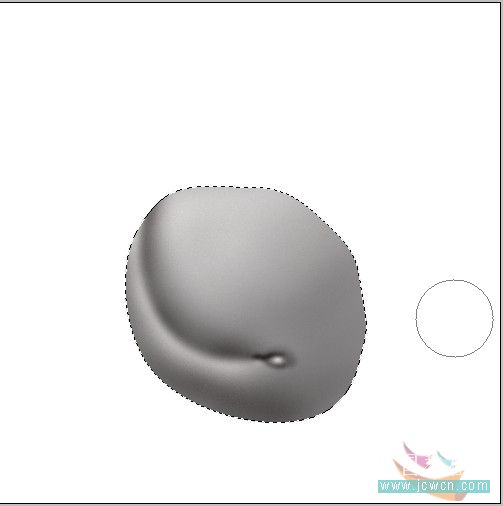
2、用减淡工具先在如图位置点白点,再用加深工具画出如图形状,然后用椭圆选框工具拉出选区,调整好位置后羽化3或4,先用加深工具沿选区画,反选再用减淡工具画,得到如图效果。
3、新建图层,设置如图前背景色,将图层1载入选区,执行滤镜渲染云彩。
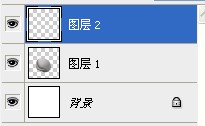

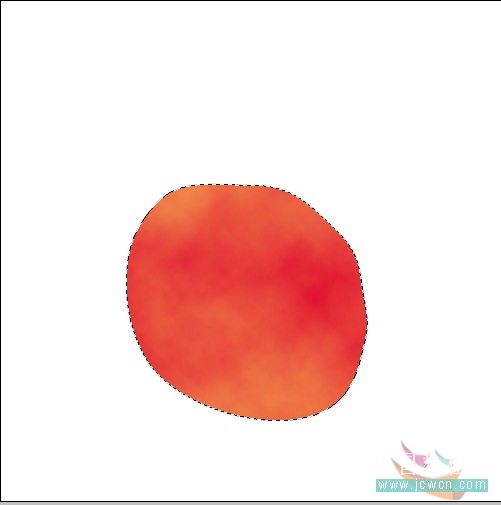
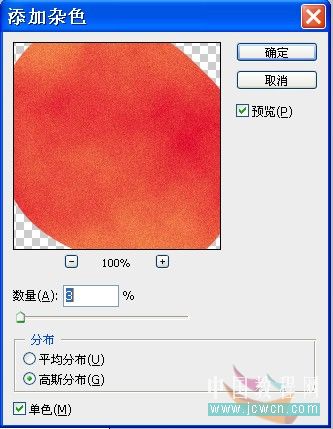
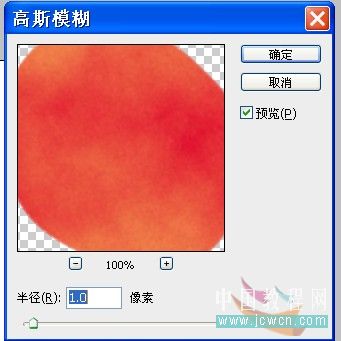
4、不取消选区,对渲染层添加杂色3,高斯模糊1,将图层模式设为叠加。效果如图。


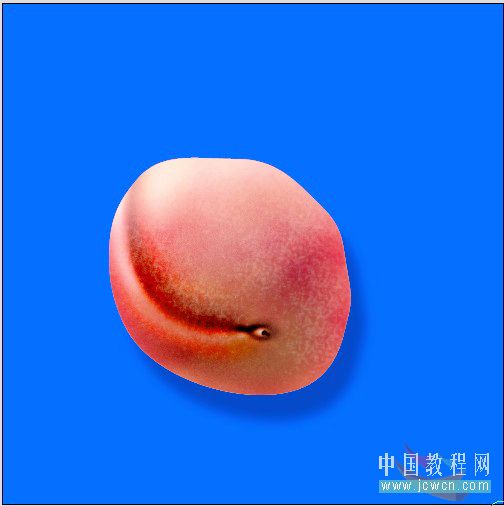
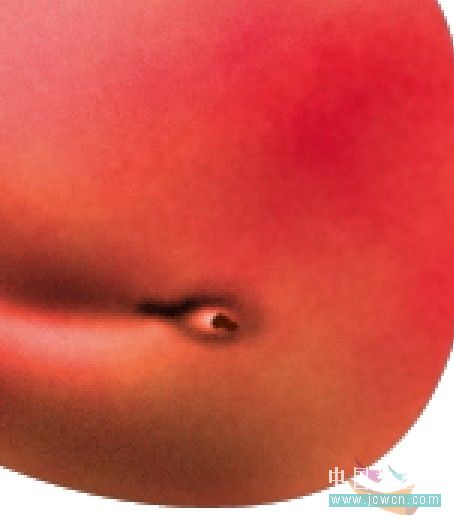
5、设置前景色如图,放大图片,用小画笔将桃子的小毛尖尖画出来。

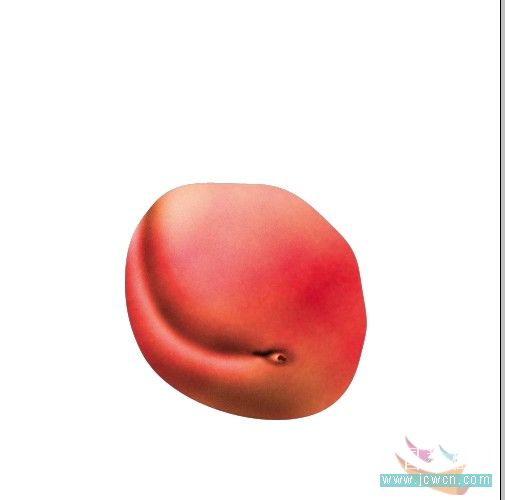
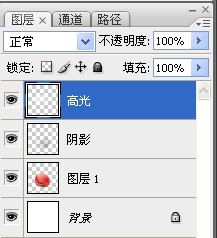
6、新建图层,命名为阴影,设置前背景色为黑白,画笔设置如图,在桃子的右下方涂抹背光的地方,再新建高光层,用白色在桃子的左上方画亮光,调整后合并这三个图层。


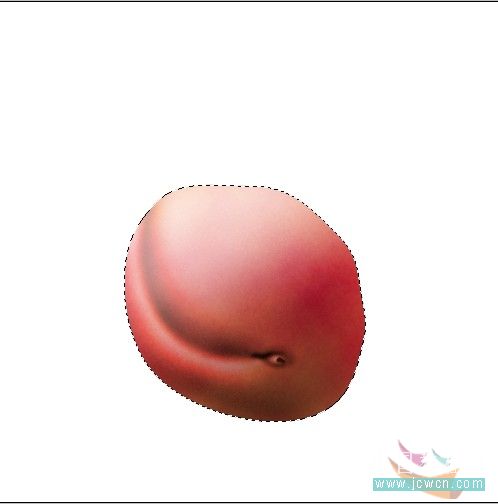
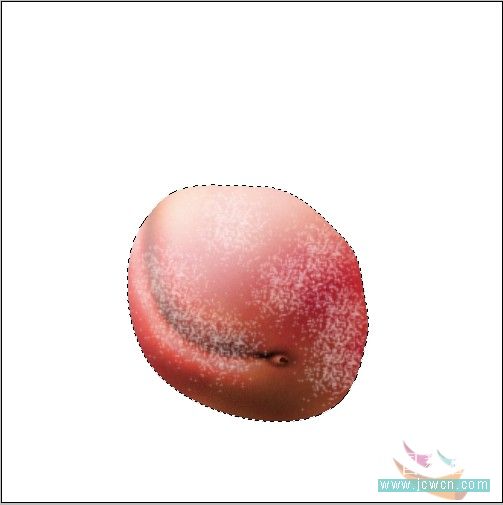
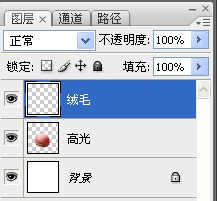
7、新建一层,命名为绒毛,选花点点的画笔按如图设置,用白色在桃子上边轻轻涂抹,自己可以随便确定位置。涂抹后将不透明度设为20,然后合并这两层。


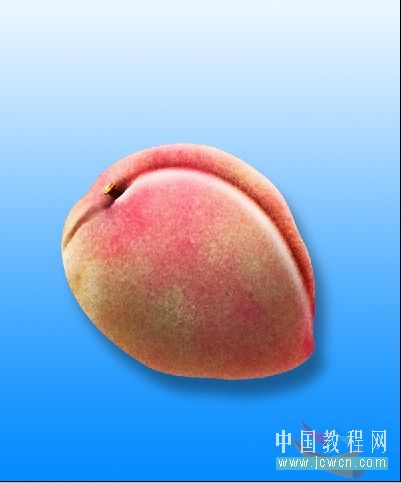
9、复制图层,去色,执行滤镜其他高反差保留10,图层模式改为叠加,合并后效果如图。需要注意的是,如果想让白绒毛更加显现,再按上述过程再执行一遍。


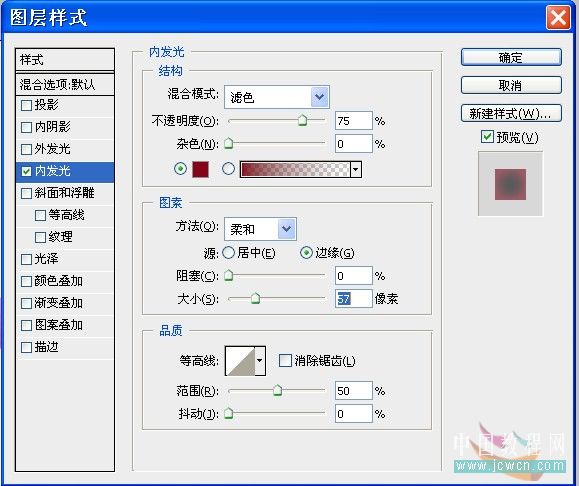
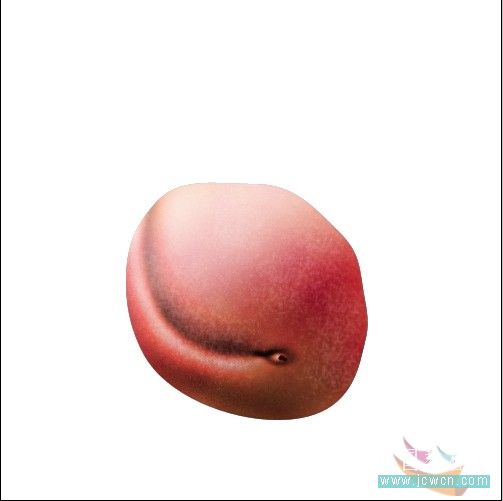
10、打开图层样式,添加一个内发光。最后,再将色阶和色相饱和度微调一下就大功告成了。

学习 · 提示
相关教程
关注大神微博加入>>


网友求助,请回答!