PS手工磨皮教程:磨出完美皮肤(4)
来源:网络
作者:admin
学习:30829人次
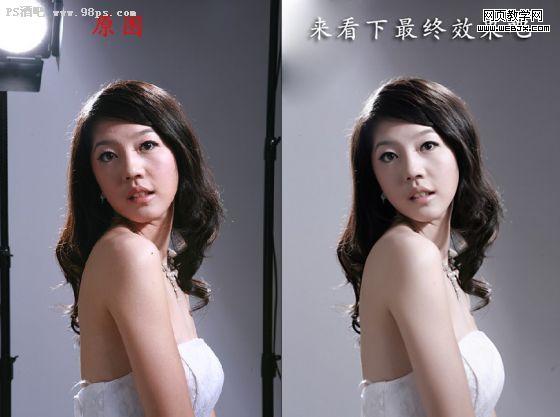
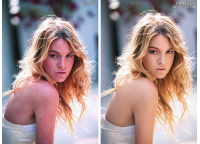
1、来看看原图和效果图的对比
2,初略修一下图

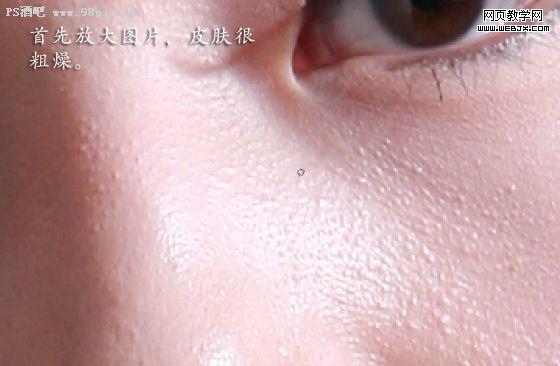
3,放大看,很多噪点。
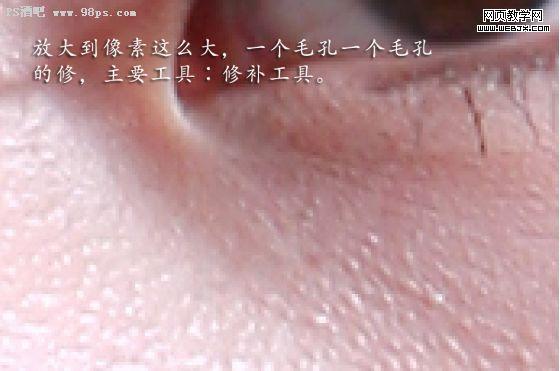
4,嗯 再放大,直接放大到像素,接下来是重点,利用修补工具一个毛孔一个毛孔的修补
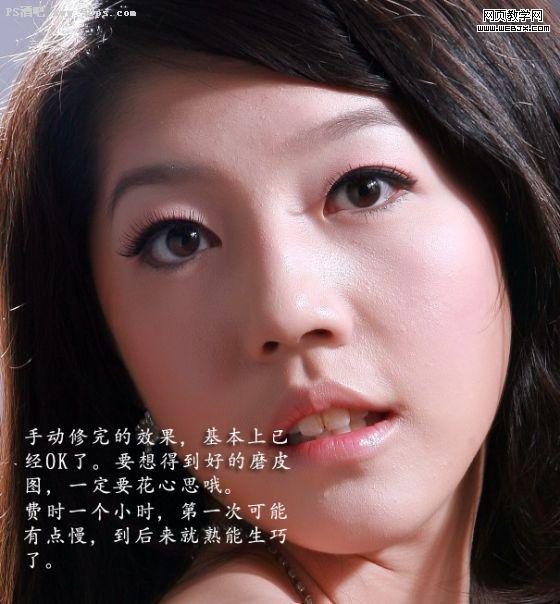
5,嗯嗯,效果出来咯,不错吧
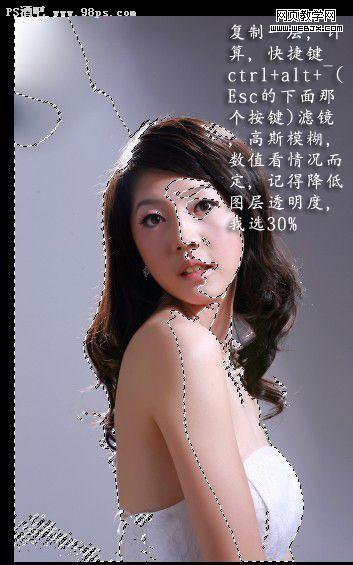
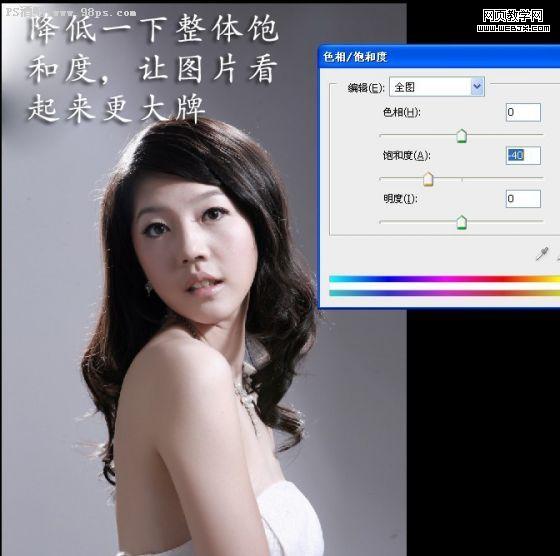
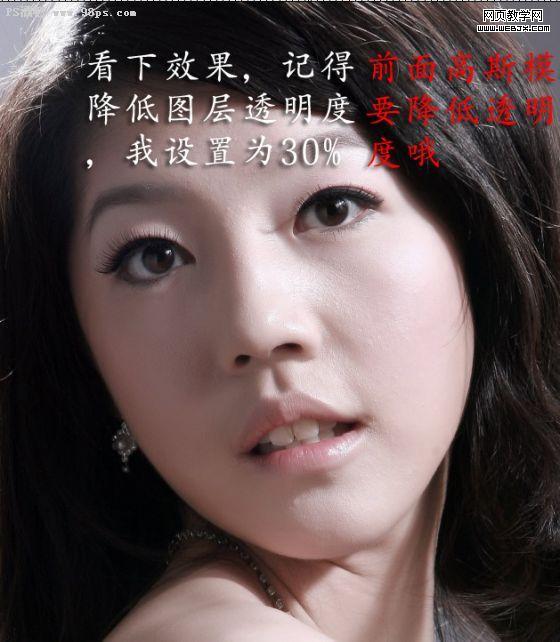
6,接下来要仔细看哦:复制一层,计算,滤镜-高斯模糊,数值看情况而定,记得降低图层透明度,我选30%
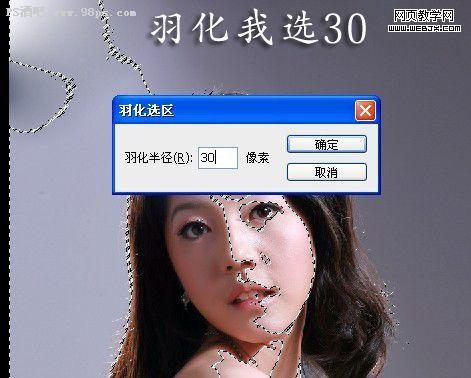
7.记得羽化,否则边缘会很生硬哦
8.嗯嗯 ,效果出来啦 ,呵呵 记得降低一下透明度哦,然后合并图层。

9.磨皮已经大功告成啦,感觉还是有点。。。降低一下透明度,是不是感觉舒服多拉。
10.来个大图
11.适当锐化一下下,增加图片的清晰度

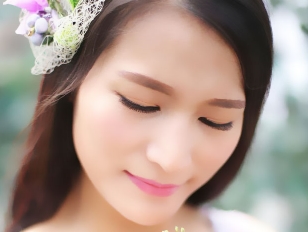
12最终效果,嘿嘿,很不错吧。

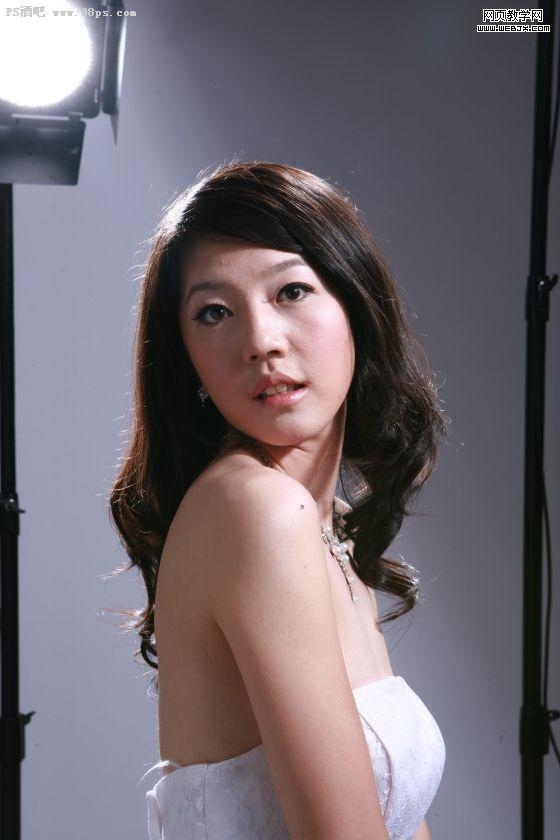
原图:
学习 · 提示
相关教程
关注大神微博加入>>


网友求助,请回答!