ps为照片合成光亮效果教程(5)
photoshop教程中,我将会为大家介绍如何在photoshop中通过素材的合成制作一个华丽的美女幽灵。在教程中,我们将会学习到photoshop的图层蒙版、图像调整、滤镜渲染和各种工具的使用方法。
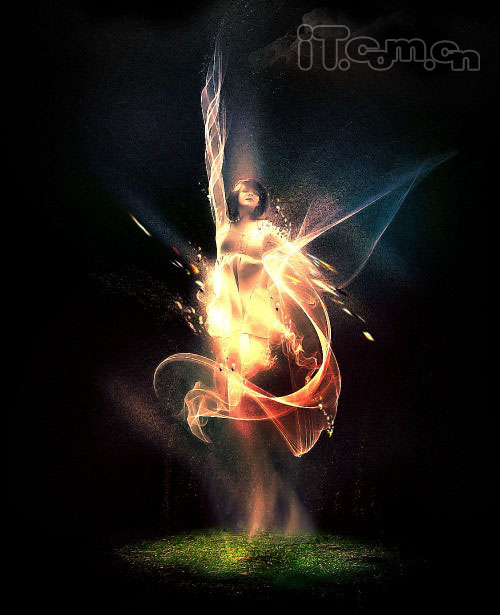
Photoshop教程的最终效果图教程
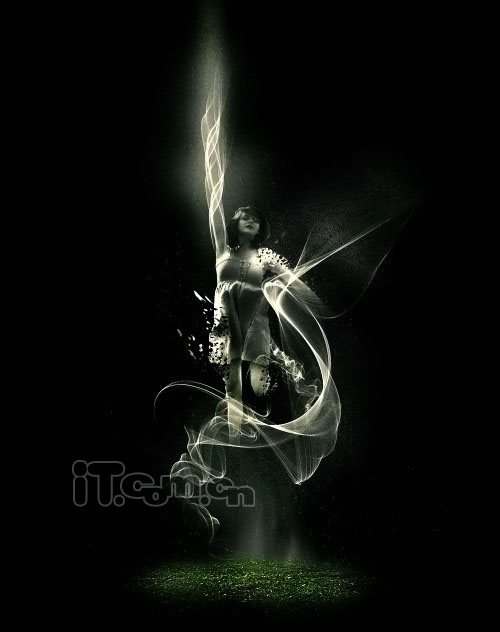
Photoshop教程的最终效果图2
Photoshop教程详细步骤:
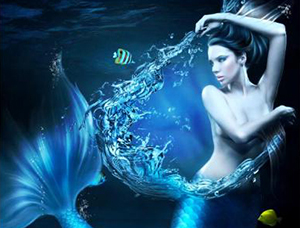
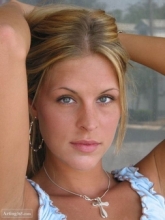
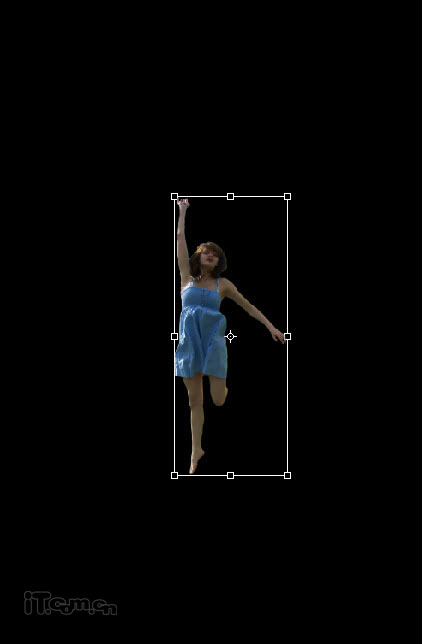
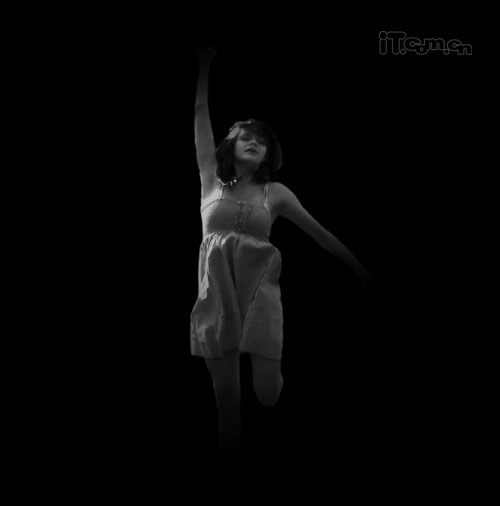
1、创建一个新文档,大小为1000px*1500px,背景填充黑色然后把女孩素材粘贴进来,调整大小和位置,如图所示。
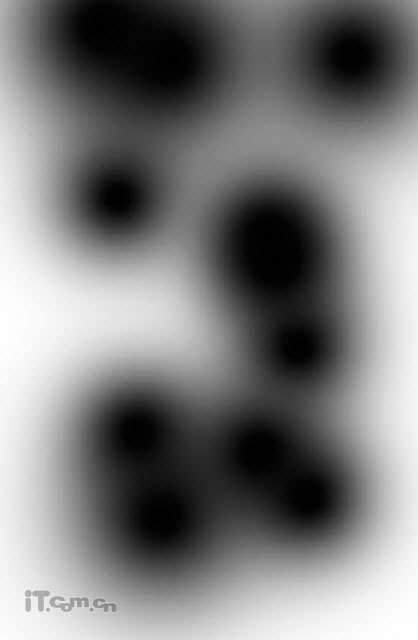
2、使用较大的柔角橡皮擦涂抹女孩的手和脚,使用女孩的手和脚变成渐隐的效果,如图所示

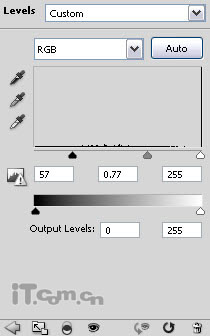
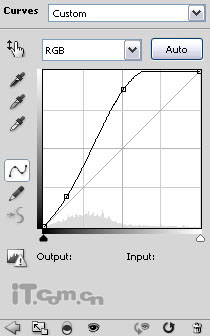
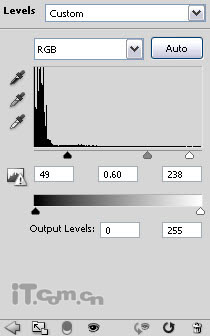
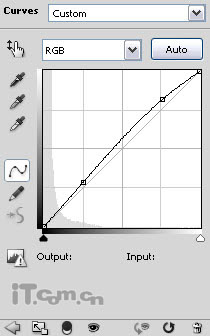
3、下面我们对女孩的颜色进行调整,在图层面板下单击“创建新的填充或调整图层”,分别选择色阶、曲线、黑白这3个调整工具,设置参考下图所示。
色阶:
曲线:
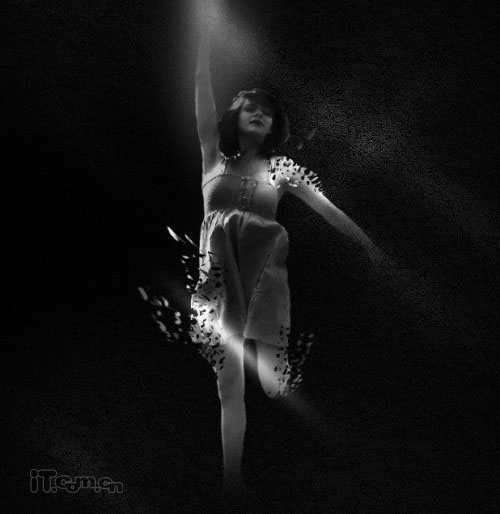
黑白:
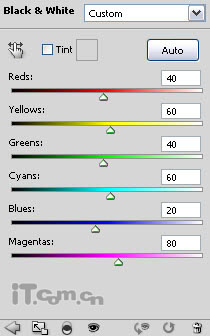
你将得到下图所示的效果。
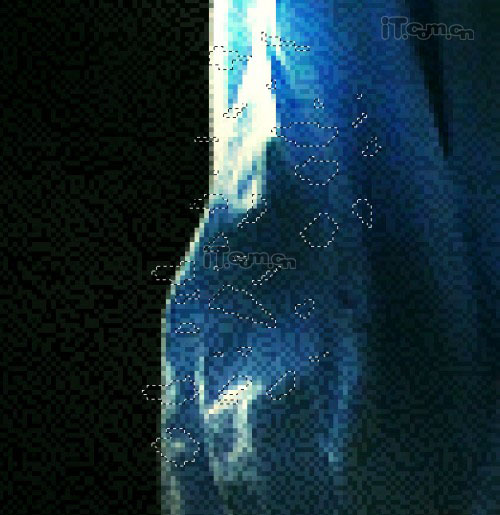
4、现在我们开始制作一些灵魂分解的效果。选择套索工具,在女孩的身上创建一些不规则的选区,如图所示。
5、然后选择移动工具,鼠标停留在选区的时候,指针会变成剪刀,如图所示。
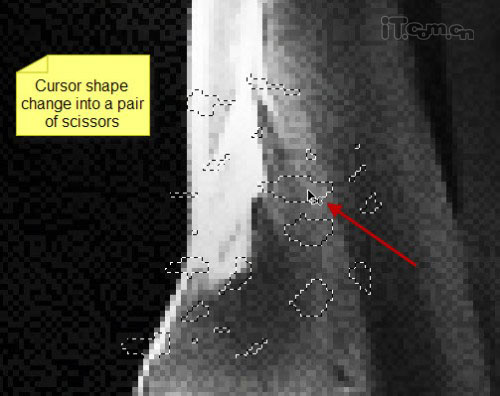
6、单击并拖动,设置选区的内容,使它与女孩分离,如图所示。

7、选择“编辑—变换—变形”调整分离部分的形状,如图所示。
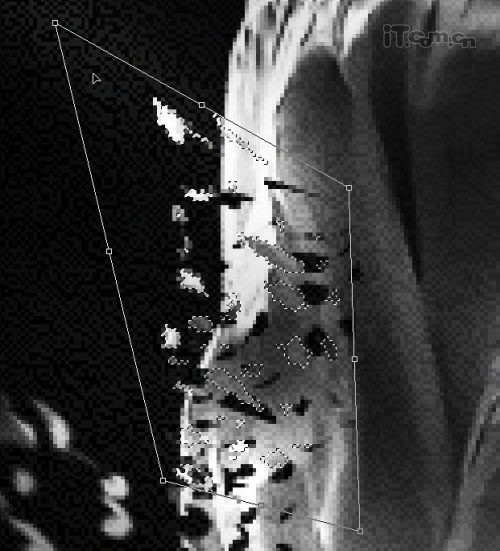
8、使用上述的方法,制作女孩身体其它部位的分离效果,如图所示。
9、接下来添加一些纹理细节。在photoshop中打开背景纹理素材并粘贴到我们的画布上,纹理图层放在所有图层的最上面。然后使用智能锐化滤镜(滤镜—锐化)加强质感,如图所示。

10、调整纹理图层的透明度为10%左右,效果如图所示。
11、创建一个新图层命名为“闪光”,使用白色柔解的画笔工具在任意的地方单击,如图所示。
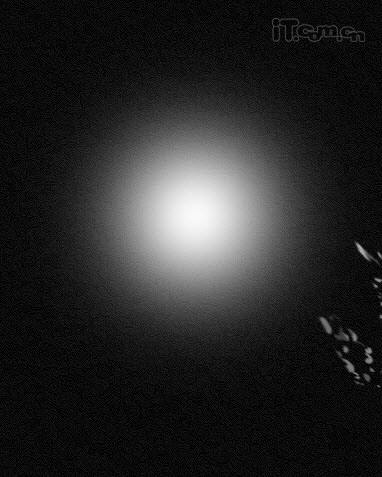
12、按下Ctrl+T进行自由变换,调整它的形状,如图所示
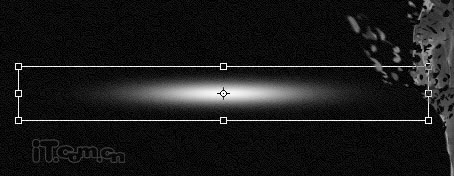
13、然后旋转它,调整它的角度,如图所示。
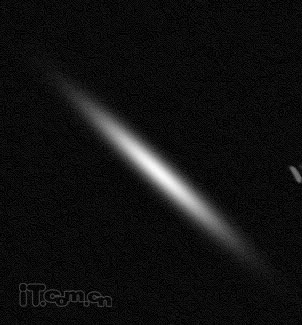
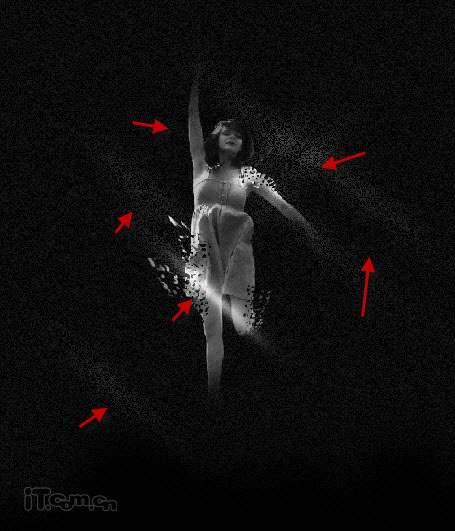
14、通过使用Ctrl+J快捷键复制多层闪光,并把这些闪光分散放到女孩身体的周围,然后调整闪光的不透明度,如图所示。
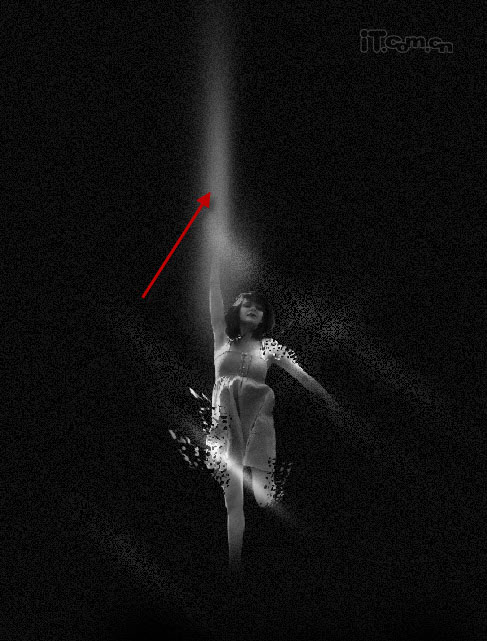
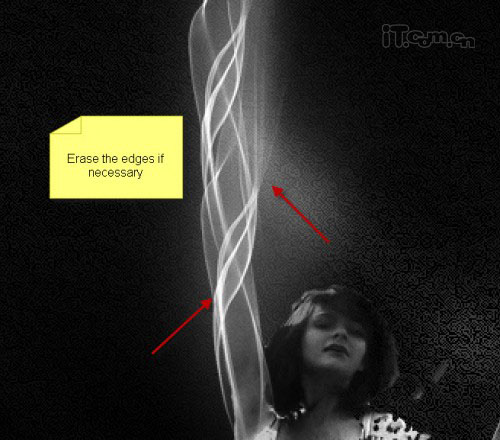
15、最后我还在女孩的右臂上添加了一个较大的光柱,如图所示。
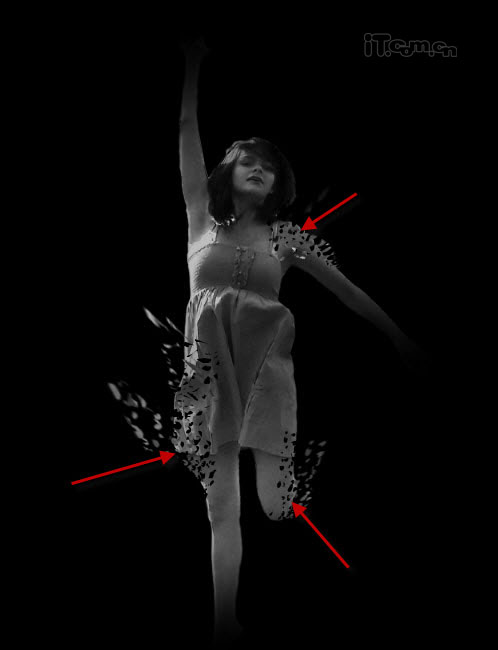
16、单击图层面板下的“创建新的填充或调整”按钮,选择色阶,设置如图所示。
17、选择“色阶”的图层蒙版,使用画笔工具进行调整,下图是色阶蒙版的放大图
18、再添加一个曲线调整图层,如图所示。
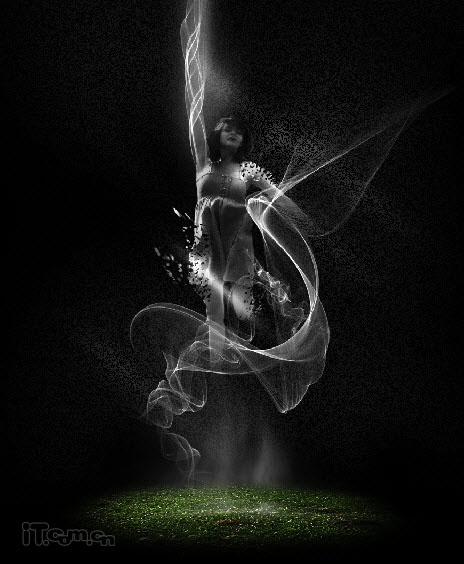
这是迄今为止的效果:
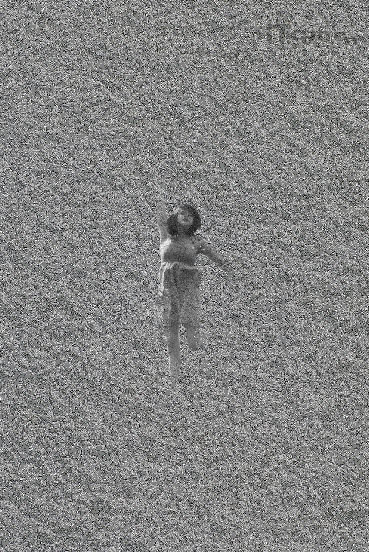
19、切换到女孩素材,使用羽化值为50的套索工具选取草地,然后把草地粘贴到我们的图片去,并使用自由变换工具调整草地的大小和位置,如图所示
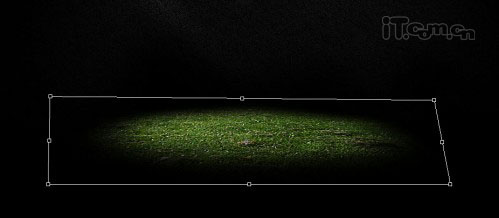
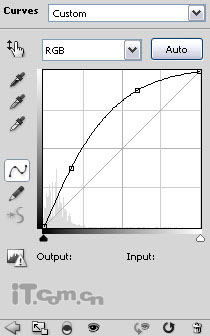
20、下面对草地进行调整,在菜单栏中选择“图像—调整”,分别选择色阶和曲线,如图所示。
色阶:

曲线:
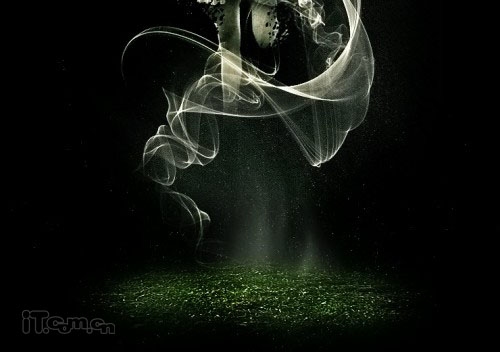
21、创建一个新图层命名为“烟雾”,在photoshop载入烟雾笔刷,使用烟雾画笔在女孩的身体上添加一些烟雾效果,如图所示。
22、对于女孩的右臂,我们可以使用加深工具额外加强烟雾的质感。
23、接下来,我们要在女孩的周围添加一些粉尘的纹理。选择1px的画笔工具,硬度为100%,然后选择“窗口—画笔”打开画笔窗口,进行以下的设置。
形状动态:
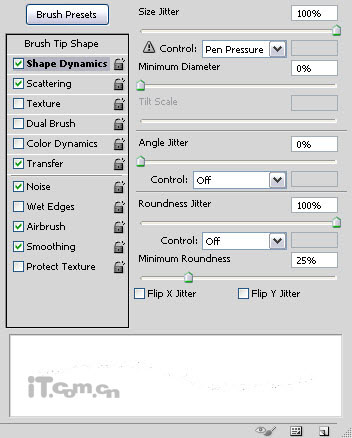
散布:
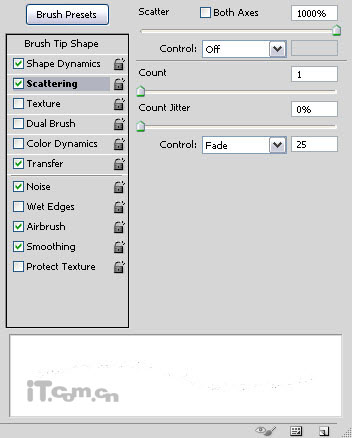
其他动态

24、当你设置好你的画笔后,你可以单击窗口右下角的“创建新画笔”按钮,把你的设置保存起来。此时你可以在女孩的脚下添加一些粉尘效果了。
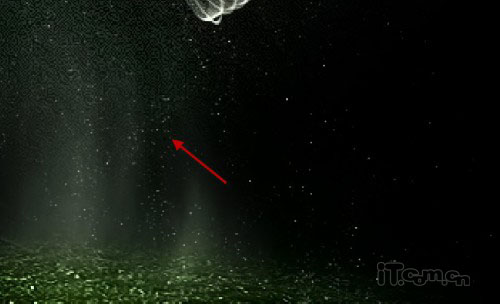
正如你所看到的,这个笔刷制作出一种尘埃般效果
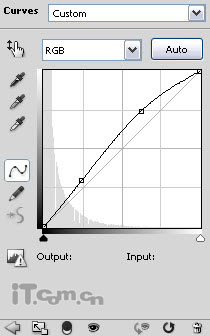
25、最后,我们可以对图片进行颜色的调整了,通过添加调整图层达到这一目的。
曲线调整图层:
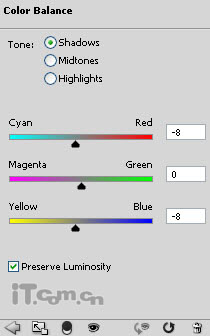
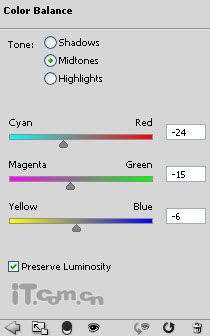
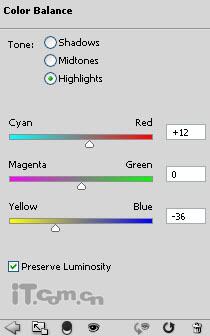
色彩平衡调整图层:
最终效果,如图所示。这个photoshop教程到此为止了,希望你会喜欢。

另类色彩的版本:

学习 · 提示
相关教程