ps为照片合成光亮效果教程(3)
来源: it世界网
作者:河马
学习:8996人次
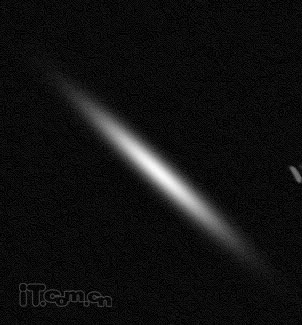
13、然后旋转它,调整它的角度,如图所示。
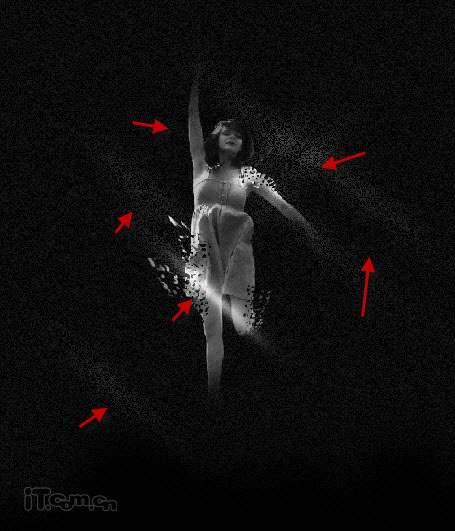
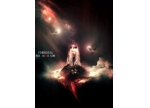
14、通过使用Ctrl+J快捷键复制多层闪光,并把这些闪光分散放到女孩身体的周围,然后调整闪光的不透明度,如图所示。
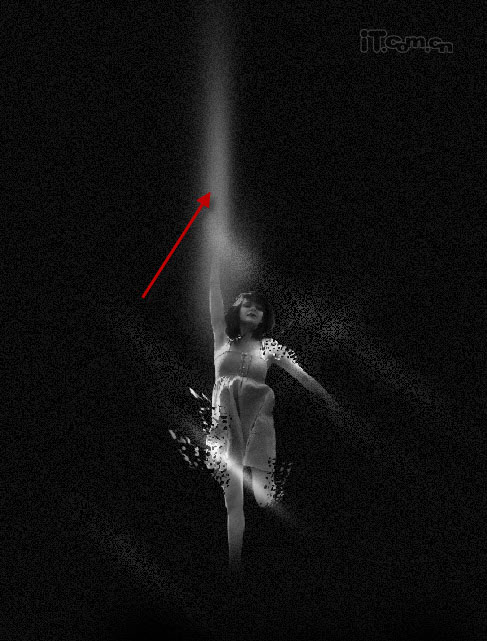
15、最后我还在女孩的右臂上添加了一个较大的光柱,如图所示。
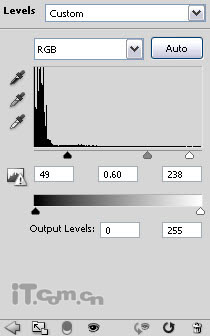
16、单击图层面板下的“创建新的填充或调整”按钮,选择色阶,设置如图所示。
17、选择“色阶”的图层蒙版,使用画笔工具进行调整,下图是色阶蒙版的放大图
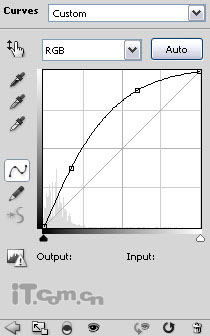
18、再添加一个曲线调整图层,如图所示。
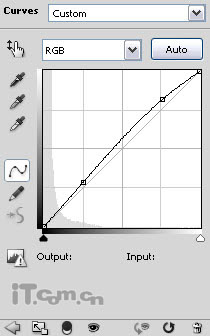
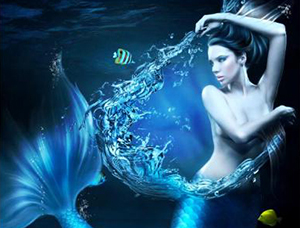
这是迄今为止的效果:
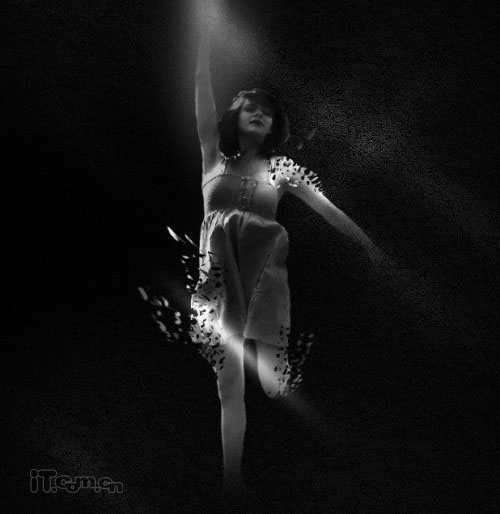
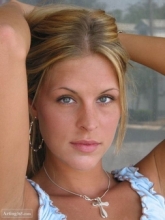
19、切换到女孩素材,使用羽化值为50的套索工具选取草地,然后把草地粘贴到我们的图片去,并使用自由变换工具调整草地的大小和位置,如图所示
20、下面对草地进行调整,在菜单栏中选择“图像—调整”,分别选择色阶和曲线,如图所示。
色阶:

曲线:
学习 · 提示
相关教程
关注大神微博加入>>


网友求助,请回答!