ps为照片合成光亮效果教程
来源: it世界网
作者:河马
学习:8996人次
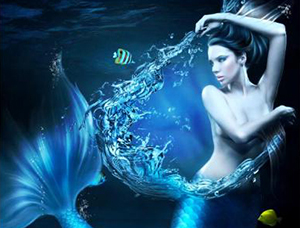
photoshop教程中,我将会为大家介绍如何在photoshop中通过素材的合成制作一个华丽的美女幽灵。在教程中,我们将会学习到photoshop的图层蒙版、图像调整、滤镜渲染和各种工具的使用方法。
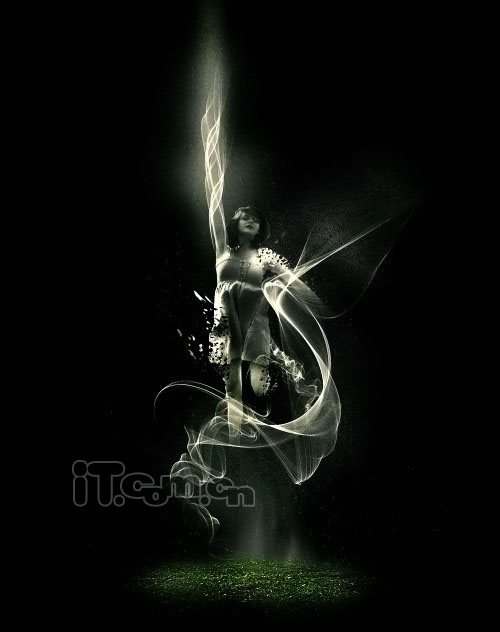
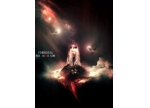
Photoshop教程的最终效果图教程
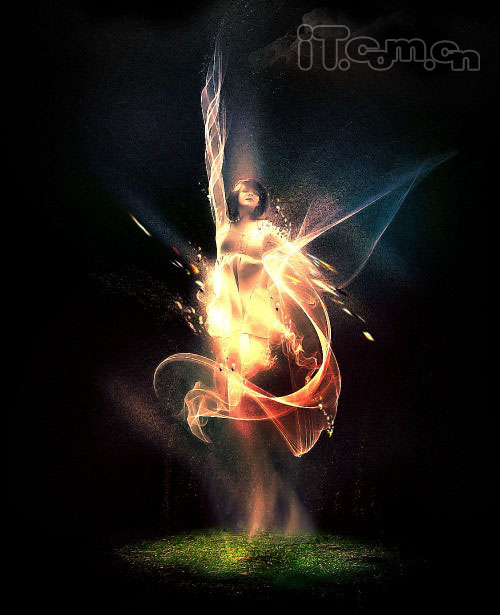
Photoshop教程的最终效果图2
Photoshop教程详细步骤:
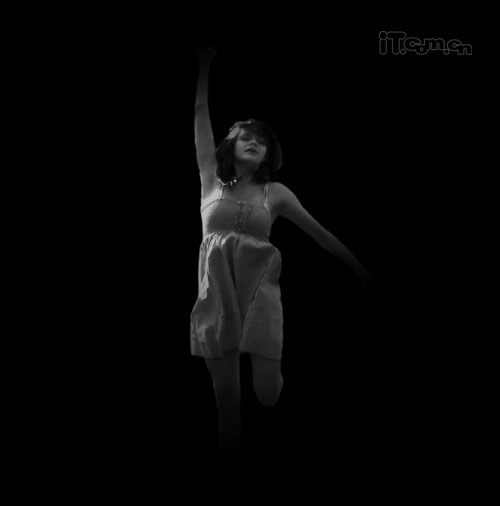
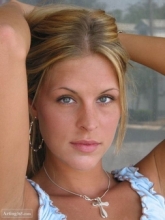
1、创建一个新文档,大小为1000px*1500px,背景填充黑色然后把女孩素材粘贴进来,调整大小和位置,如图所示。
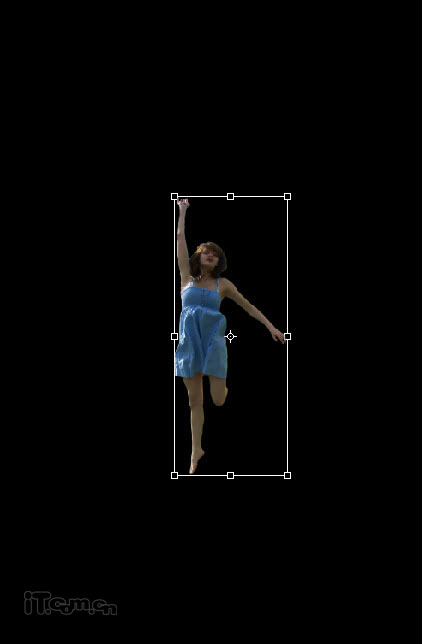
2、使用较大的柔角橡皮擦涂抹女孩的手和脚,使用女孩的手和脚变成渐隐的效果,如图所示

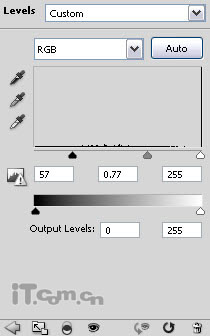
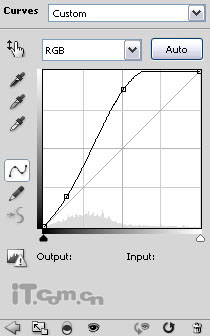
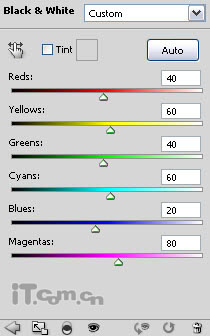
3、下面我们对女孩的颜色进行调整,在图层面板下单击“创建新的填充或调整图层”,分别选择色阶、曲线、黑白这3个调整工具,设置参考下图所示。
色阶:
曲线:
黑白:
你将得到下图所示的效果。
学习 · 提示
相关教程
关注大神微博加入>>


网友求助,请回答!