photoshop滤镜制作出玄幻的复杂抽象特效(2)
来源:未知
作者:福特少普ps
学习:2783人次
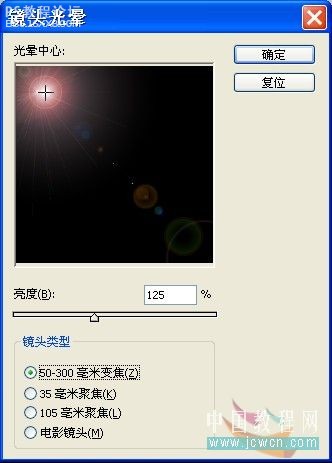
3、选择“滤镜” “渲染” “镜头光晕”命令,参数设置如图所示:
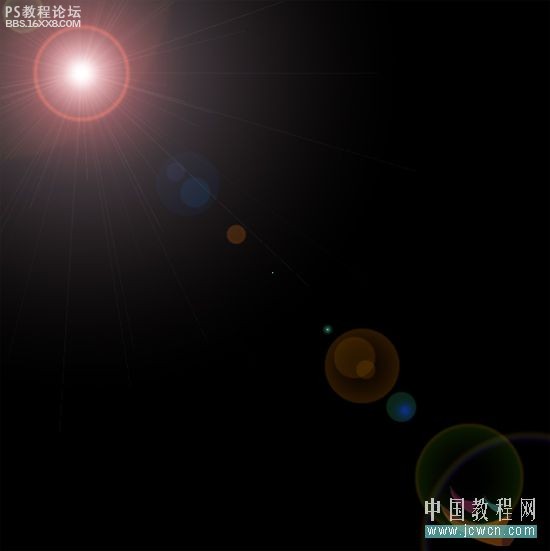
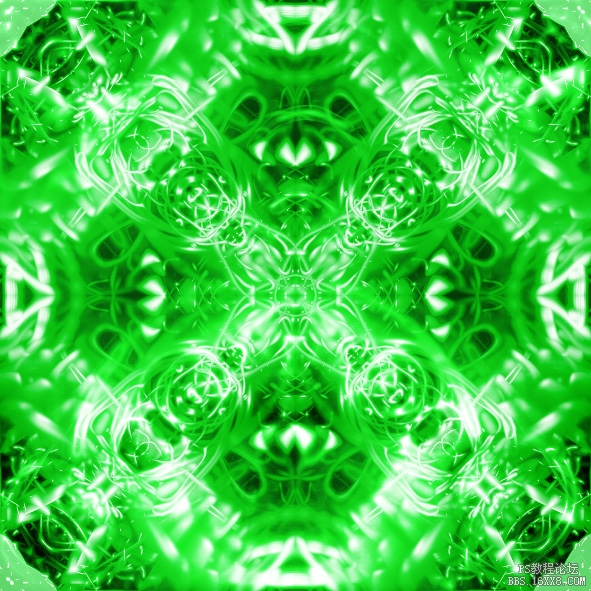
效果如图所示:
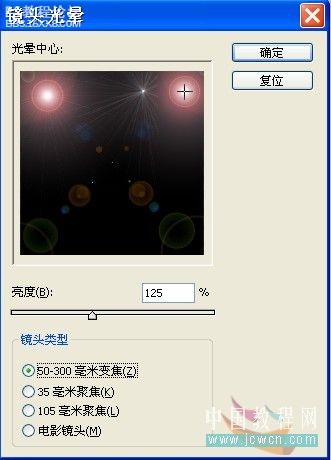
再次执行此命令(用鼠标在右上角单击),参数设置如图3C所示:
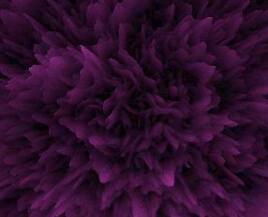
效果如图所示:
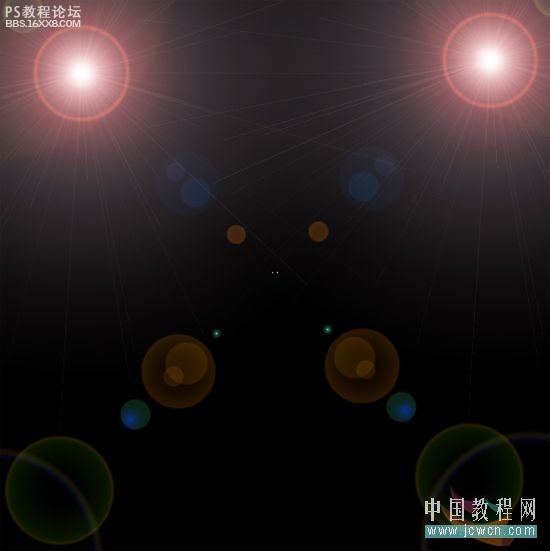
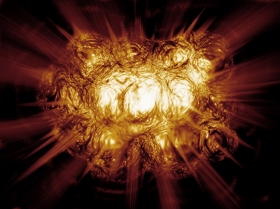
效果如图所示:
再次执行此命令(用鼠标在右上角单击),参数设置如图3C所示:
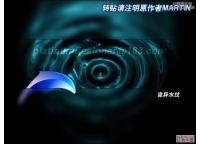
效果如图所示:
学习 · 提示
相关教程
关注大神微博加入>>


网友求助,请回答!