photoshop合成教程:废弃的大都市(14)
来源:未知
作者:kkfifgk
学习:6446人次
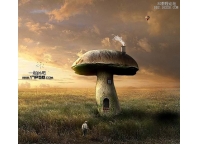
本photoshop教程利用多个素材合成一个毁灭城市的特效,效果非常不错,关键是大家要准备好合成的素材发挥你的想象,其中用了photoshop一些笔刷和素材希望大家可以去网上找找。
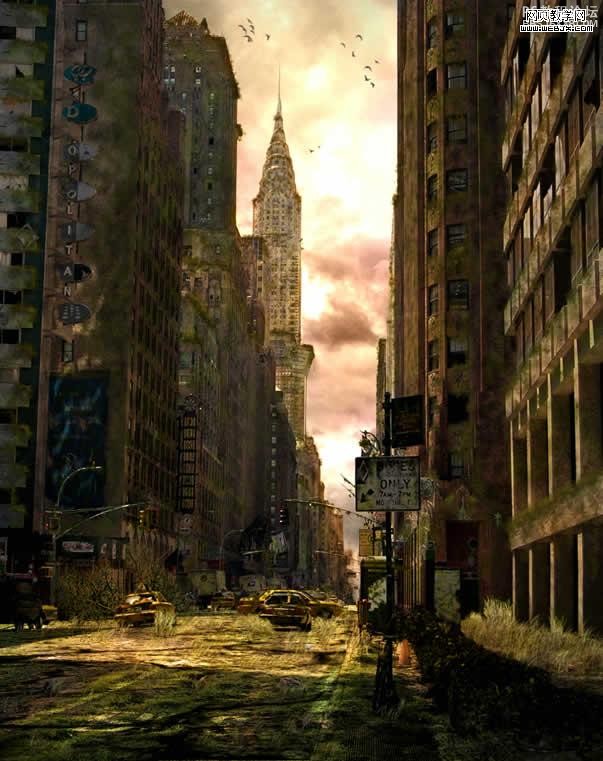
先看最终效果
下面大致给大家介绍下制作的思路,我们需要一些素材和材质以及笔刷。
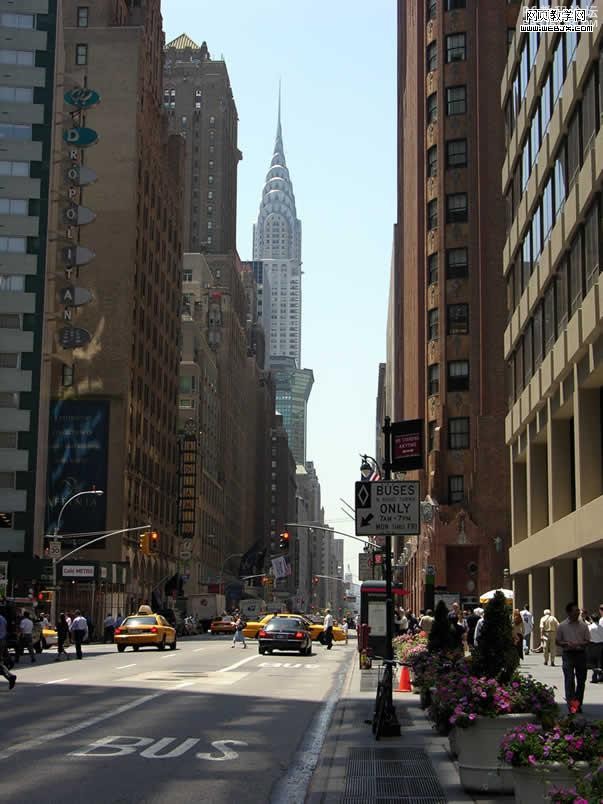
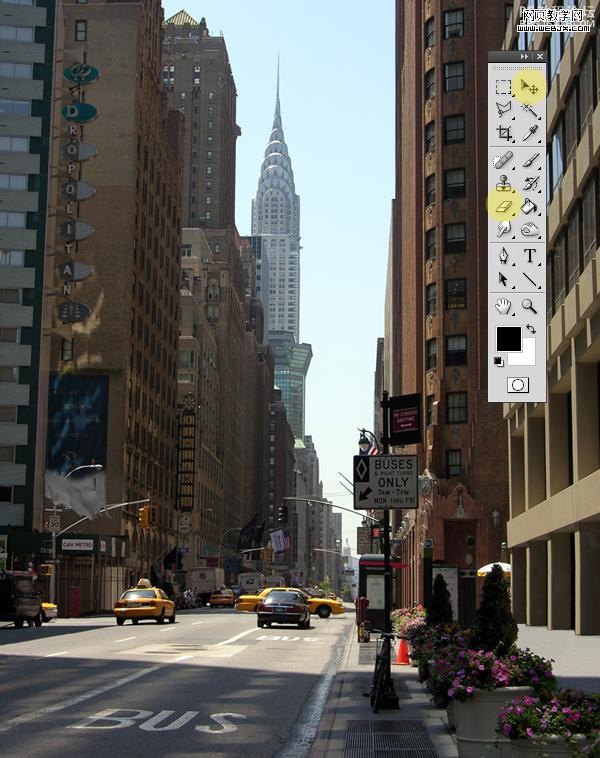
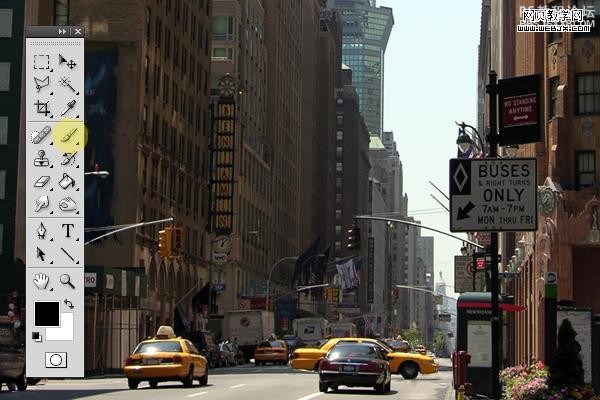
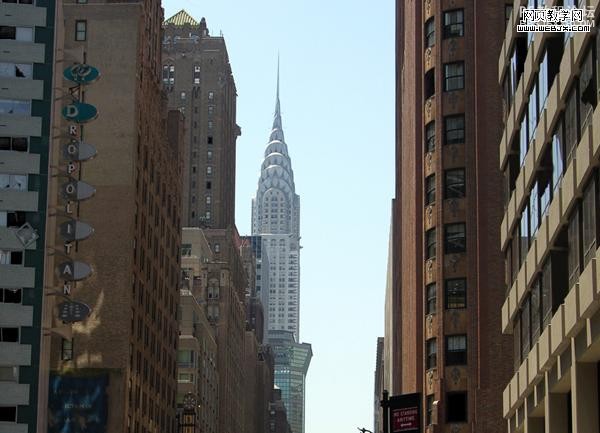
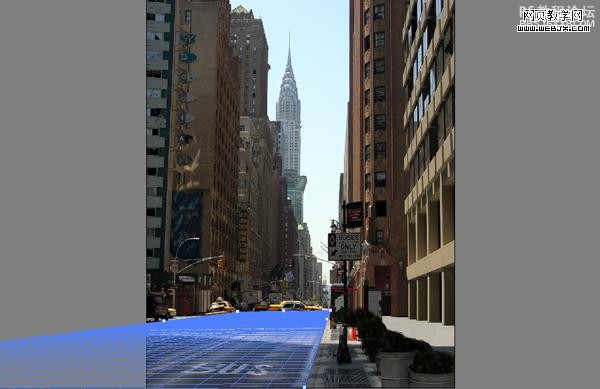
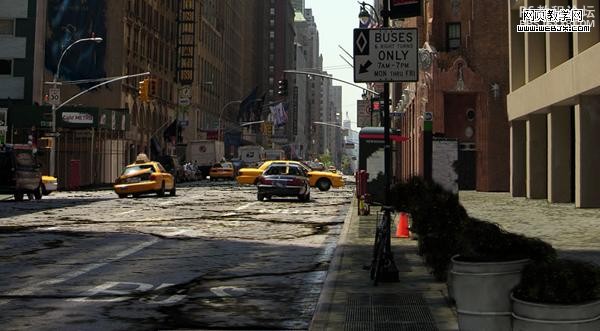
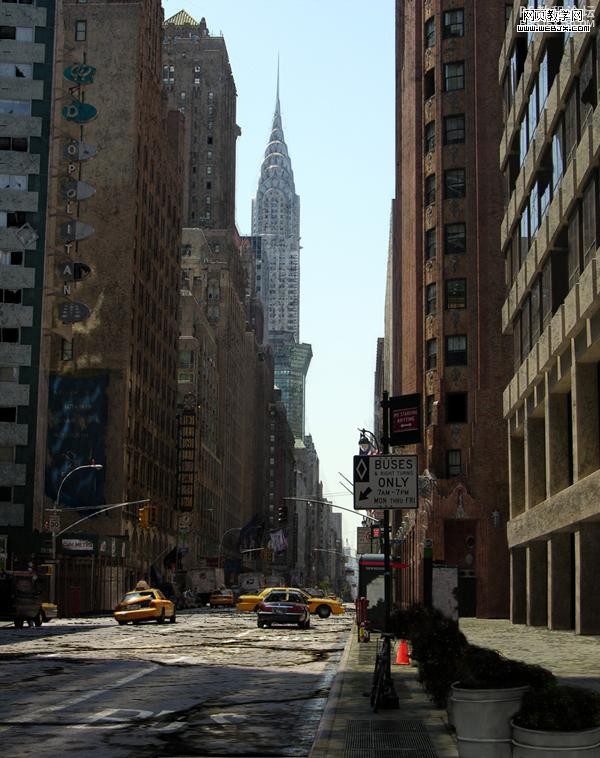
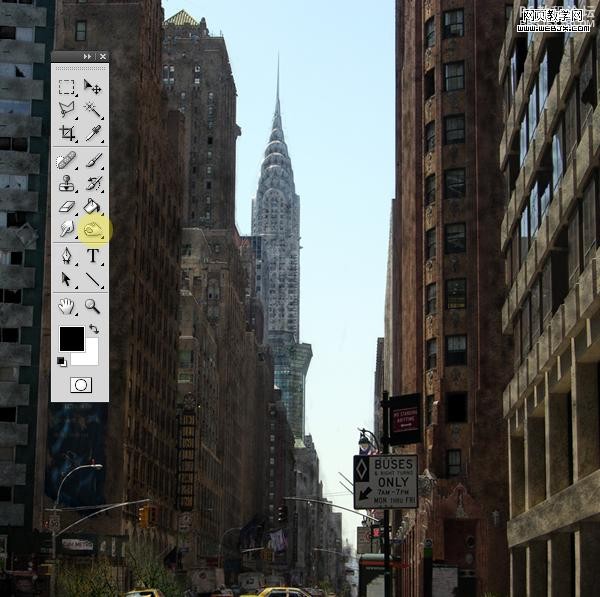
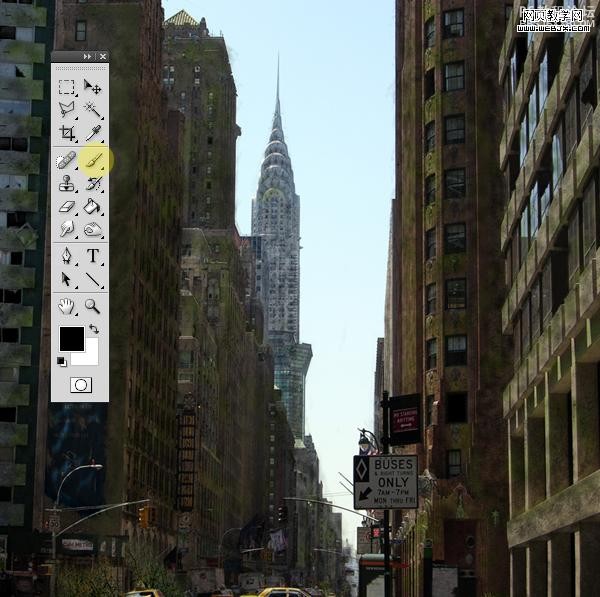
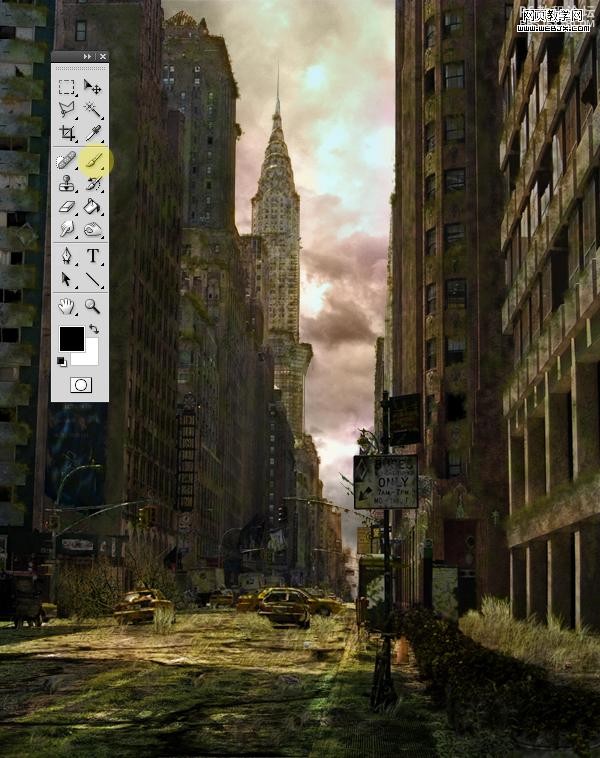
首先打开一幅城市的图片:
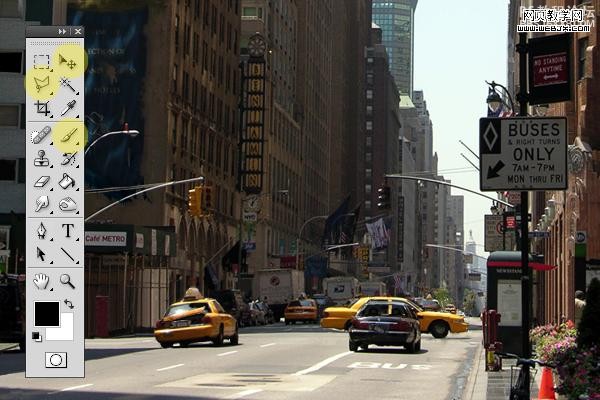
然后我们用柔边的克隆图章工具和画笔工具把图中的人物都去掉。
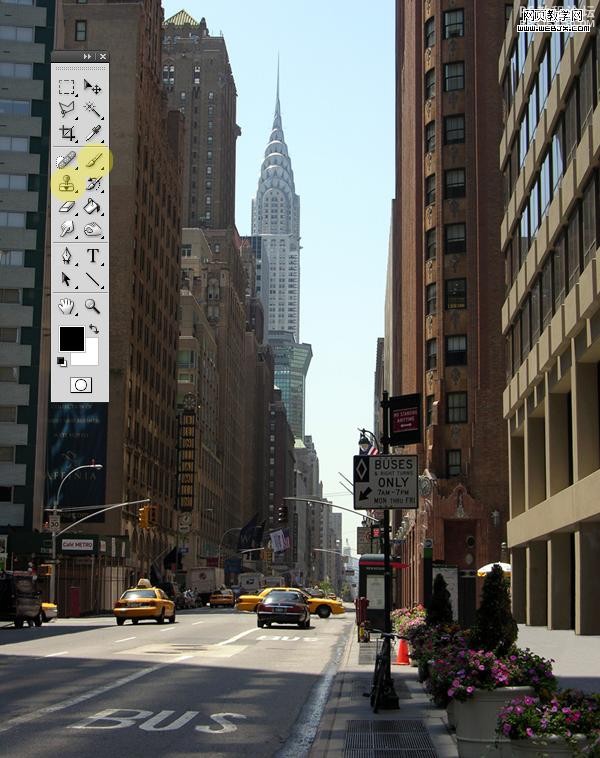
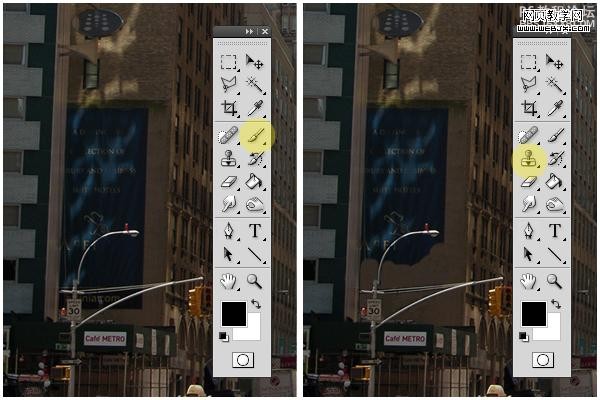
为了使照片变暗一些,用画笔工具擦去大部分的金色字符,用克隆图章工具移去花。
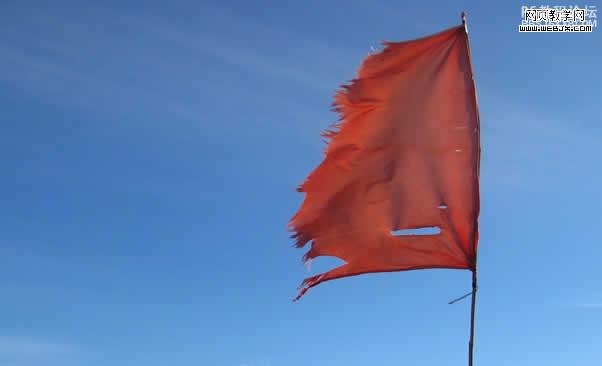
然后打开一幅旗帜的素材:
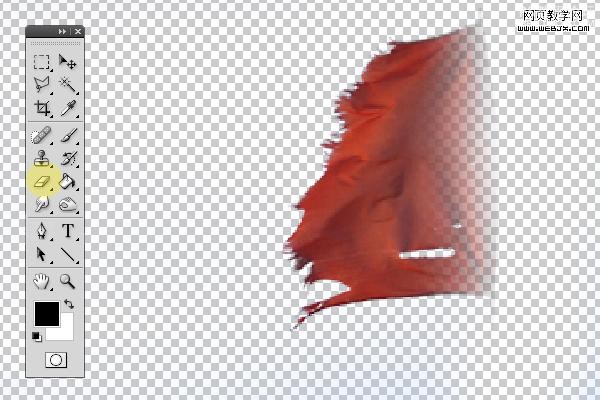
然后设置颜色范围。

使用橡皮擦工具(大的,硬度设置为0%),做出下面效果。
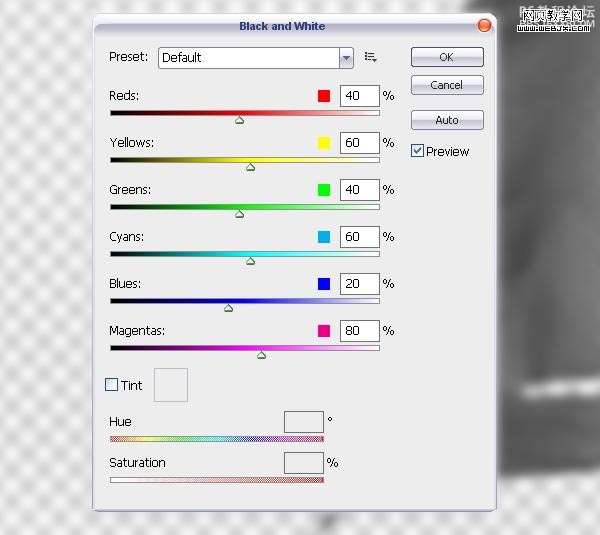
然后调整 Black & White
然后使用移动工具移动到主画面里面,使用橡皮擦擦除不需要的部分。
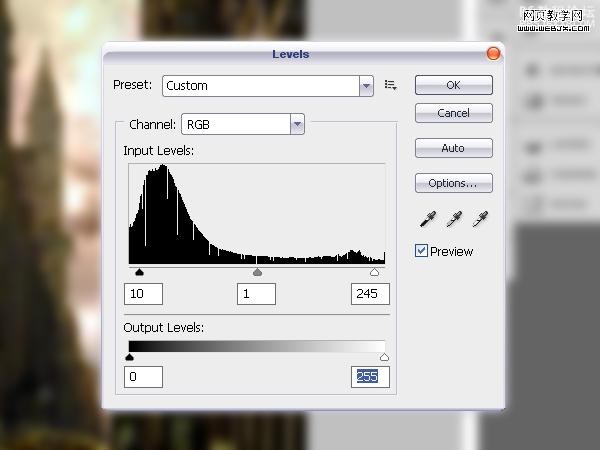
调整色阶
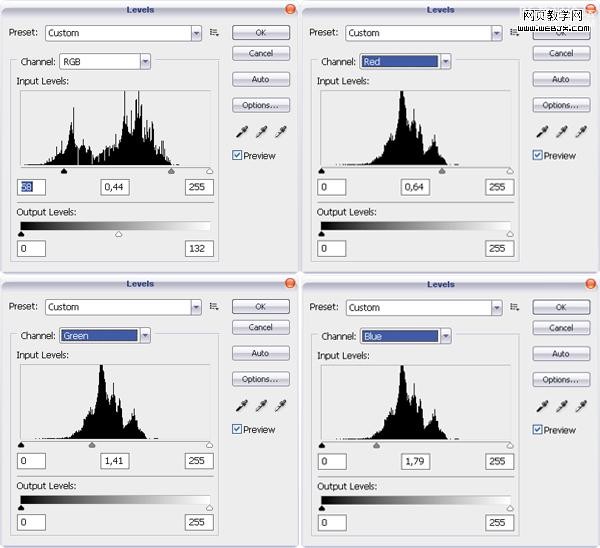
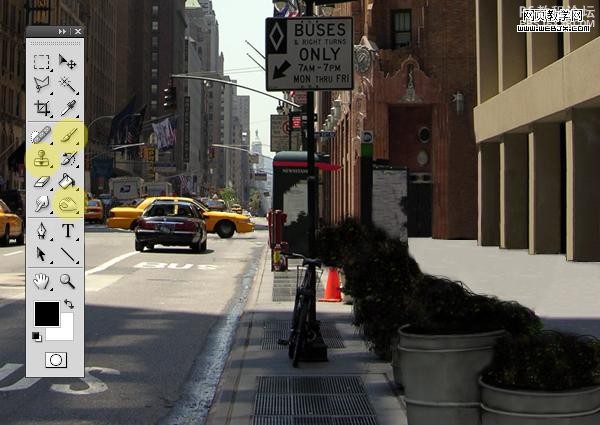
我们使用下面的工具:克隆图章工具、橡皮擦、画笔工具、加深和减淡工具处理图片。
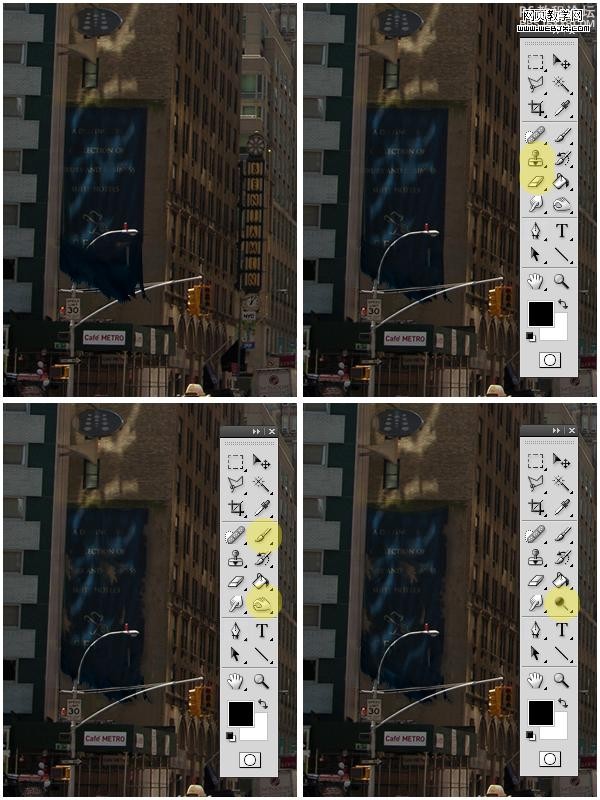
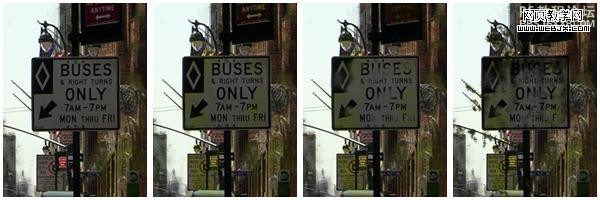
使用画笔工具对所有旗帜和标语操作。
放大窗口,使用画笔工具移除一些玻璃和一些细节,我们用多边形套索工具移除不需要的部分。
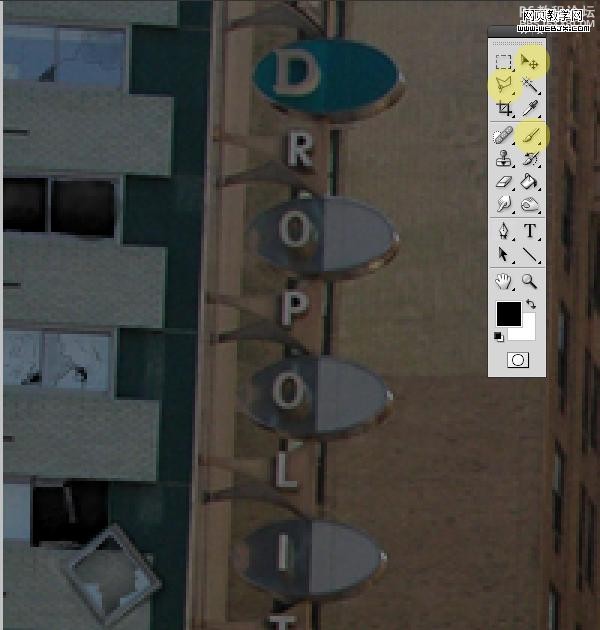
观察整个画面,我们使用套索工具,移动工具和画笔工具处理细节。
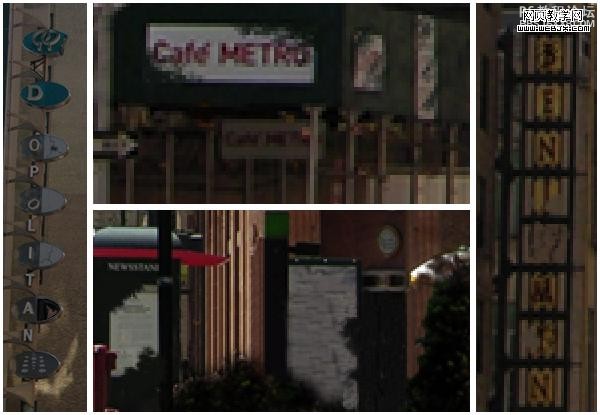
消除图像中的花,使用画笔工具克隆图章工具和加深工具对花进行处理。
现在打开一幅新的素材
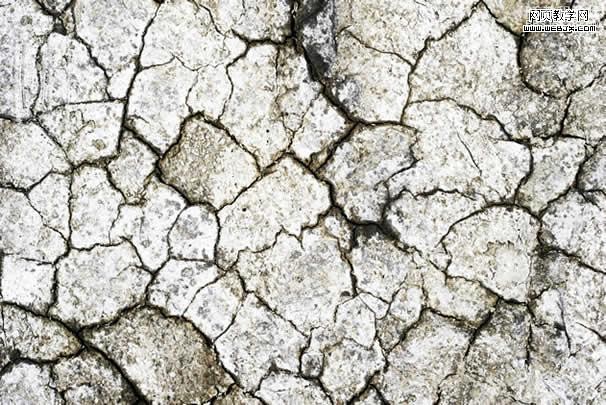
新建一个图层,执行滤镜-消失点命令然后应用上面的材质。
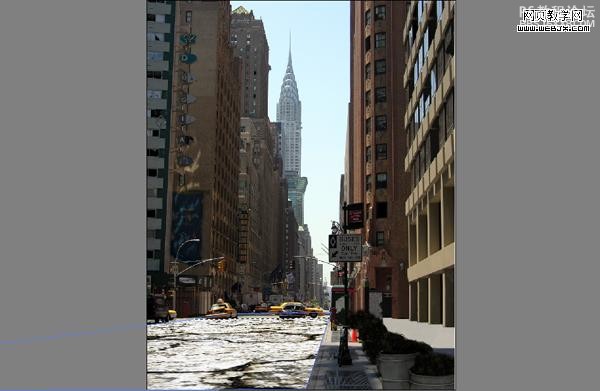
然后改变图层模式为正片叠底,选择橡皮擦工具去掉一些不需要的部分。
然后再对素材2
按上面步骤进行同样的操作。
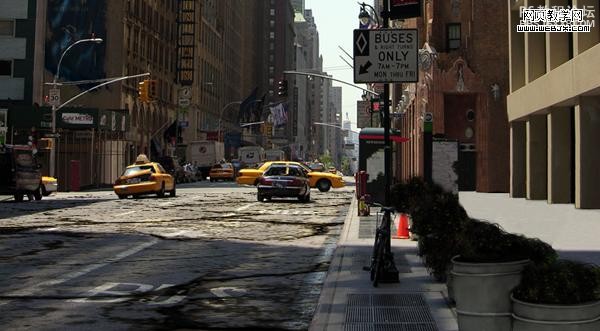
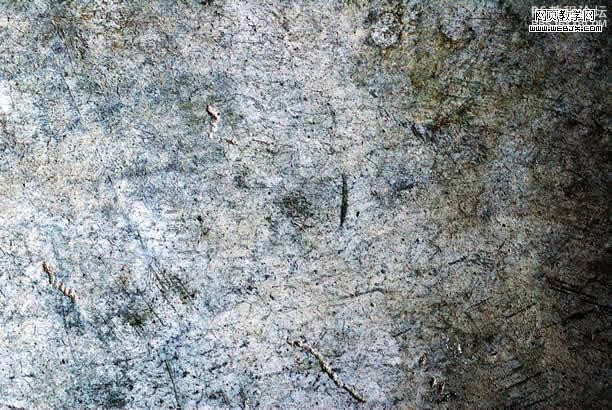
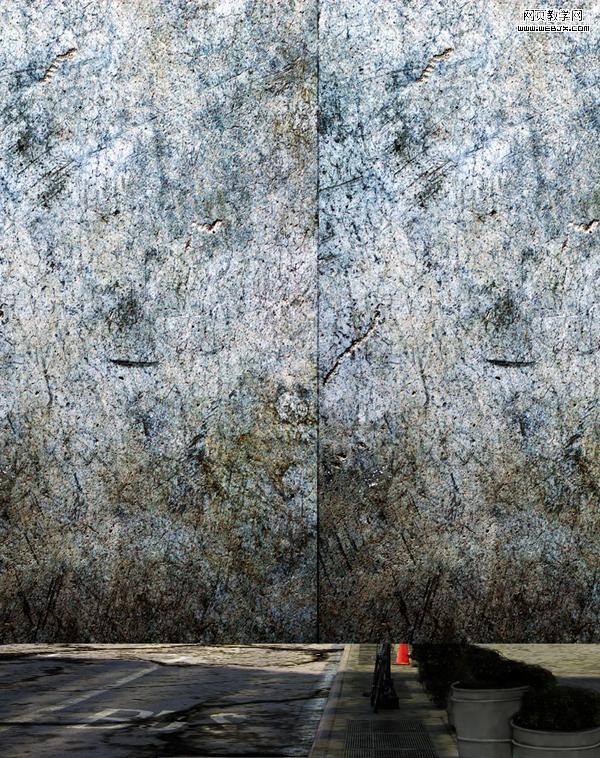
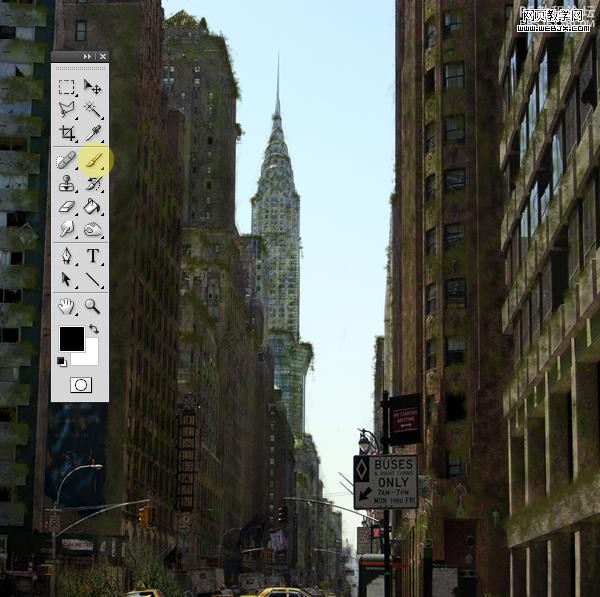
然后我们把素材3应用到建筑物上面,给街道也添加该材质,你不需要用消失点滤镜。
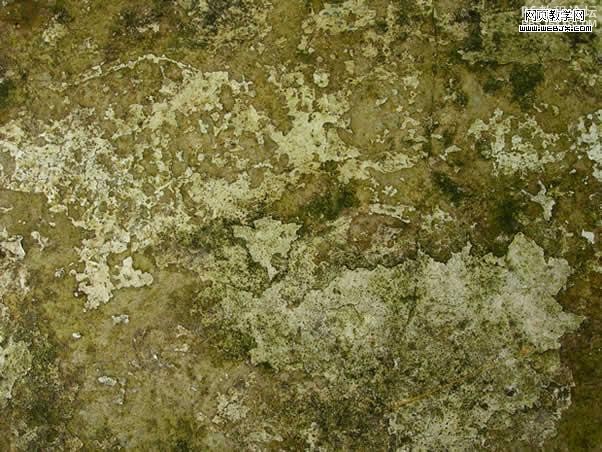
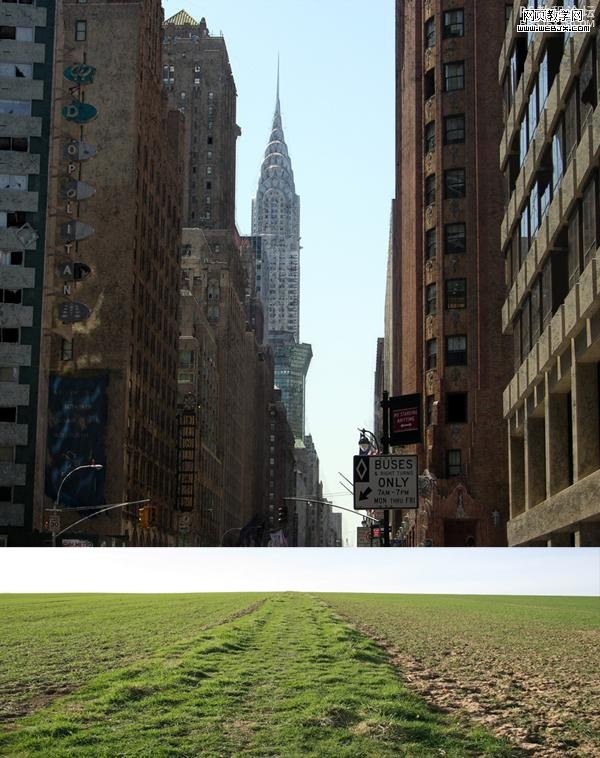
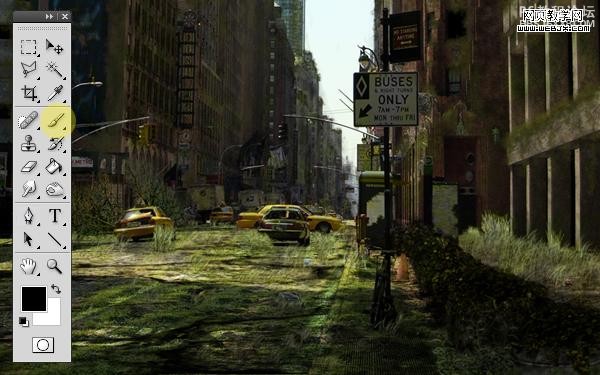
然后打开一幅草地的素材
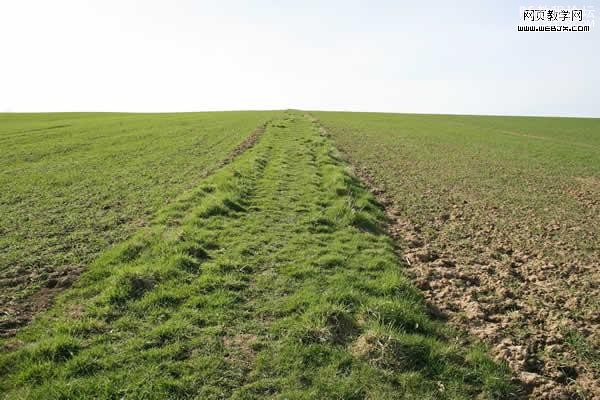
图层模式设置为叠加。
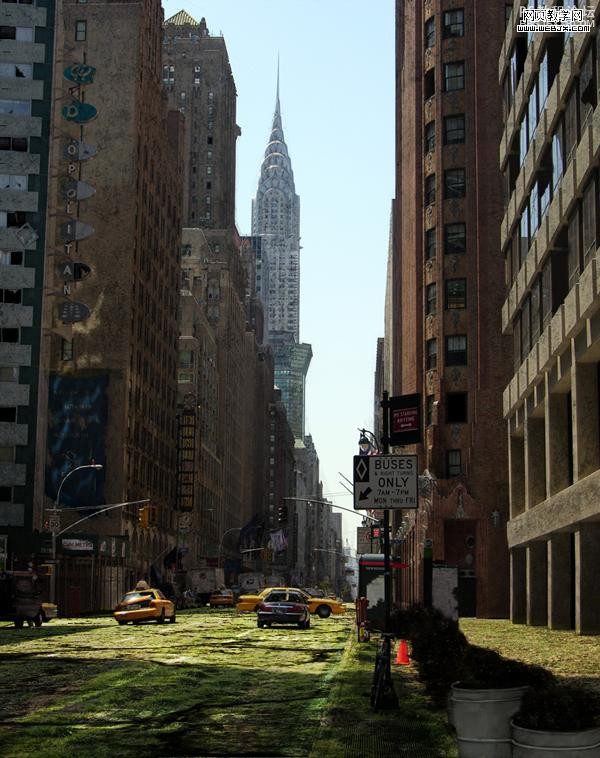
然后我们使用其他的一些素材:盒子、易拉罐、香蕉皮、破报纸、草笔刷、树笔刷、花笔刷等添加杂质特效。
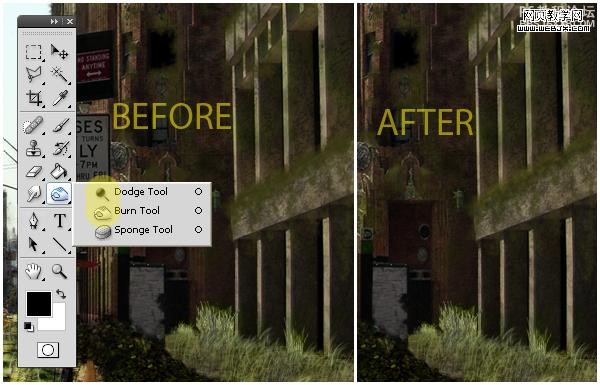
使用加深工具添加一些阴影
然后使用画笔,模式为颜色,调整杂质的颜色
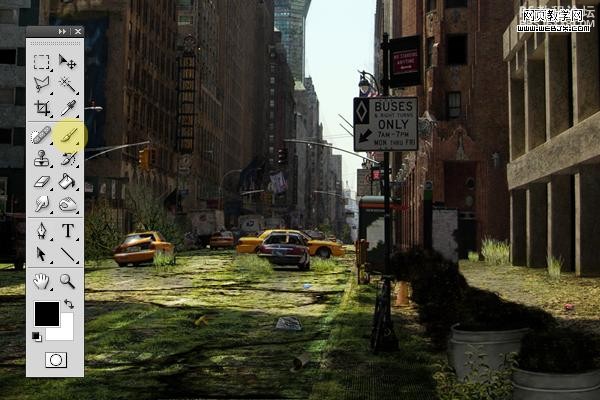
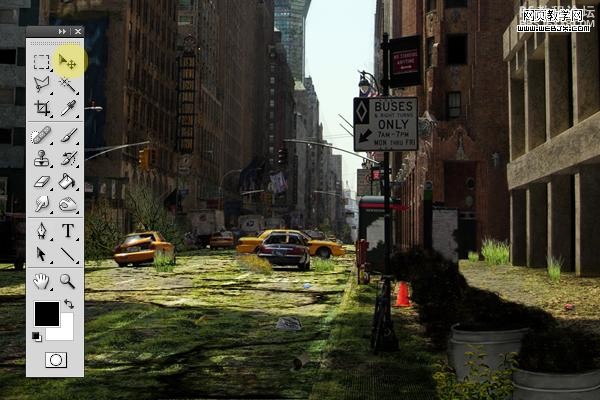
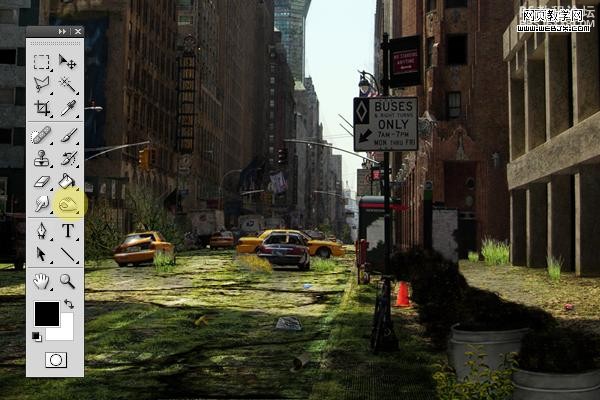
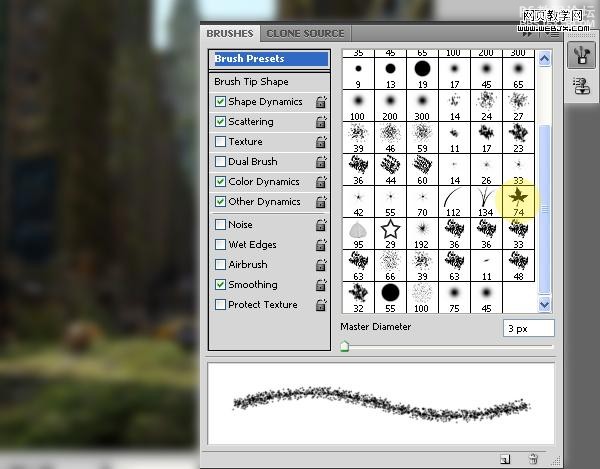
选择画笔工具,模式改为正常黑色,然后设置画笔面板。
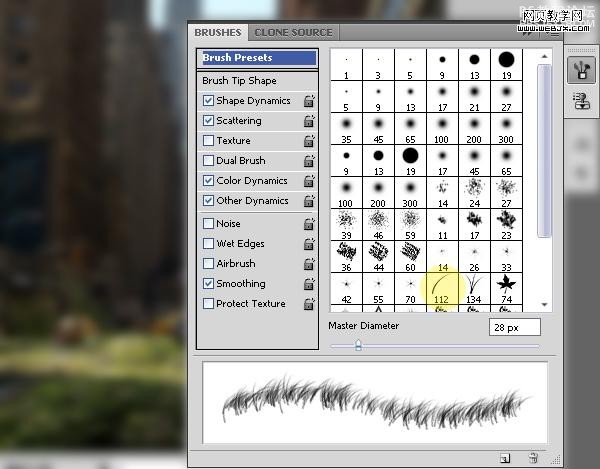
绘制一些草。
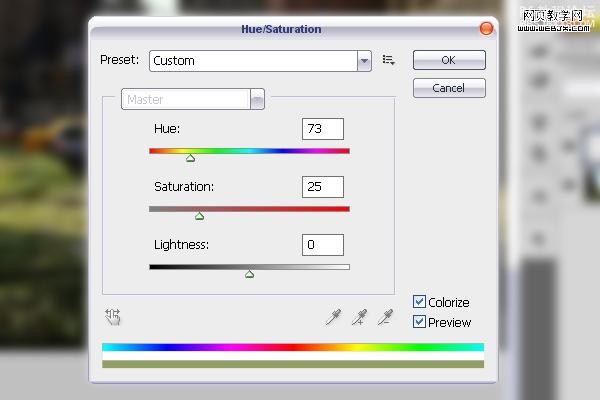
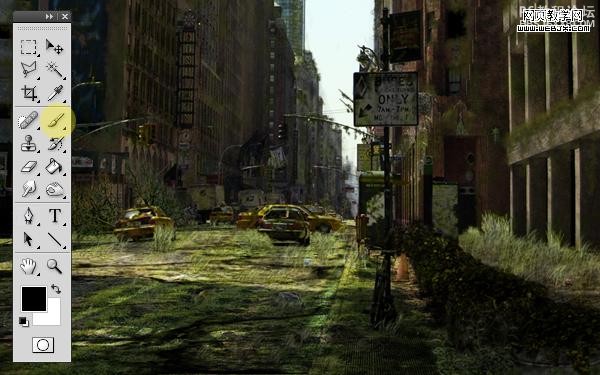
调整色相和饱和度。
用画笔工具、加深工具和模糊工具制作背景的层次。
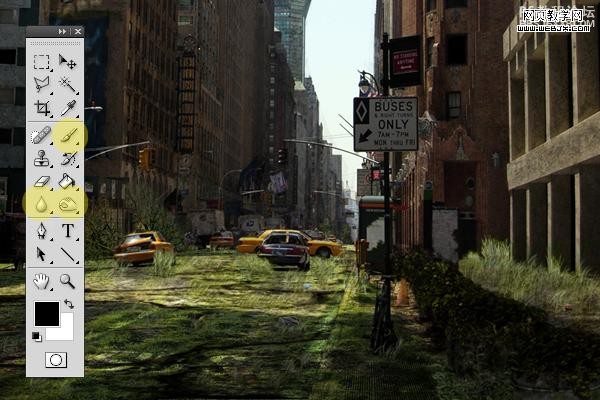
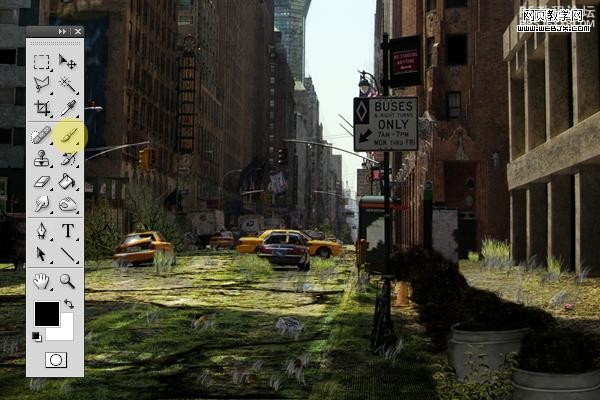
使用加深工具给墙添加一些阴影。
然后使用画笔工具,模式为颜色,给墙面添加一些草绿色。像苔藓一样。
改变画笔模式为正常黑色,再次打开画笔面板设置如下。
用绿的颜色在墙面上继续添加。
使用加深和减淡工具添加一些阴影效果。
同样方法给汽车、标志、花添加上面的绿色效果。
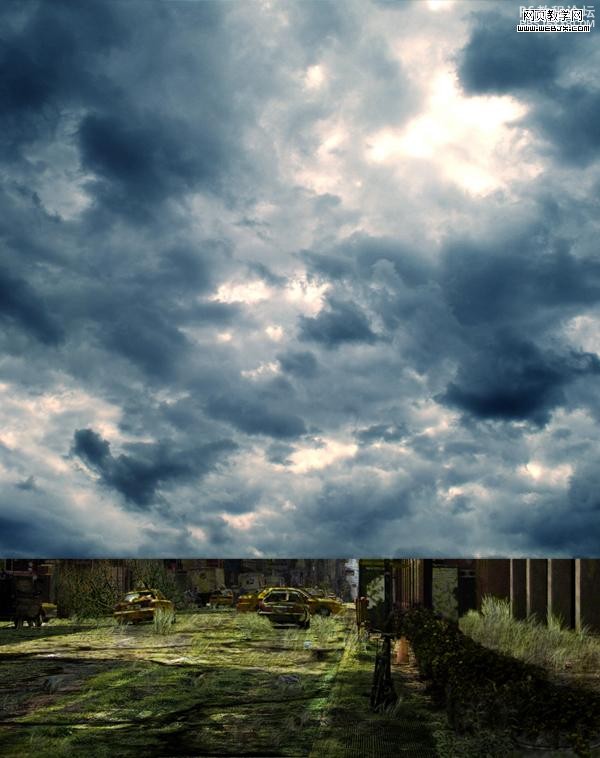
然后打开一幅天空素材
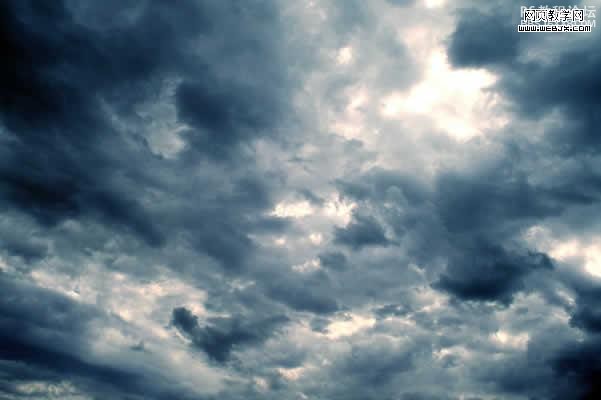
放到最上面。
然后添加图层蒙板,我们使用钢笔工具或者魔术棒工具给天空制作一个选区,然后反选,填充选择区域。达到下面效果。
然后调整 Black & White 使用默认值。
之后使用加深和减淡工具改变云的对比度,然后使用画笔工具添加一些新的云彩。
然后我们改变画笔设置,给建筑物和街道添加暖色彩,效果如下。
然后网上找一些鸟画笔,绘制一些飞的鸟类。

到这时我们已经得到最终效果了。合并所有图层,然后调整色阶。
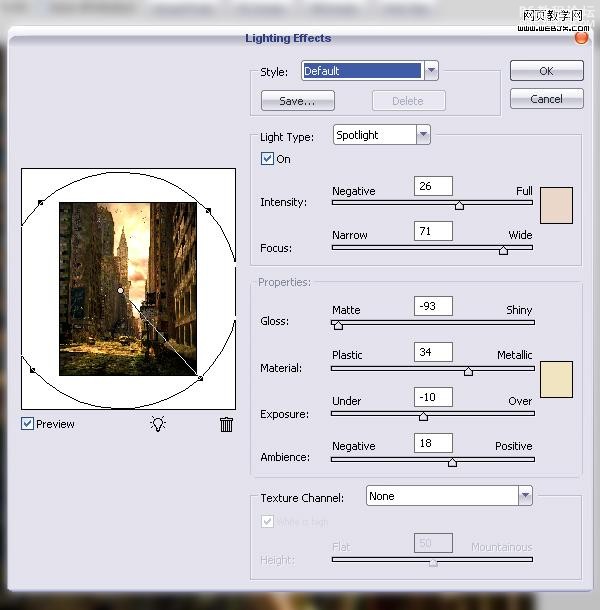
最后在设置光效,我们使用光效滤镜进行渲染。
最终效果如下。
先看最终效果
下面大致给大家介绍下制作的思路,我们需要一些素材和材质以及笔刷。
首先打开一幅城市的图片:
然后我们用柔边的克隆图章工具和画笔工具把图中的人物都去掉。
为了使照片变暗一些,用画笔工具擦去大部分的金色字符,用克隆图章工具移去花。
然后打开一幅旗帜的素材:
然后设置颜色范围。
使用橡皮擦工具(大的,硬度设置为0%),做出下面效果。
然后调整 Black & White
然后使用移动工具移动到主画面里面,使用橡皮擦擦除不需要的部分。
调整色阶
我们使用下面的工具:克隆图章工具、橡皮擦、画笔工具、加深和减淡工具处理图片。
使用画笔工具对所有旗帜和标语操作。
放大窗口,使用画笔工具移除一些玻璃和一些细节,我们用多边形套索工具移除不需要的部分。
观察整个画面,我们使用套索工具,移动工具和画笔工具处理细节。
消除图像中的花,使用画笔工具克隆图章工具和加深工具对花进行处理。
现在打开一幅新的素材
新建一个图层,执行滤镜-消失点命令然后应用上面的材质。
然后改变图层模式为正片叠底,选择橡皮擦工具去掉一些不需要的部分。
然后再对素材2
按上面步骤进行同样的操作。
然后我们把素材3应用到建筑物上面,给街道也添加该材质,你不需要用消失点滤镜。
然后打开一幅草地的素材
图层模式设置为叠加。
然后我们使用其他的一些素材:盒子、易拉罐、香蕉皮、破报纸、草笔刷、树笔刷、花笔刷等添加杂质特效。
使用加深工具添加一些阴影
然后使用画笔,模式为颜色,调整杂质的颜色
选择画笔工具,模式改为正常黑色,然后设置画笔面板。
绘制一些草。
调整色相和饱和度。
用画笔工具、加深工具和模糊工具制作背景的层次。
使用加深工具给墙添加一些阴影。
然后使用画笔工具,模式为颜色,给墙面添加一些草绿色。像苔藓一样。
改变画笔模式为正常黑色,再次打开画笔面板设置如下。
用绿的颜色在墙面上继续添加。
使用加深和减淡工具添加一些阴影效果。
同样方法给汽车、标志、花添加上面的绿色效果。
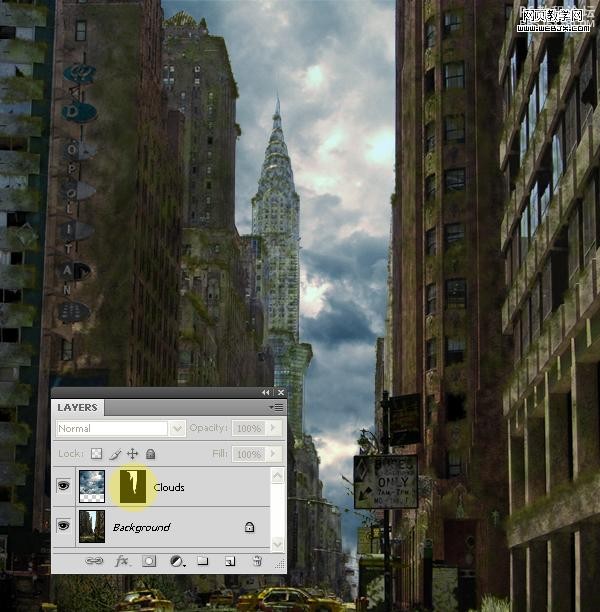
然后打开一幅天空素材
放到最上面。
然后添加图层蒙板,我们使用钢笔工具或者魔术棒工具给天空制作一个选区,然后反选,填充选择区域。达到下面效果。
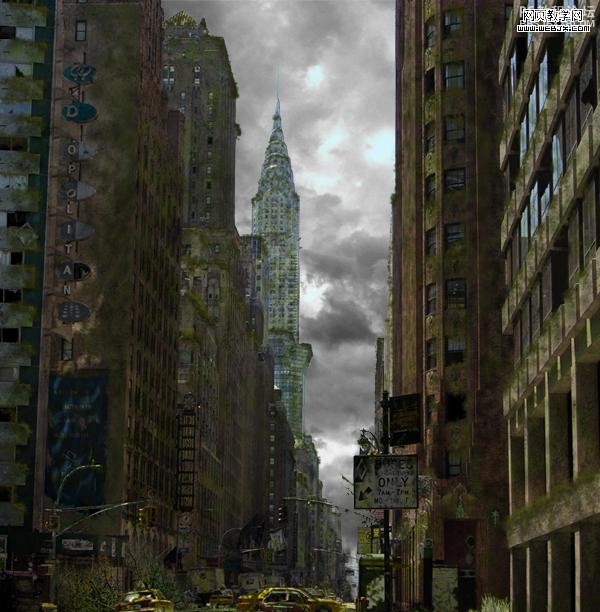
然后调整 Black & White 使用默认值。
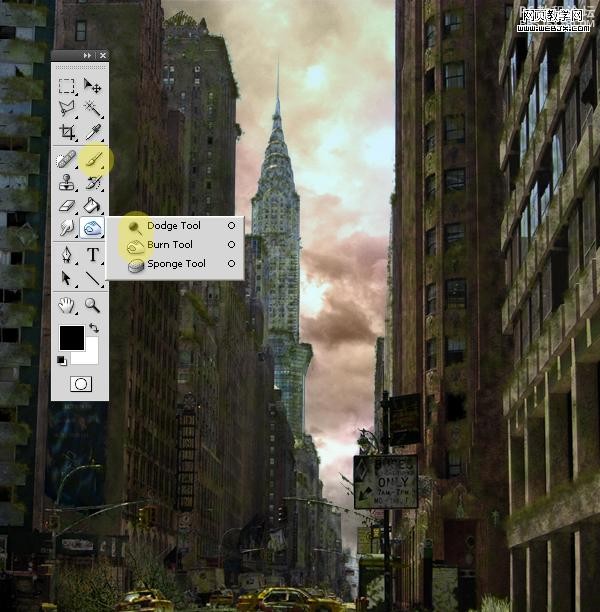
之后使用加深和减淡工具改变云的对比度,然后使用画笔工具添加一些新的云彩。
然后我们改变画笔设置,给建筑物和街道添加暖色彩,效果如下。
然后网上找一些鸟画笔,绘制一些飞的鸟类。
到这时我们已经得到最终效果了。合并所有图层,然后调整色阶。
最后在设置光效,我们使用光效滤镜进行渲染。
最终效果如下。
学习 · 提示
相关教程
关注大神微博加入>>


网友求助,请回答!