photoshop对磨皮后的纹理恢复及皮肤修缮(11)
来源:未知
作者:学photoshop
学习:1078人次
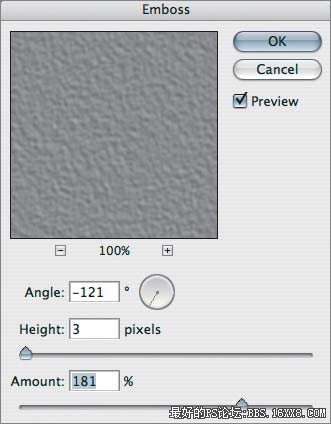
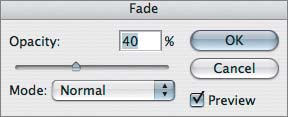
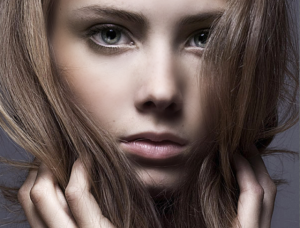
一般情况下做到这一步就可以了,但是可以更逼真。 运行 滤镜 -》 风格化 -》浮雕效果。 现在看起来还是太假,需要柔化。 编辑 –》渐隐浮雕效果,将透明度改为40%
学习 · 提示
相关教程
关注大神微博加入>>

网友求助,请回答!