Photoshop画花朵叶子蔓藤(8)

1、新建一个500 * 700像素的文件背景填充黑色。新建一个图层,开始制作花朵部分,先来看一下花朵的整体效果如图1,基本上是由花瓣及花蕊构成,花瓣比较多,也是最费时的部分。

<图1>
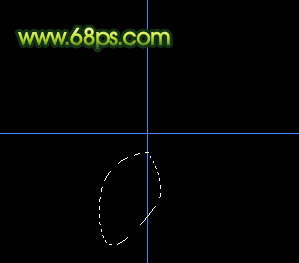
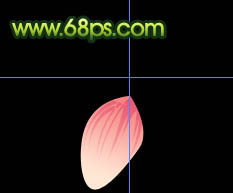
2、按Ctrl + M调出标尺,然后拉出两条相交的参照线,交点位置为花朵的中心位置,如图2。
<图2>
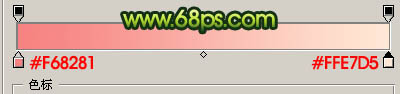
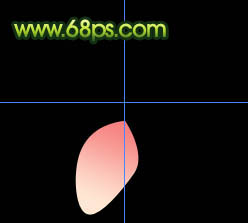
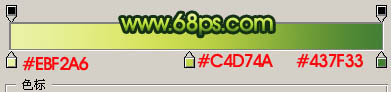
3、用钢笔工具勾出一枚花瓣的路径,转为选区如图3,然后选择渐变工具,颜色设置如图4,由顶点拉上底部,渐变方式为线性渐变,取消选区后效果如图5。
<图3>
<图4>
<图5>
4、把花瓣局部放大,新建一个图层用钢笔工具勾出花瓣的暗部如图6,填充颜色:#E54F74,然后适当调整透明度,加上图层蒙版适当把顶部擦点透明效果,如图7。
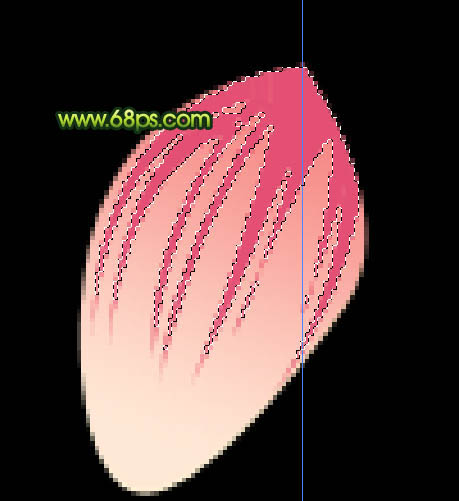
<图6>
<图7>
5、其它花瓣的制作方法相同,不过形状有点不同需要用钢笔工具一一抠出路径后再拉渐变,注意好花瓣的层次。大致的过程如图8-11。
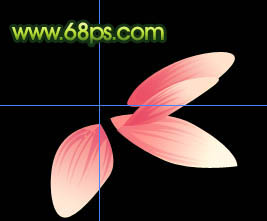
<图8>

<图9>

<图10>

<图11>
6、现在开始制作花蕊,在下图紫色花瓣上面新建一个图层,为了明显特意把那个花瓣调成紫色。然后用钢笔工具勾出一枚花蕊的路径,转为选区后拉上图13所示渐变色。

<图12>

<图13>
7、相同的方法制作其它花蕊,大致完成的效果如图14,然后修饰一下细节部分,再把花朵的图层合并为一个图层。

<图14>
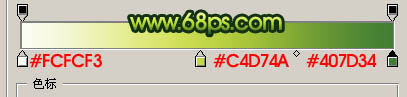
8、叶子部分制作,先把花朵图层隐藏,用钢笔工具抠出叶子的路径,然后拉上图16所示的线性渐变,效果如图15,拉好渐变后不要取消选区。
<图15>
<图16>
9、把前景颜色设置为#478134,用画笔把叶子的左下部分涂深一点,效果如图17。

<图17>
10、用钢笔工具抠出叶脉的路径如图18,转为选区后拉上图19所示的线性渐变,效果如图20。

<图18>
<图19>

<图20>
11、加上高光及暗部,大致效果如图21,然后把叶子的几个图层合并。

<图21>
12、蔓藤部分就是考验钢笔工具的时候,需要把路径抠出来,转为选区填充绿色,大家可以随意发挥,然后就是复制叶子及花朵,稍微调整下,大体效果就出来了。

<图22>
13、在背景图层上面新建一个图层,把前景颜色设置为:#428D52,用柔角画笔,适当调整大小和不透明度,在图层上点上几下,加点衬托色,完成最终效果。
<图23>
学习 · 提示
相关教程