Photoshop画花朵叶子蔓藤(2)
来源:未知
作者:admin
学习:7637人次
2、按Ctrl + M调出标尺,然后拉出两条相交的参照线,交点位置为花朵的中心位置,如图2。

<图2>
3、用钢笔工具勾出一枚花瓣的路径,转为选区如图3,然后选择渐变工具,颜色设置如图4,由顶点拉上底部,渐变方式为线性渐变,取消选区后效果如图5。

<图3>
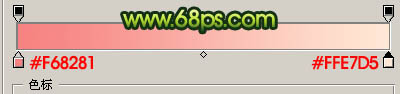
<图4>

<图5>
学习 · 提示
相关教程
关注大神微博加入>>


网友求助,请回答!