Photoshop人像润色教程(2)
来源:
作者:
学习:1476人次
步骤 5、将渐变映射层的混合模式设为“柔光”。
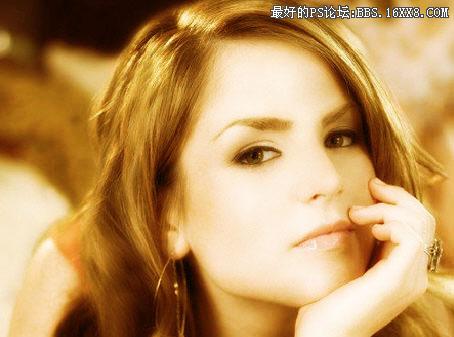
步骤 6、如果感觉图像过亮,可以适当调整渐变图层不透明度(我的设置是50%)。

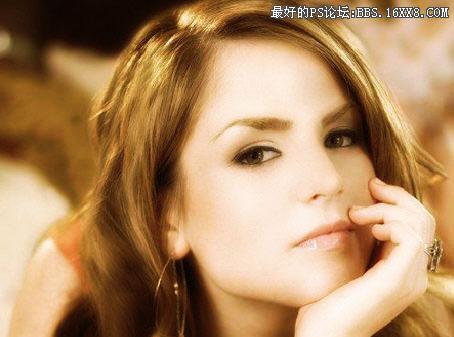
步骤 7、再次盖印(Ctrl + Alt + Shift + E ),创建新图层,编辑 >> 填充,选择50%灰色填充,并将图层混合模式设为“叠加”。
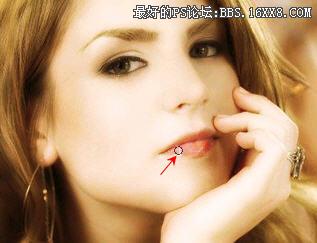
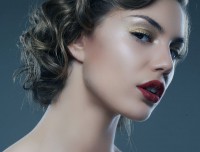
步骤 8、使用加深工具处理人物嘴唇。
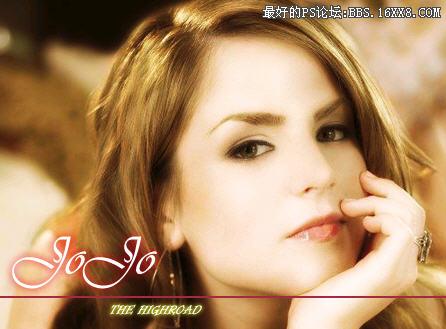
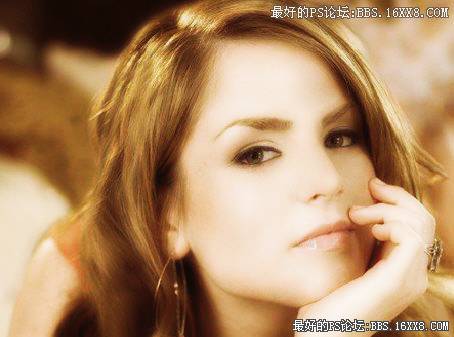
步骤 9、添加文字得到最终效果。
学习 · 提示

相关教程
关注大神微博加入>>


网友求助,请回答!