Photoshop教程:制作星月花动画文字(3)
来源:
作者:
学习:505人次
第七步:使用画笔工具(快捷键B)在文字图层下面画上星光笔刷,笔刷大小我设的是95,效果见[图9];
 第八步:使用【图层-图层样式】菜单,为文字和花加上投影效果,设置效果见[图10],得到效果见[图11];
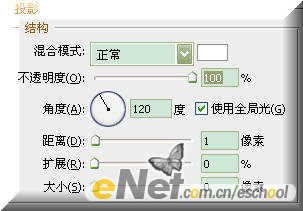

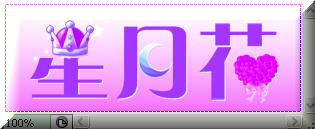
第九步:为使文字与装饰的颜色融合得更好,在文字图层上面填充一个纯色为6c00ff的调整图层,模式为“滤色”,得到效果见[图12];

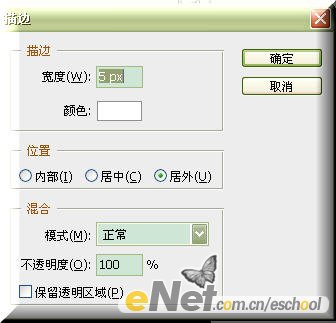
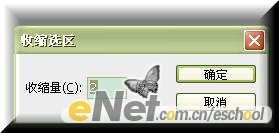
第十步:为图片加上一个简单的边框,新建图层全选,【编辑-描边】菜单白色、5象素、居外,设置效果见[图13],【编辑-描边】菜单,全选,【选择-修改-收缩】收缩2个象素,设置效果见[图14],描1象素颜色为9000ff、居中的边并设置图案叠加效果,设置效果见[图15];,得到效果见[图16];

学习 · 提示
相关教程
关注大神微博加入>>


![[IR动图教程] IR制作精致GIF....。](http://pic.16xx8.com/article/UploadPic/2008/1/24/2008124181045133_lit.gif)

网友求助,请回答!