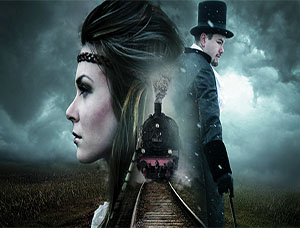
PS小红帽艺术合成教程(4)
来源:网络
作者:不详
学习:4737人次
步骤29选择人物皮肤,然后按CTRL + J复制图层。

第30步执行滤镜>模糊>表面模糊,半径和阈值为7个像素,使肌肤更柔和。

步骤31改变皮肤的颜色,按CTRL + U。 饱和度-60。

步骤32为了让眼睛更明亮,用套索工具选中眼睛,CTRL + J复制图层。 改变图层混合模式为颜色减淡。

步骤33按SHIFT + CTRL + N,创建一个新图层,用粉红色的软笔刷在人物脸颊上画出腮红。

第34步将图层混合模式设置为正片叠底,然后执行滤镜 - >模糊 ->高斯模糊,半径为10。 图层不透明度可以根据你自己打的喜好调整。

步骤35新建图层, 使用一个柔软的圆形笔刷在人物的眼睛绘制眼影。

图层混合模式为正片叠底,并使用涂抹工具让眼影更柔和。用另一种颜色重复此过程,以获得更好的效果。

步骤36我用钢笔工具绘制头发。 新建图层,然后选择自由钢笔工具,用鼠标绘制头发。

步骤37绘制完成后点击鼠标右键,选择“描边路径”选项。

然后选择模拟压力。

结果如下图。 你也可以使用模糊工具,使它更柔和。

步骤38为了得到更多的头发,你可以复制你刚才的层,并使用自由变换,只是改变颜色或形状。

在第一幅图中,我使用了变形,然后我改变颜色,得到了图二的效果。

学习 · 提示
相关教程
关注大神微博加入>>


网友求助,请回答!