用Photoshop制作宣纸底纹与墨韵特效(4)
来源:未知
作者:bbs.16xx8.com
学习:18790人次
本文中我们用Photoshop来制作宣纸底纹与墨韵特效。
1、在Photoshop中新建1024*768文件;
2、新建一图层一填充,颜色#575757;
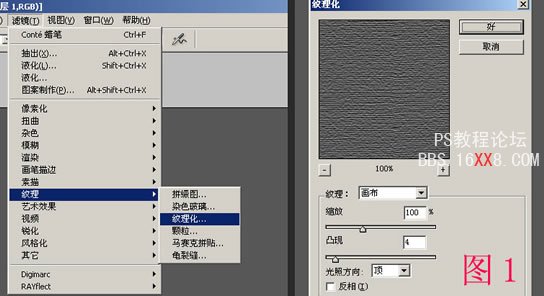
3、对图层一进行纹理化滤镜,参数设置如(图1);
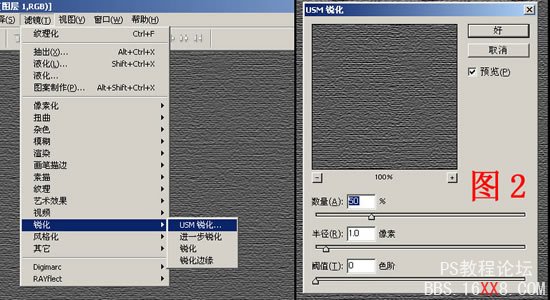
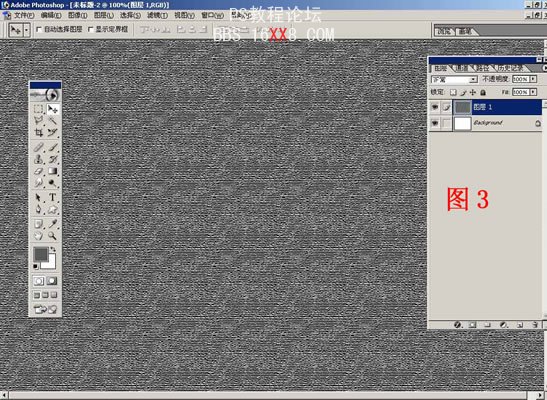
4、再USM锐化滤镜,参数设置如(图2),(ctrl+F)四次后如(图3);
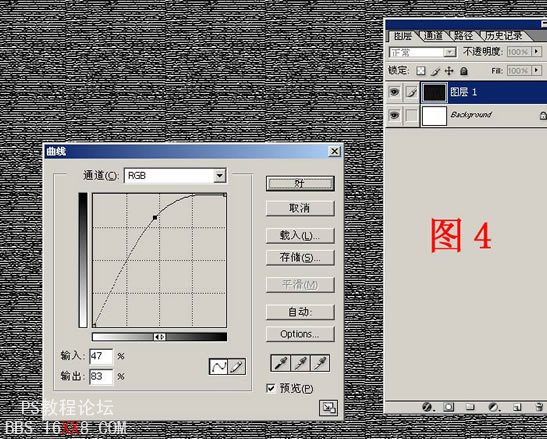
5、调整曲线(ctrl+M)参如设置如(图4);
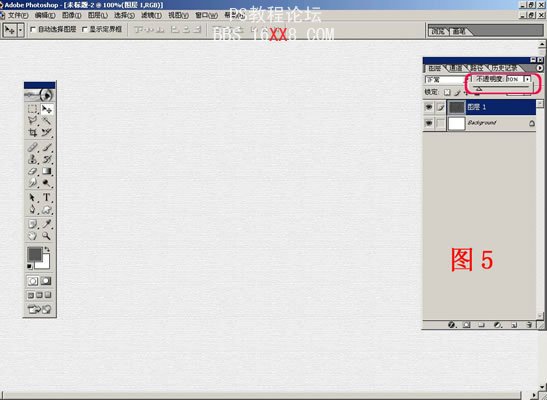
6、更改透明度为10如(图5);
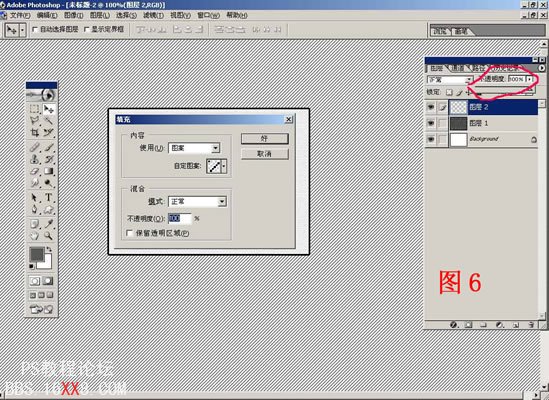
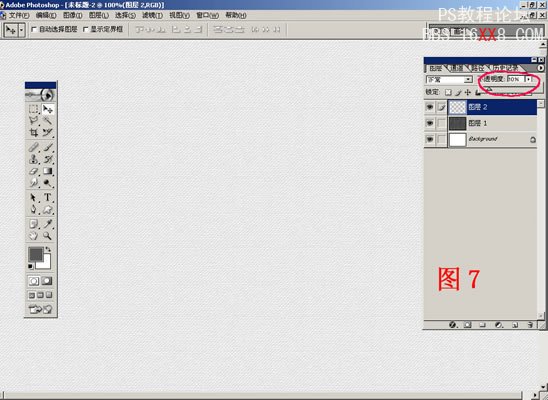
7、新建图层二,填充图案如(图6),更改透明度为10如(图7);
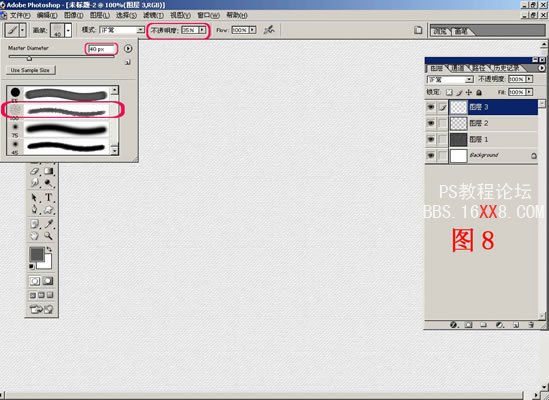
8、新建图层三,选择画笔工具,选择一画笔,调整在画面大小为40px,不透明度为35%如 (图8),按住鼠标不放画
一大圆,画好后松开鼠标后再按信不入在大圆内画略小的圆,N次后画N个圆如(图9),感觉墨水的效果出来了就
可以了;

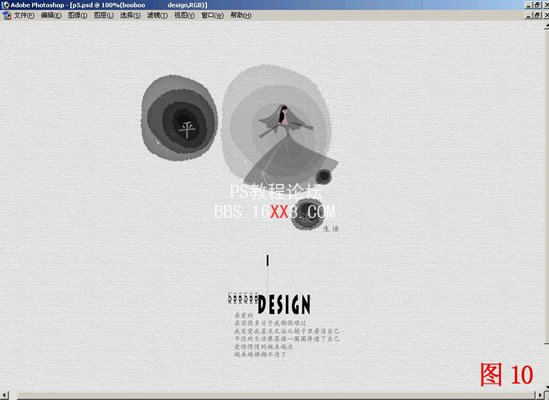
9、继续画下面几个墨滴的效果,多复制几个做变换和透明度的变化,加上字与图如(图10),排版可以自己多考虑,
一幅有纸纹质感的图就做好啦。
学习 · 提示
相关教程
关注大神微博加入>>


网友求助,请回答!