ps质感的红色3D立体字教程(5)
来源:站酷
作者:遗祸万年
学习:6629人次
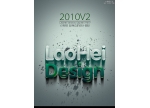
先来看看最终的效果图吧:

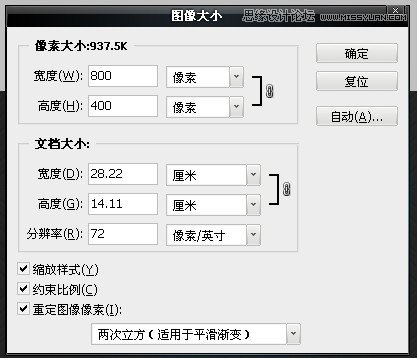
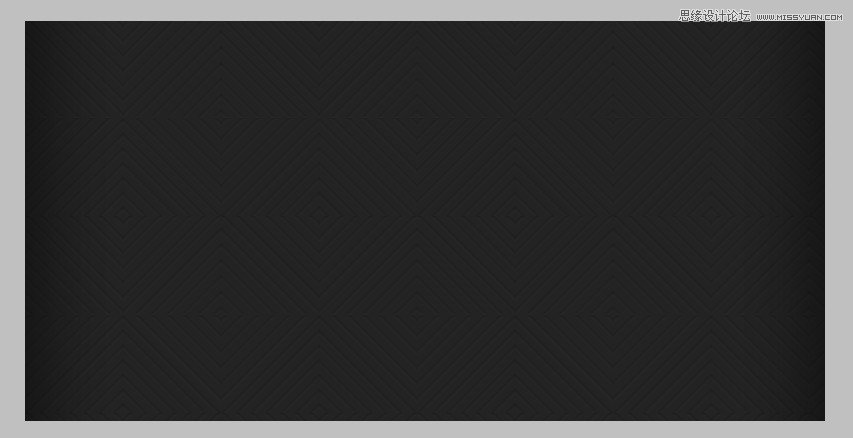
让我们首先创建背景。 把一个新的psd文件,大小的800 x 400像素,并添加一个新层(ctrl + shift + n)与背景颜色# 232323。 。

在新图层上添加图层样式
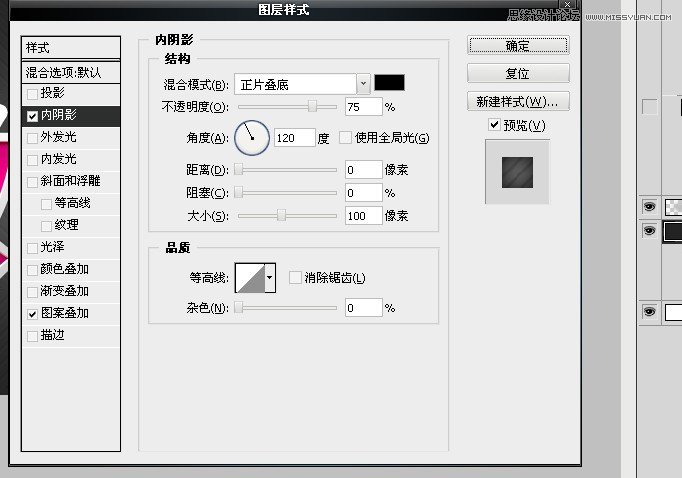
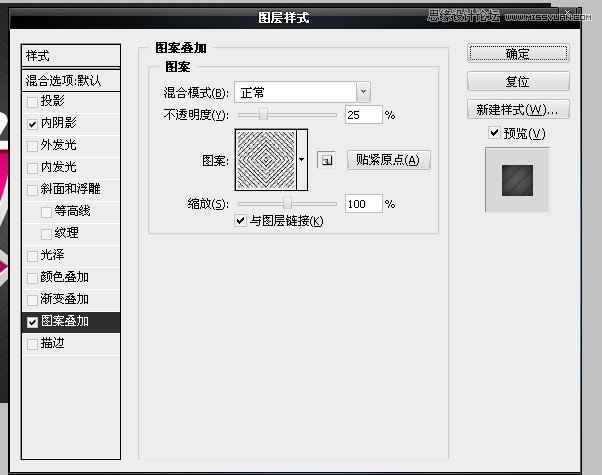
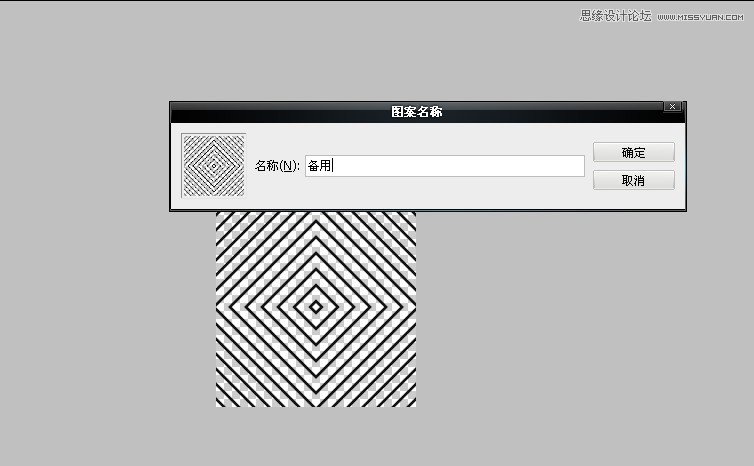
图案叠加
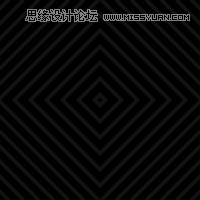
最后的背景
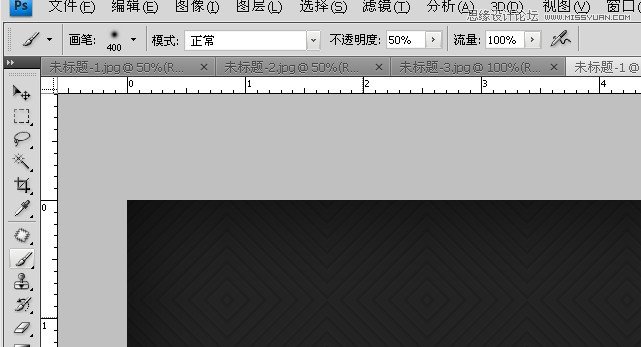
现在给更多的效应背景,把一个新的层和挑选400像素柔软的圆形笔刷。 只需移动鼠标到中心的背景和打一次点击你的鼠标。 你会看到一个白色的补丁,减少其透明度到50%层不透明度选项。 将图层的混合模式设置为颜色减淡。 这里是结果你会得到。

步骤2
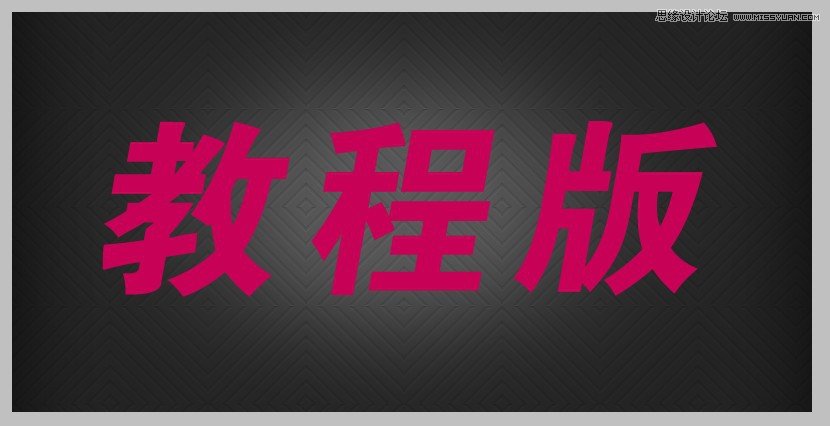
现在,创建的背景,让我们去实际文本效果。 添加文字字体大小115 pt arial。我把黑色斜体的字体。
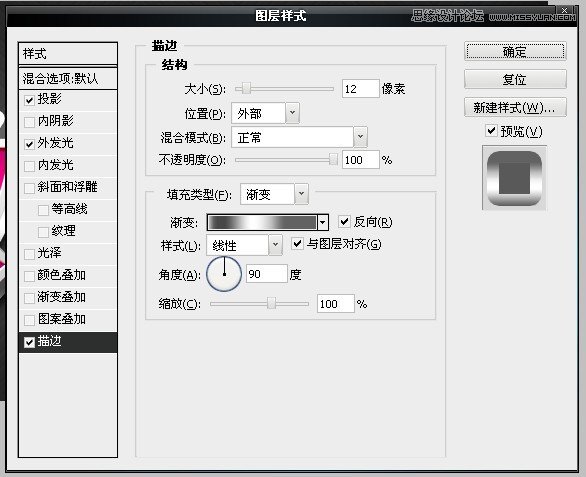
现在在文字图层添加图层样式的混合选项。
步骤3
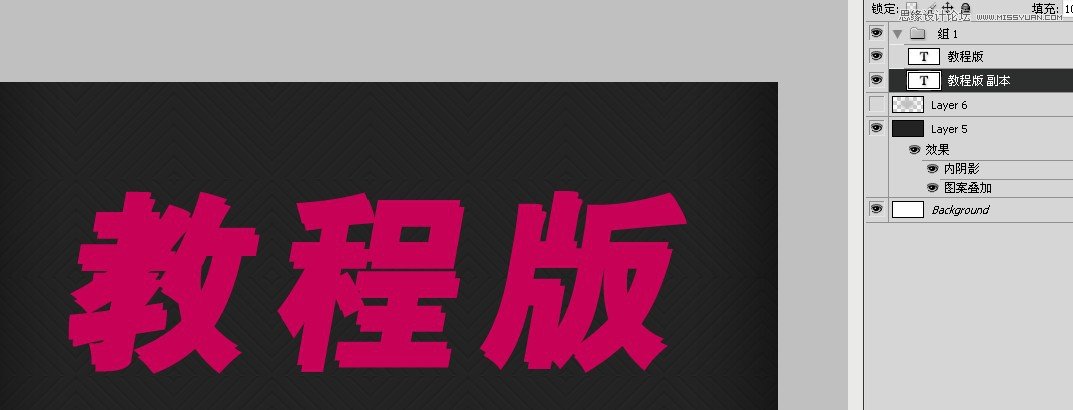
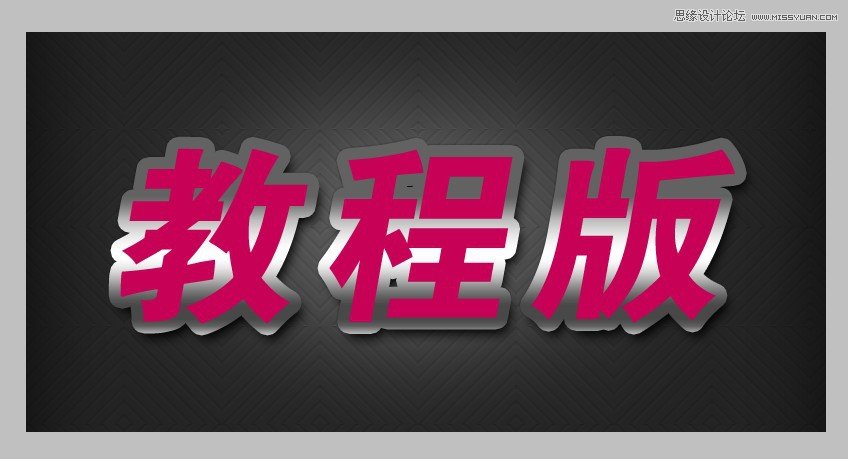
现在复制文字文本层(ctrl + j)和向下移动,将复制来的文字图层(ctrl + {),再用键盘上的箭头键移动按键盘上的向下箭头和右箭头键6次每个。 现在隐藏前3 d的文字图层点击眼睛图标。

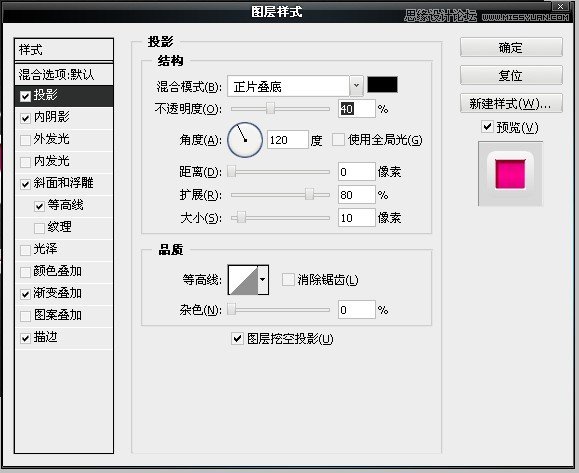
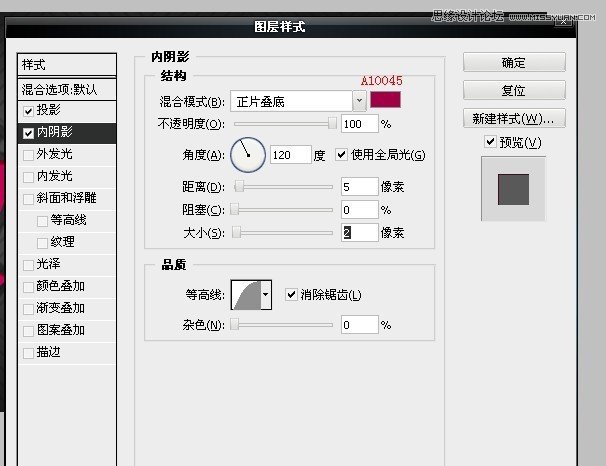
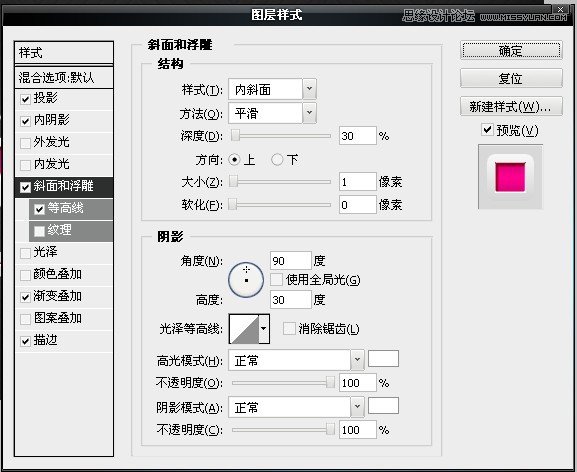
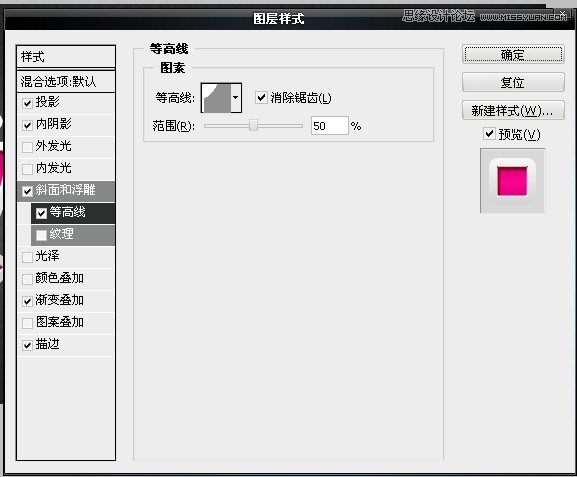
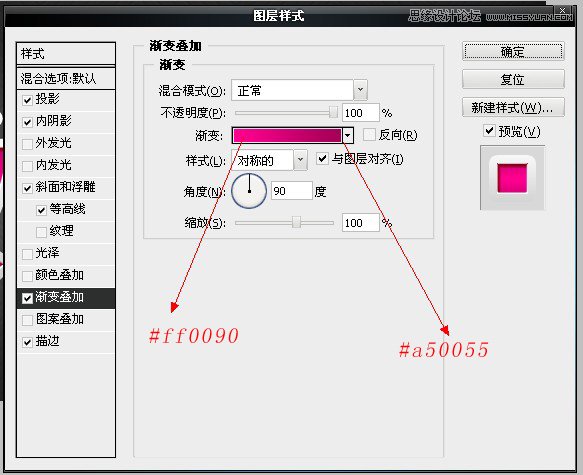
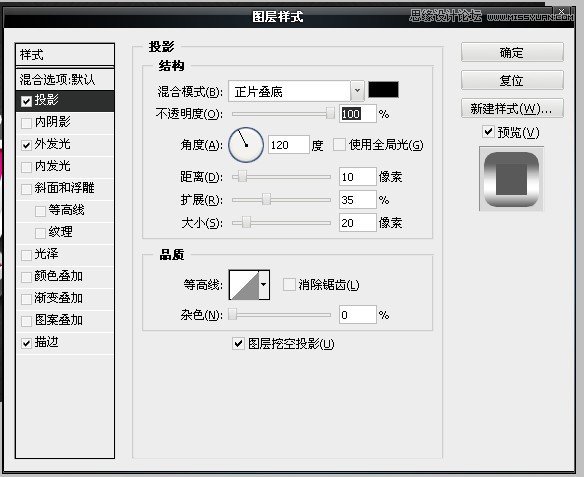
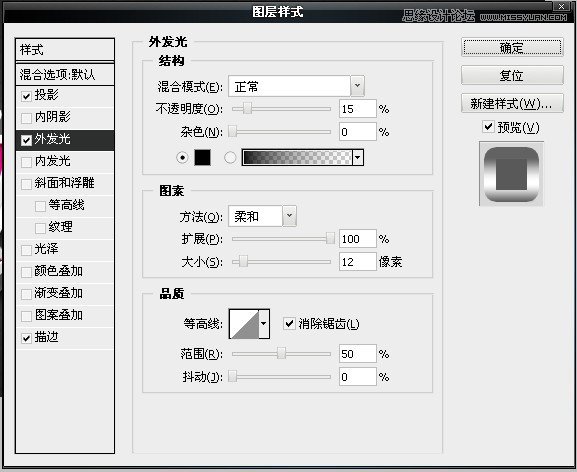
然后在这个文字图层上添加图层样式

得到如下的效果
把之前隐藏的文字图层眼睛点开。得到下面的效果
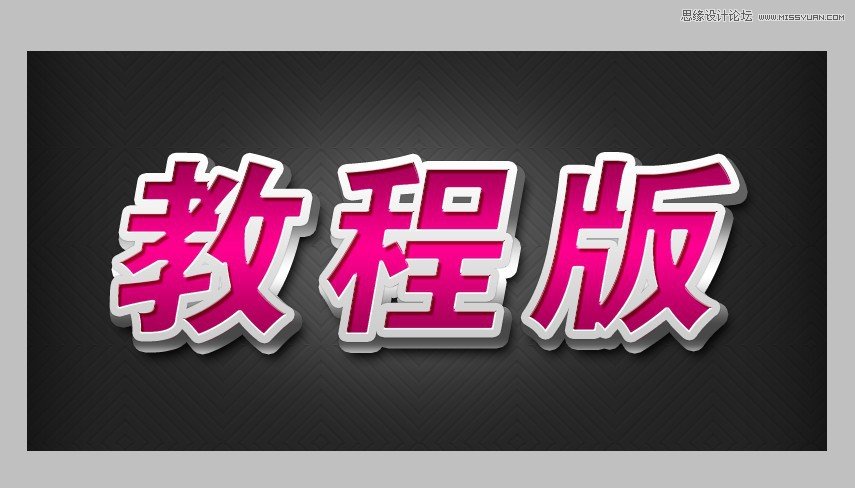
最终效果:
学习 · 提示
相关教程
关注大神微博加入>>


网友求助,请回答!