PS柔美粉紫色调教程
来源:照片处理网
作者:火山
学习:4424人次
教大家给外景美女调出柔美粉紫色调照片效果,主要利用一个纯色层打造出整体颜色,其余细节用可选颜色等来调整,喜欢的同学可以学习一下!
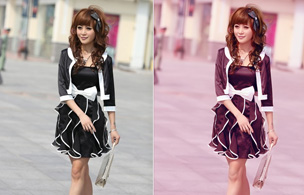
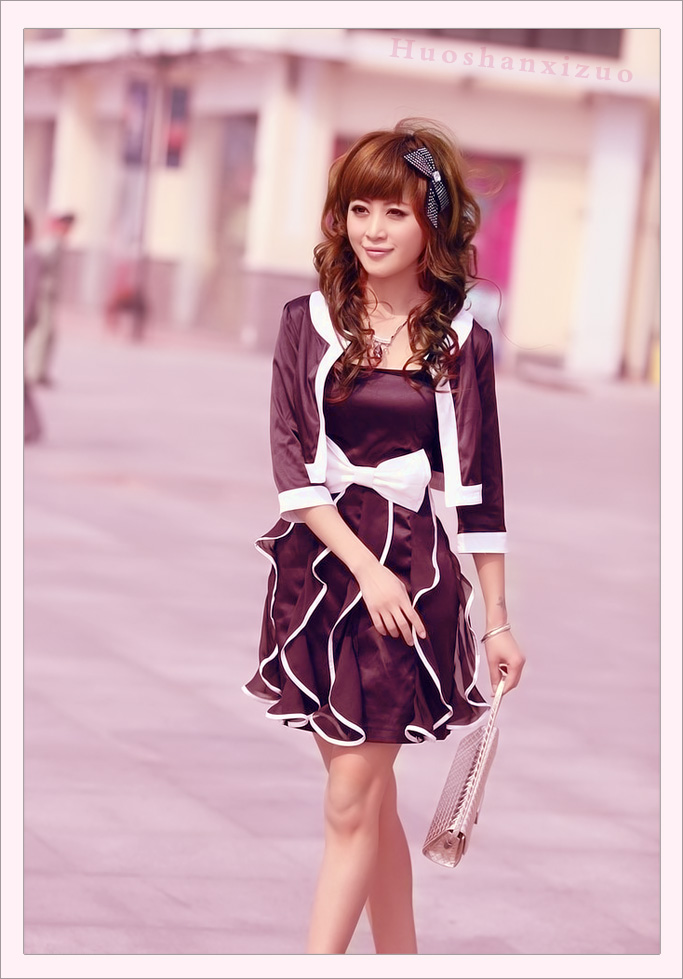
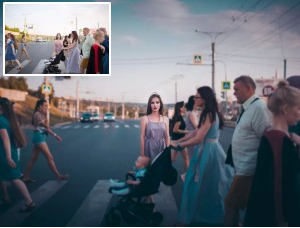
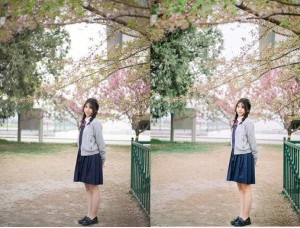
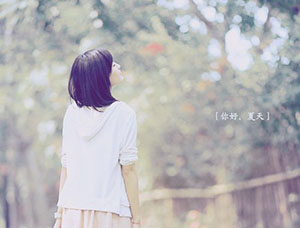
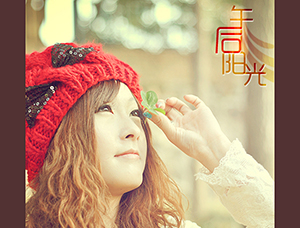
教程效果:
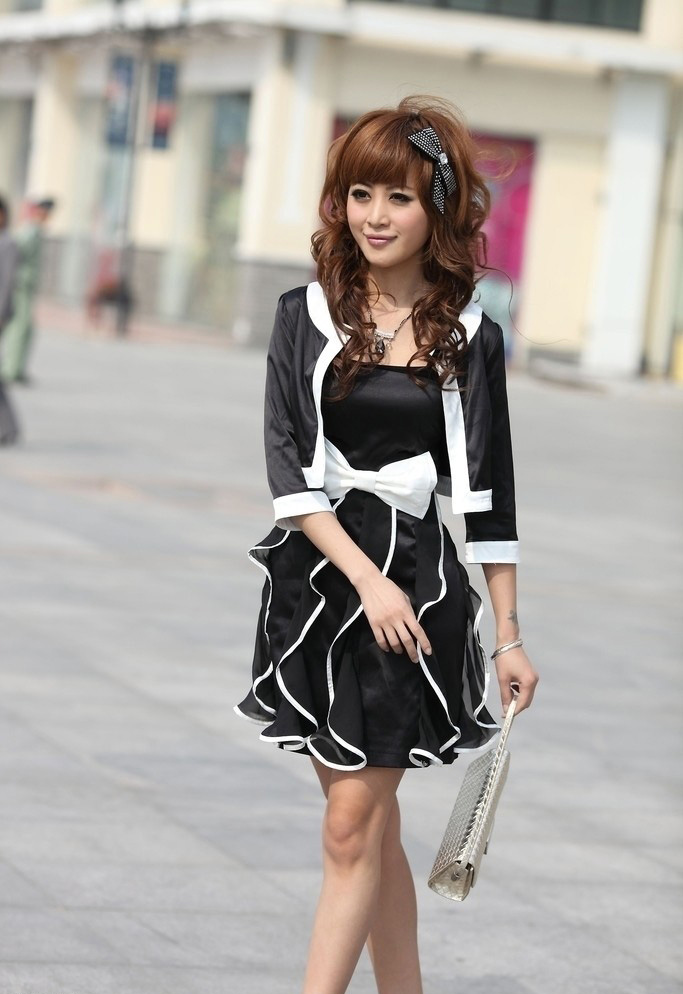
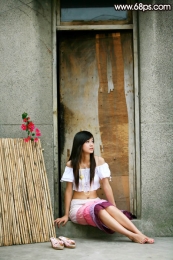
原图:
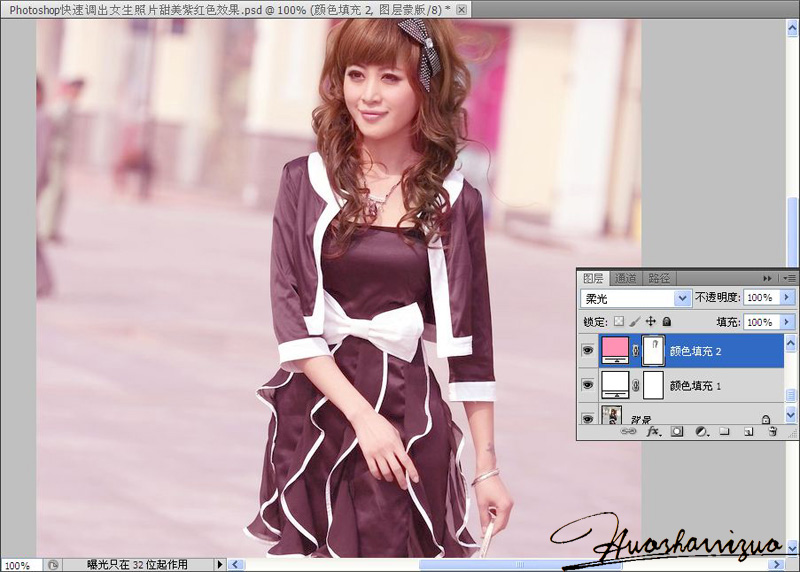
处理过程如下:
1、打开原图,新建纯色填充图层,填充白色,图层模式:柔光,不透明度:25%。这一步主要是整体提亮。

2、再新建纯色填充图层,填充粉红色#FF91B4,图层模式:柔光,然后添加蒙版,用灰色画笔擦一下头发。
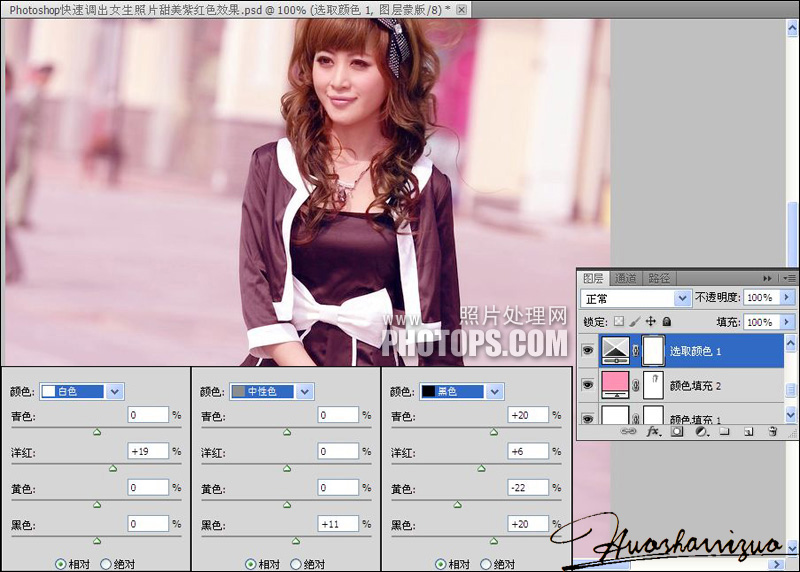
3、新建可选颜色调整图层,调整黑、白、灰。参数、效果如图。
学习 · 提示
相关教程
关注大神微博加入>>

网友求助,请回答!