PS印章设计教程(3)
来源:ps教程网
作者:tataplay尖
学习:18904人次
在photoshop中可以制作各式各样的印章,其中书法家、书画家就经常会给自己刻制一些印章,然后在作品上盖个章,其往往会有较好的视觉效果,本实例“PS设计教程-印章设计”将教大家进行简单的印章设计。

效果图
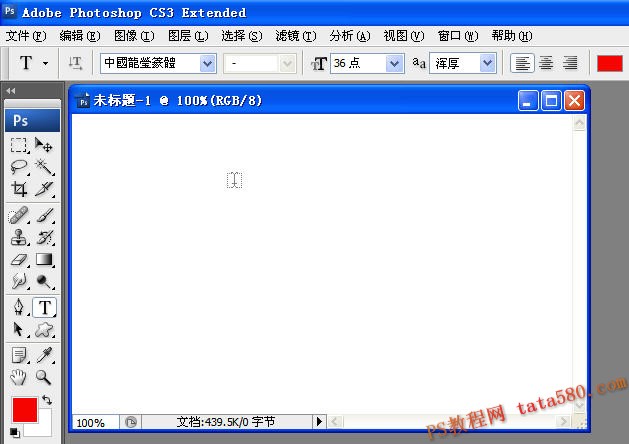
1、打开photoshop,新建一个500*300的空白文档,如下图所示:

2、将字体选择为“中國龍瑩篆體”,如下图所示:
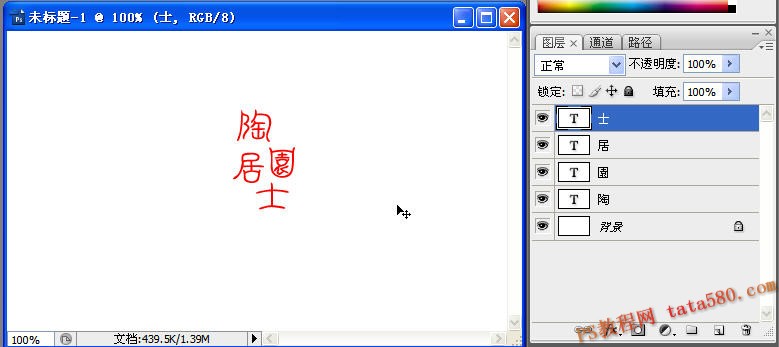
3、分四个文字图层分别打出“陶园居士”四个字,这样比较好调节字的位置,这种字体有些字是打不出来的,比如园,只能打成繁体字“園”,大家可以将输入法切换成繁体输入一般就可以直接打了,如下图所示:
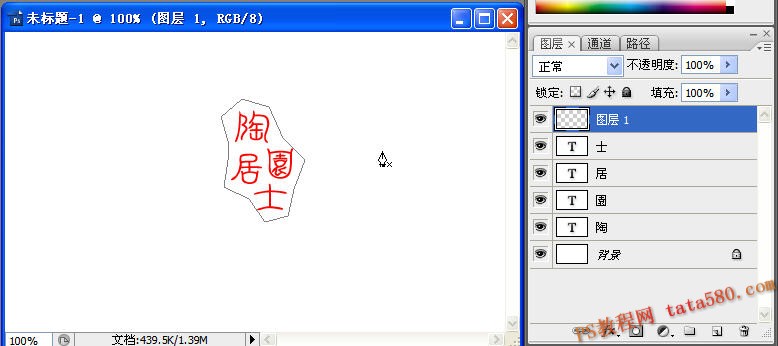
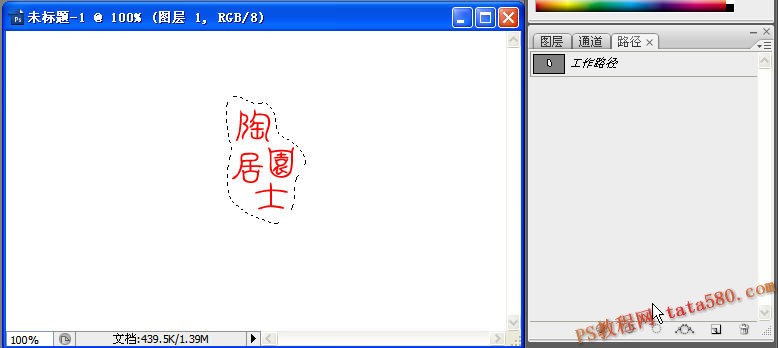
4、新建一个图层1,利用钢笔工具画出如下路径:
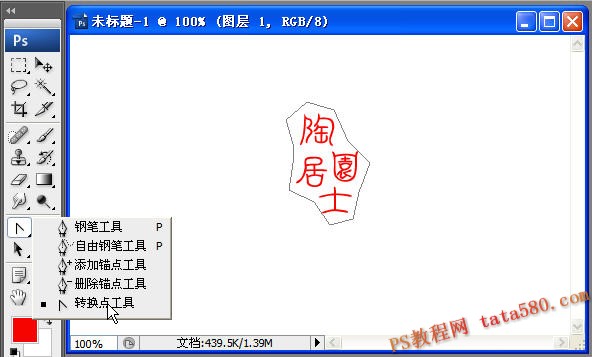
5、选择“转换点工具”,如下图所示:
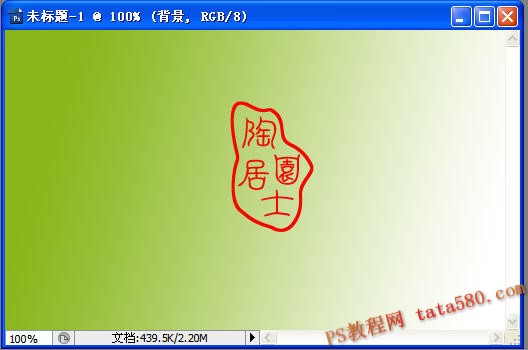
6、利用转换点工具对路径进行适当调节,之后将路径转换成选区,如下图所示:
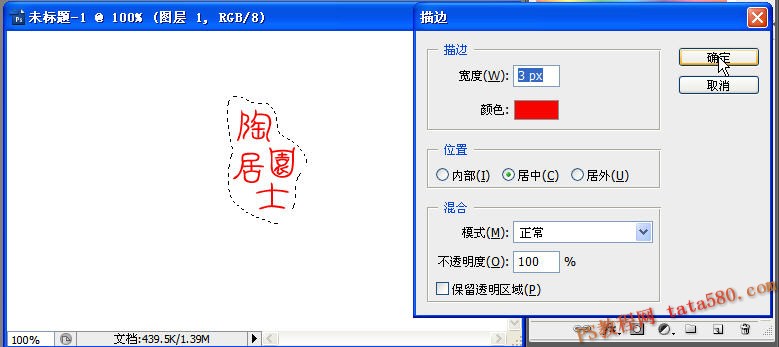
7、选择菜单“编辑->描边”,设置如下图所示:
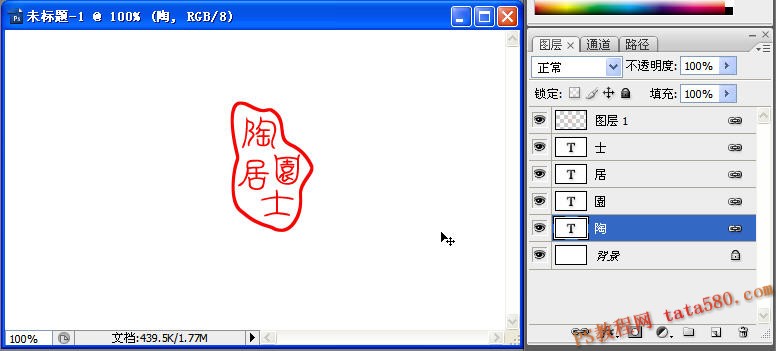
8、将除背景图层外的其它图层全部链接为链接图层,如下图所示:
9、最后利用渐变工具将背景进行适当的填充,效果如下:
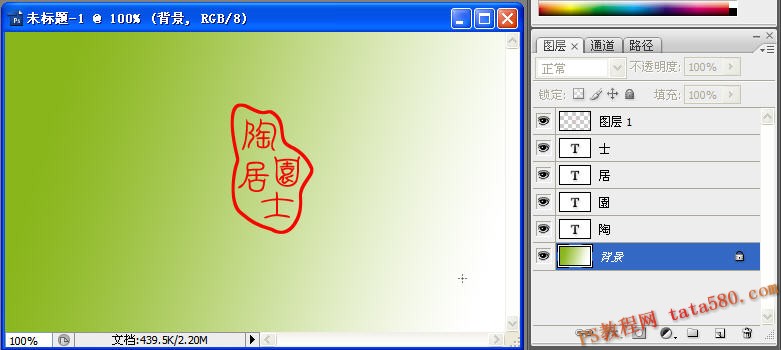
10、最终的效果如下图所示,读者可以根据自己的需要进行改变扩展。
学习 · 提示
相关教程
关注大神微博加入>>


网友求助,请回答!