ps做纹身效果(4)
来源:网络
作者:xiao5217
学习:22133人次
介绍用PhotoShop给性感美女添加超酷蝎子纹身效果,比较简单,适合新手,主要应用了变形工具以及图层模式的设置。
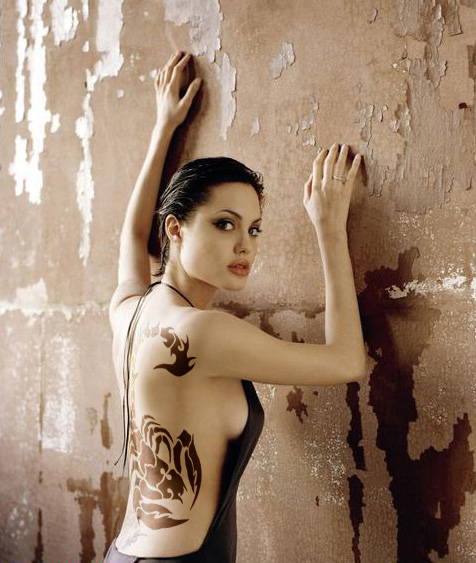
效果图:
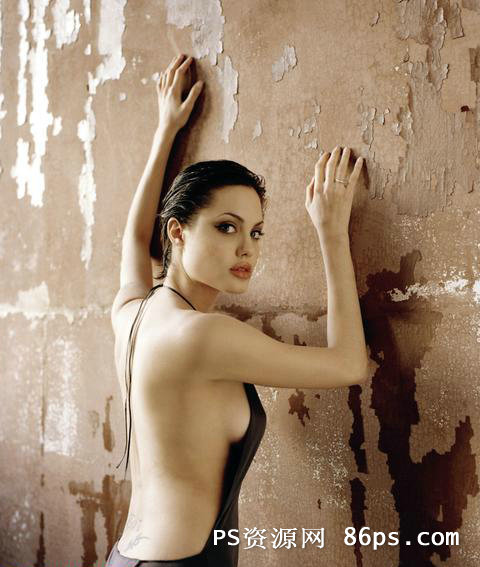
原图:
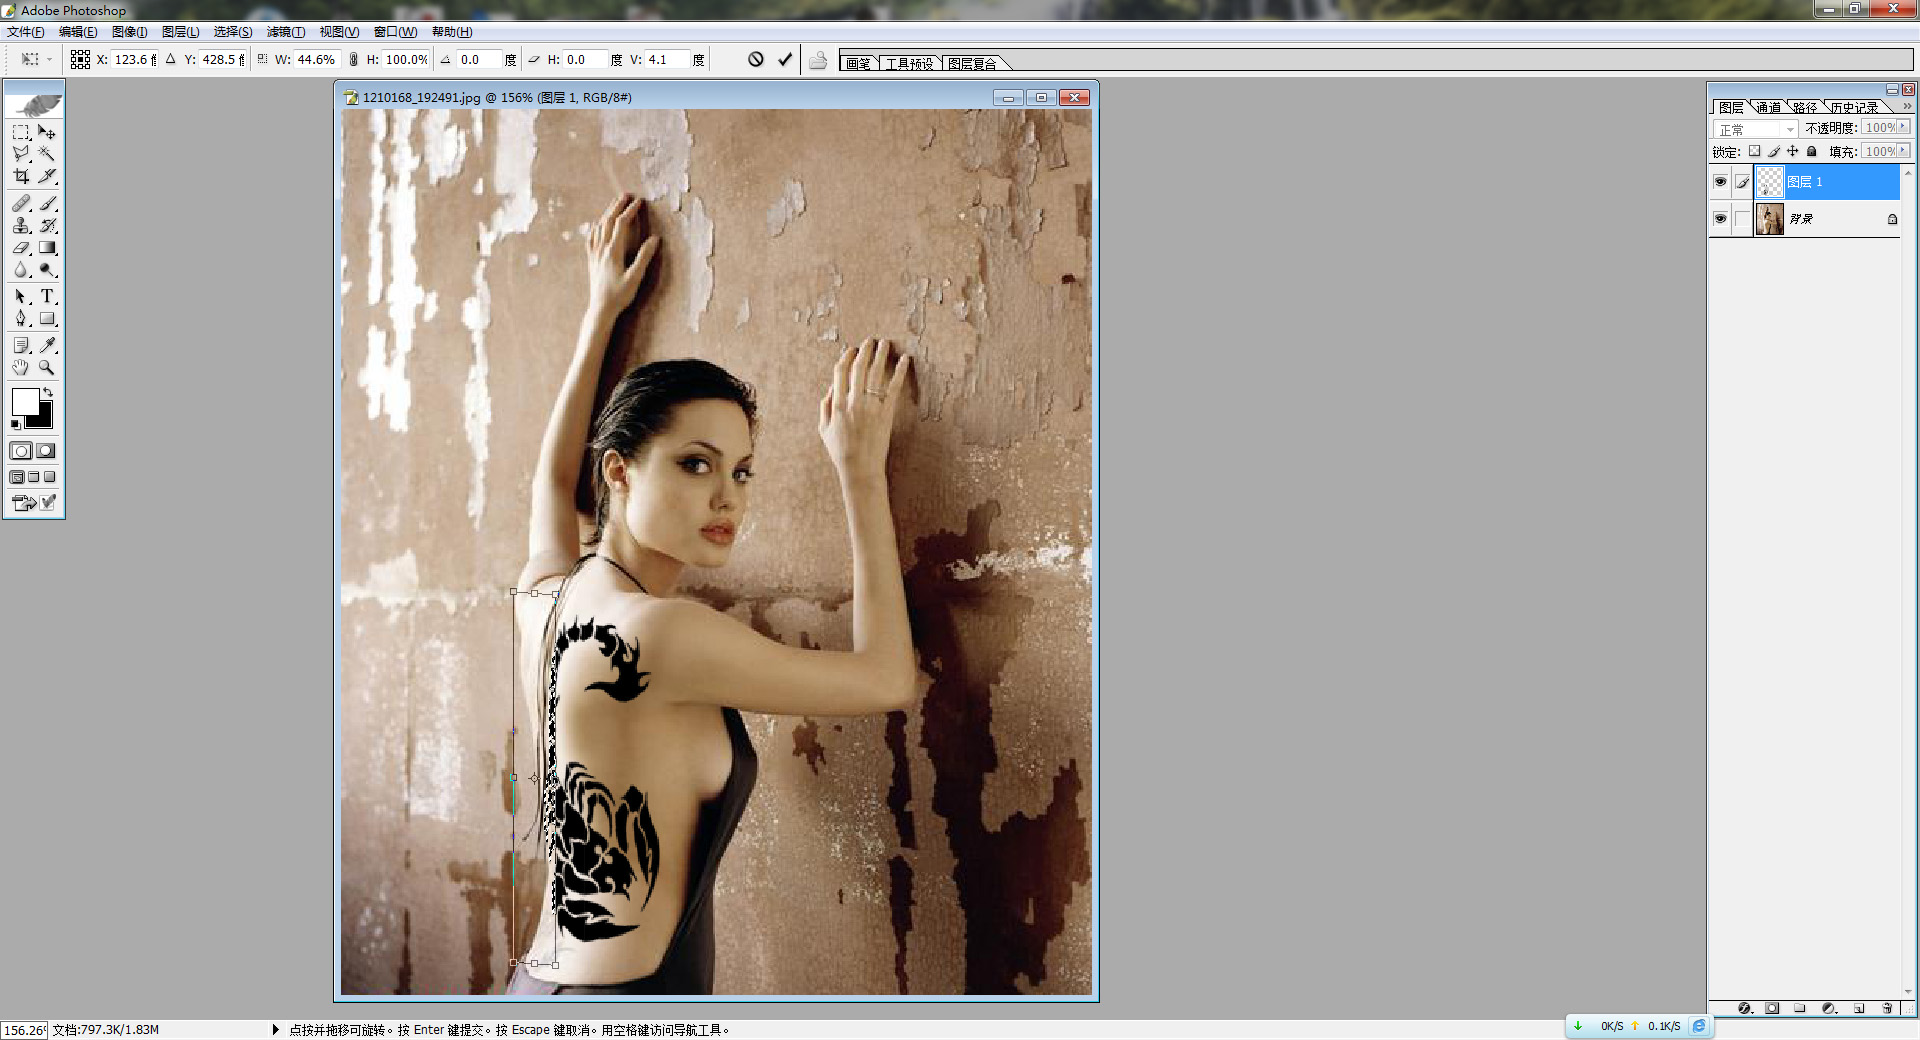
素材:

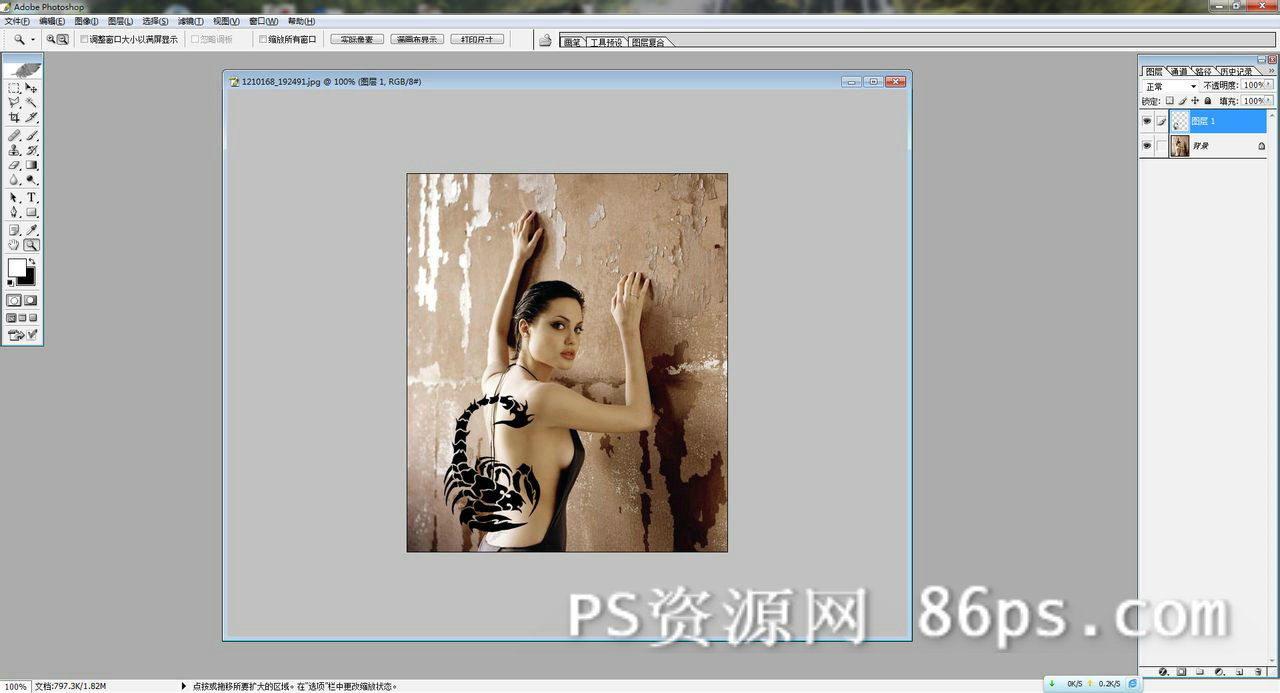
先把蝎子抠出来,随你用什么方法,要抠干净,ctrl+t到合适大小和位置
然后略为压扁,蝎子右边部分不要失真
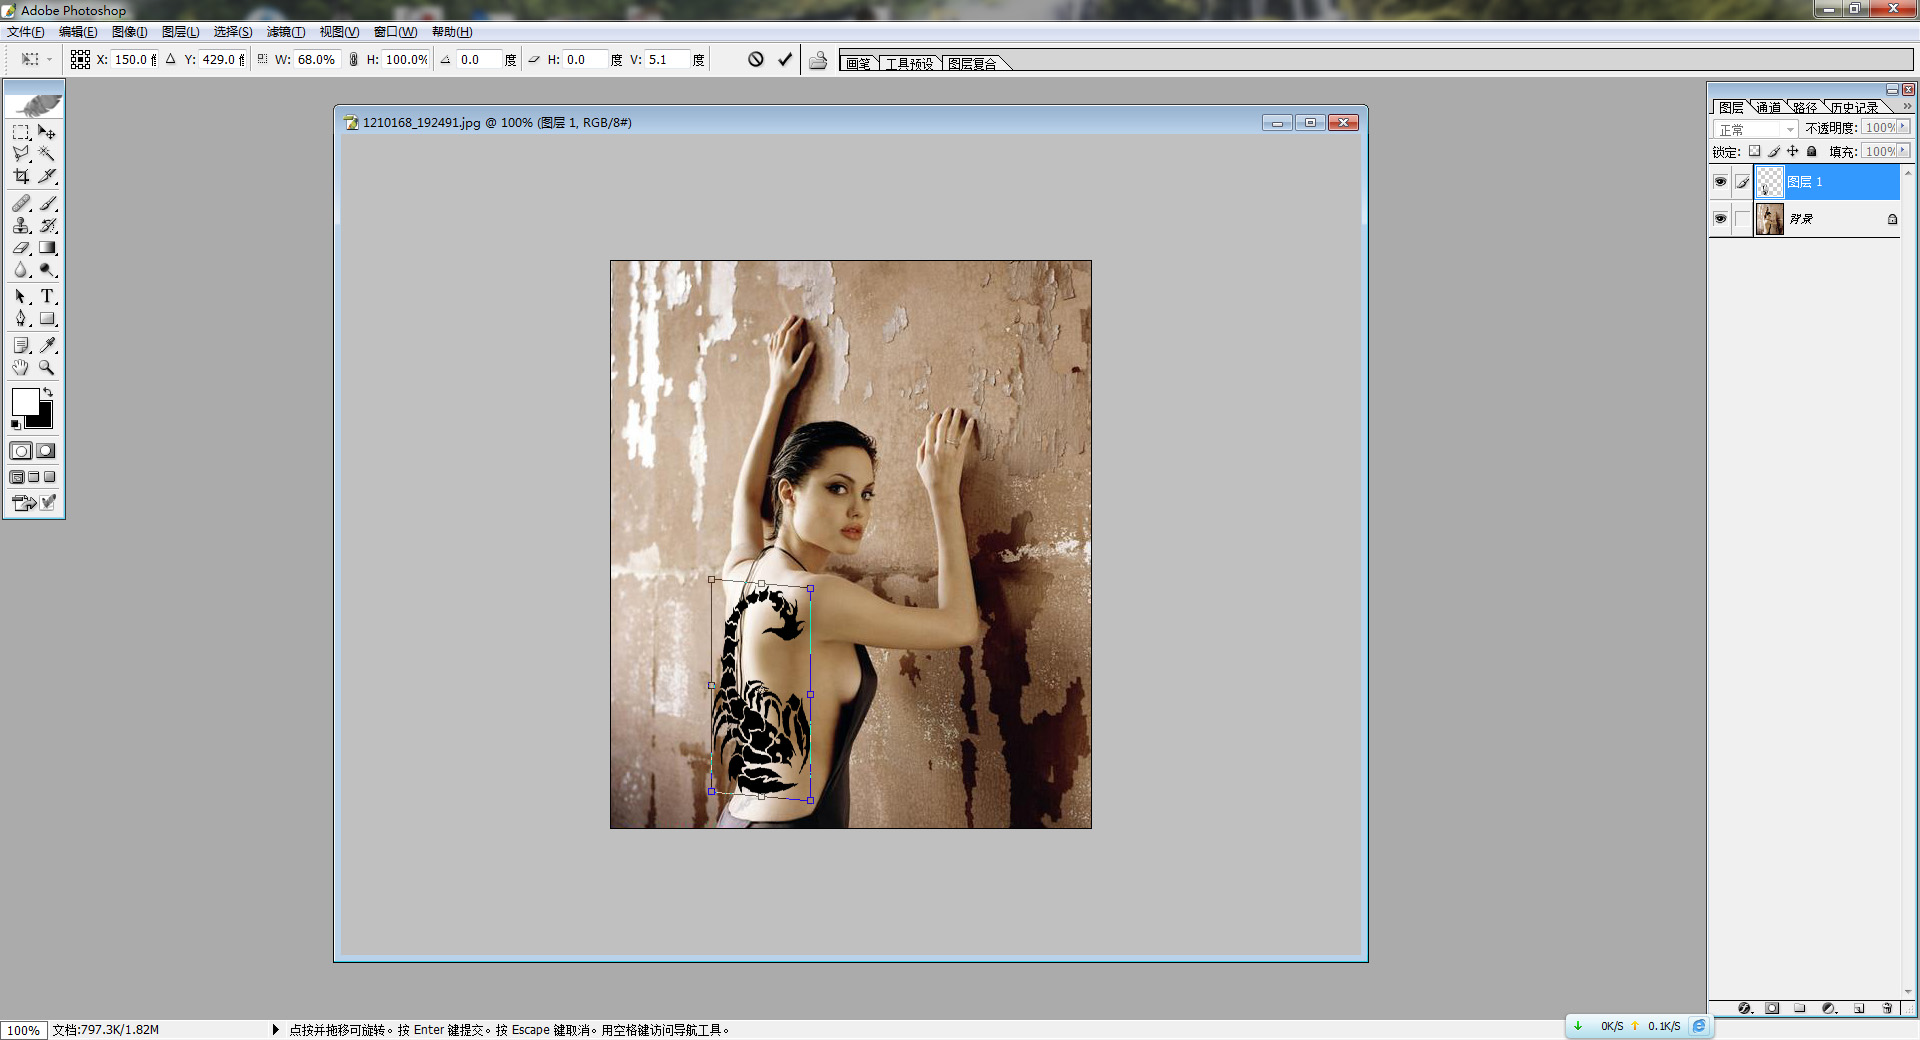
矩形M到左边一半,ctrl+t继续压扁

矩形M到左边1/4,ctrl+t继续压扁
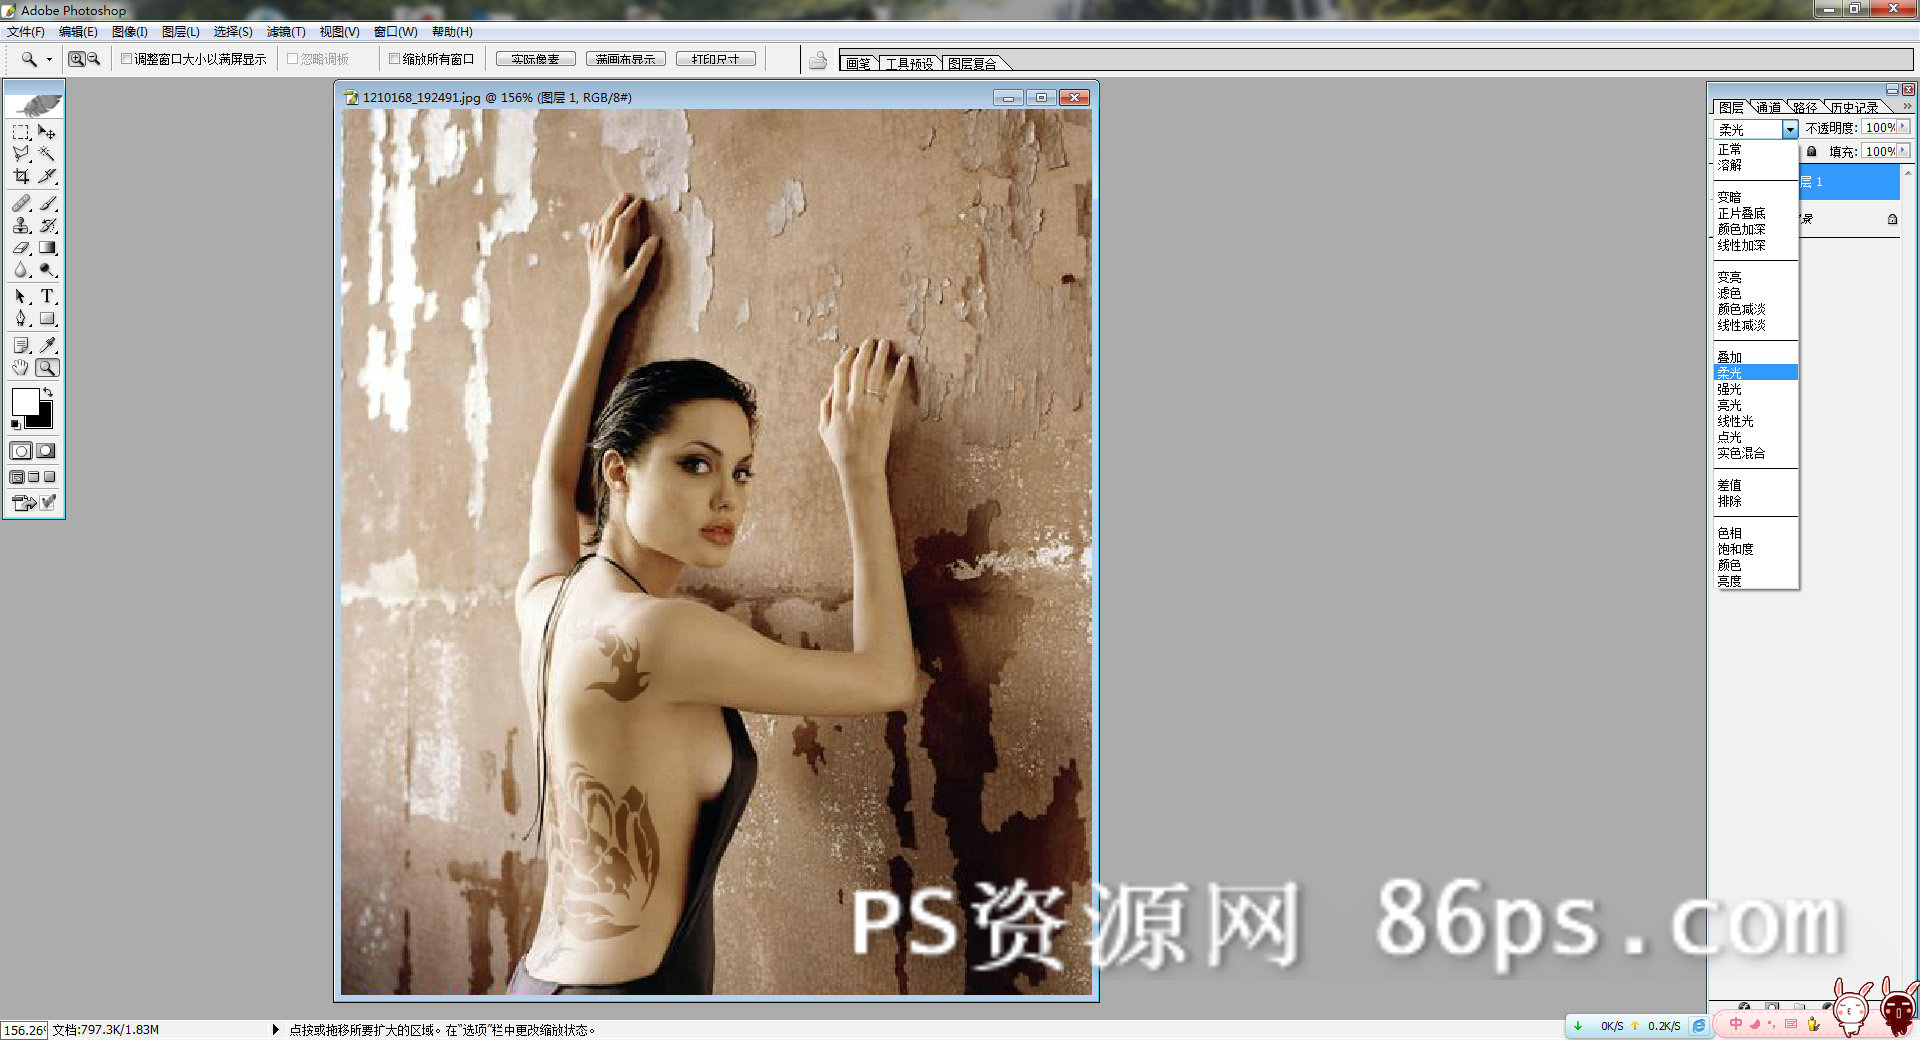
蝎子图层选择柔光
ctrl+j再复制一层
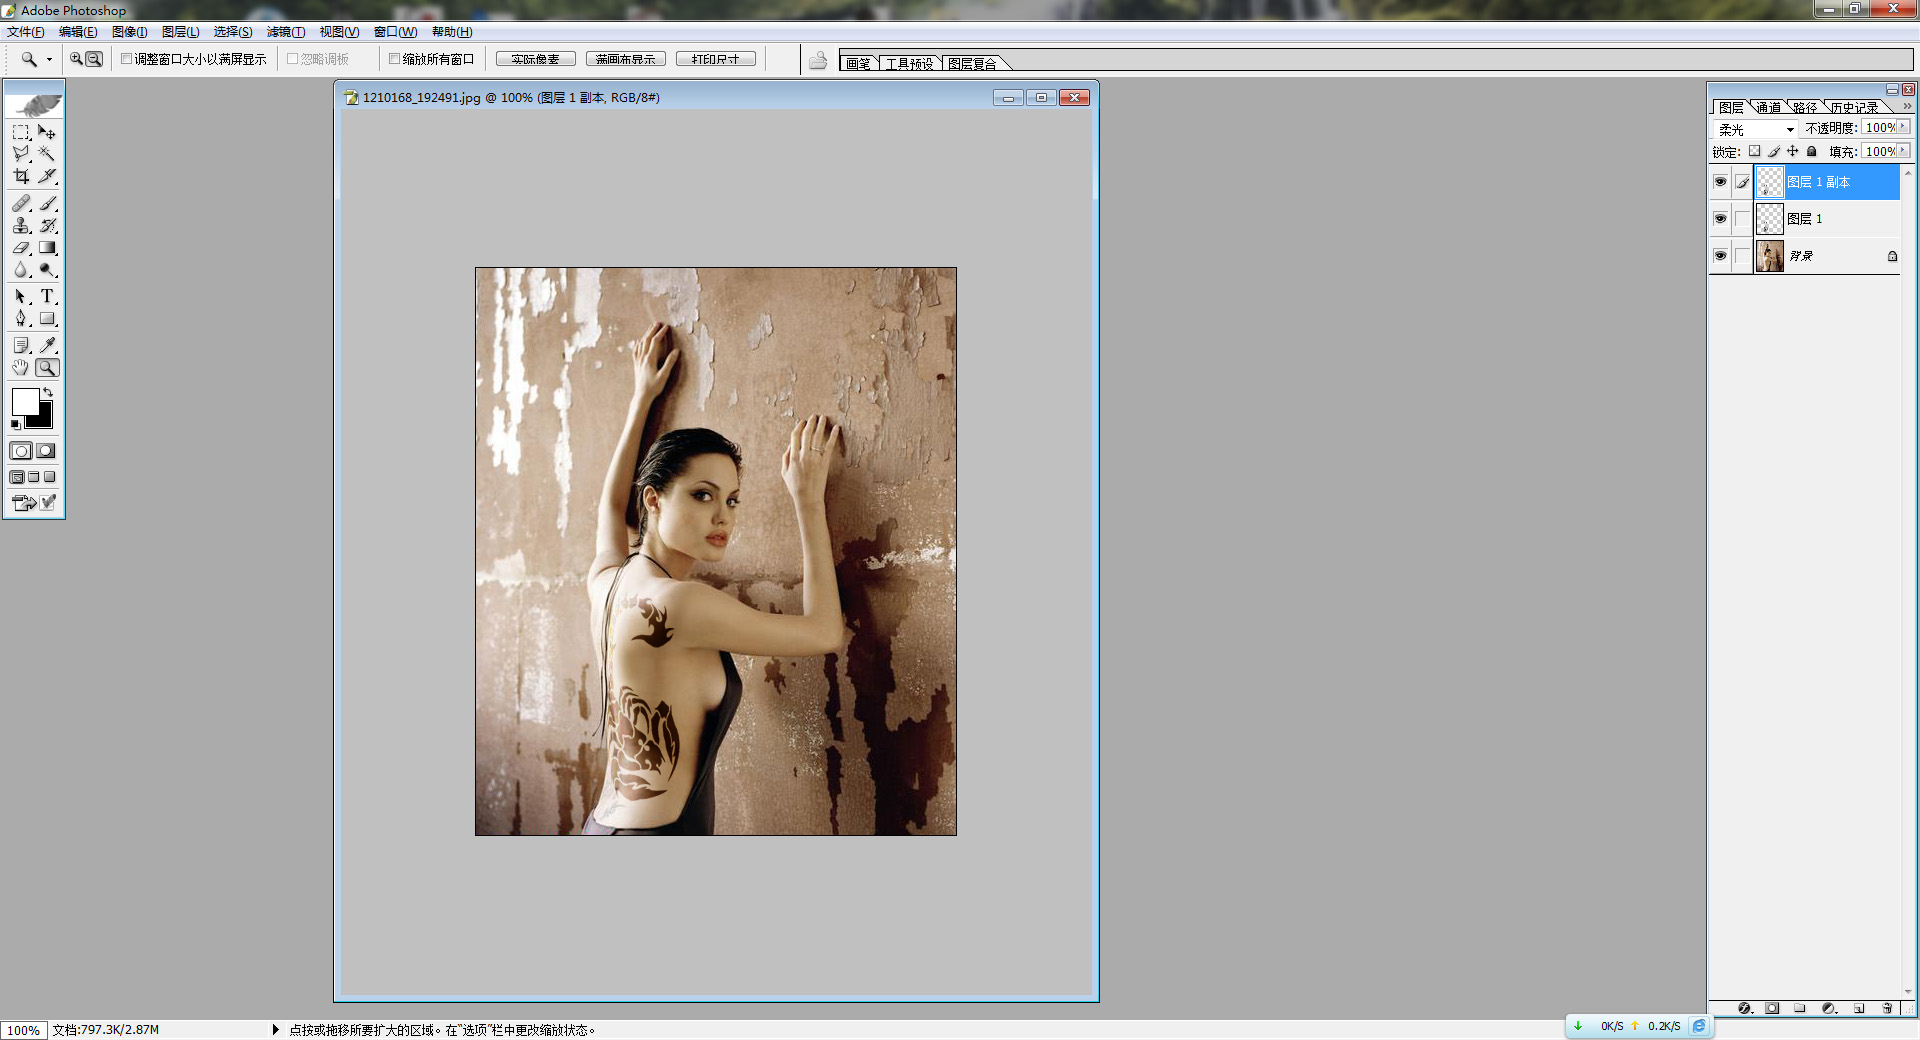
这样就完成了!
学习 · 提示
相关教程
关注大神微博加入>>


网友求助,请回答!