ps绘制绚丽梦幻的循环播放按钮教程(3)
来源:PS学堂
作者:有烟飘过
学习:4661人次
10.给图层设置图层样式,设置如下:
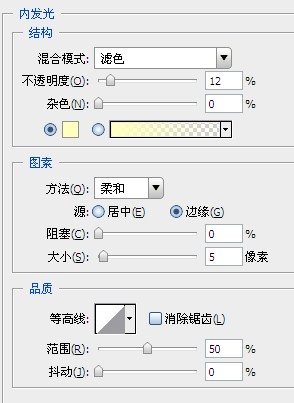
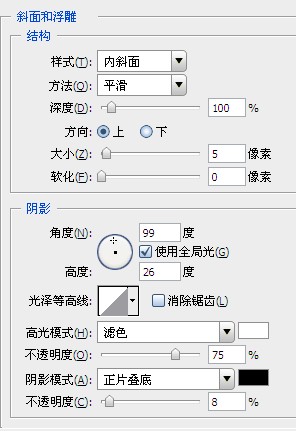


拷贝图层样式,到电线图层,粘贴图层样式

11.现在我们给整体添加梦幻的高光效果,按住ctrl键点击黄色图层,得到圆形选区。新建图层,用柔软画笔点一下,取消选区,将图层像右移动一点,
得到效果如下

12另一边同样的方法:

13。选择画笔工具,窗口--画笔,进行以下设置;
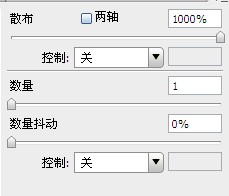
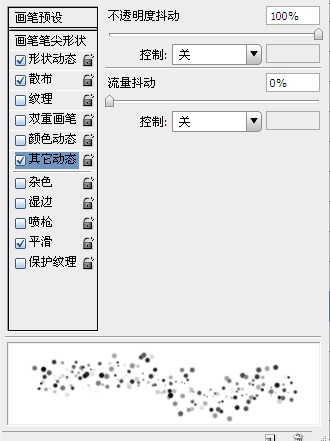
14.画出高光,自己尝试用不同的颜色刷出背景高光。

15.最后在最上面新增调整图层--色彩平衡,设置如下:
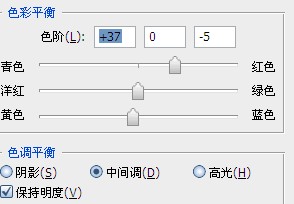
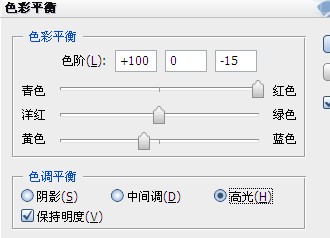
16.最后做整体调整,完工。

学习 · 提示
相关教程
关注大神微博加入>>


网友求助,请回答!