ps打造超炫光束教程(3)
来源:网络
作者:网页教学网
学习:11442人次
教程为大家介绍使用ps滤镜打造绚丽光束,主要制作方法是从简单的一个光源开始,多次经过变形及调色,最终变成绚丽的彩色光束。下面大家一起来试做一下吧。
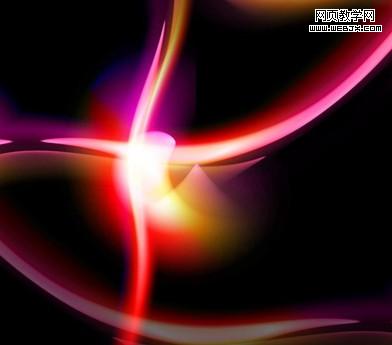
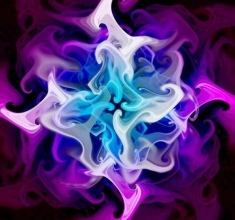
教程最终效果
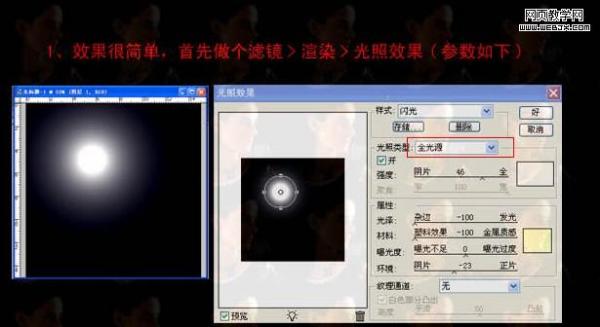
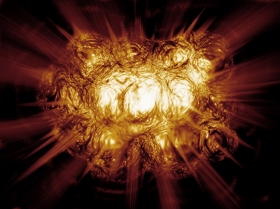
1、新建一个800 * 800 像素的文件,背景填充黑色,然后执行:滤镜 > 渲染 > 镜头光晕,参数设置如下图。
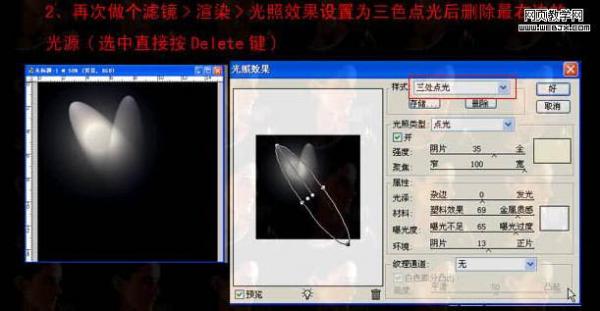
2、再执行:滤镜 > 渲染 > 光照效果,设置为3色点光后删除最右边的光源(选中直接按Delete 删除)。
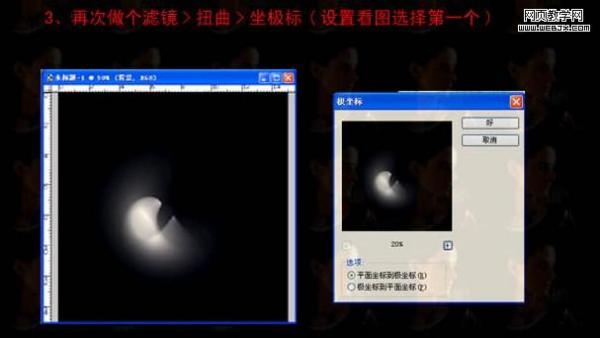
3、执行:滤镜 > 扭曲 > 极坐标,选中平面坐标到极坐标。
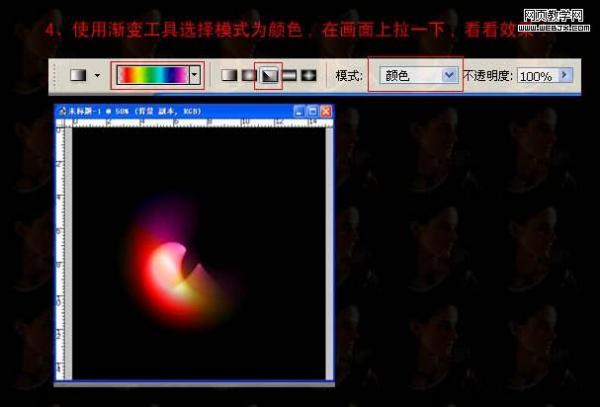
4、选中渐变工具,模式设置为颜色,渐变方式为角度渐变,然后在画面上拉出下图所示的效果。
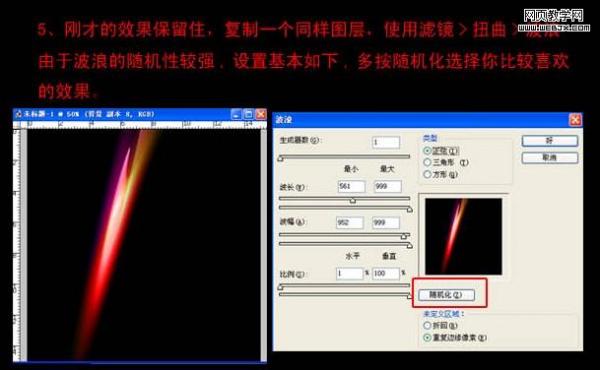
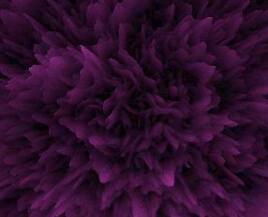
5、把刚才的图层保留,复制一个同样的图层,执行:滤镜 > 扭曲 > 波浪,由于波浪的随机性较强,设置基本如下图。
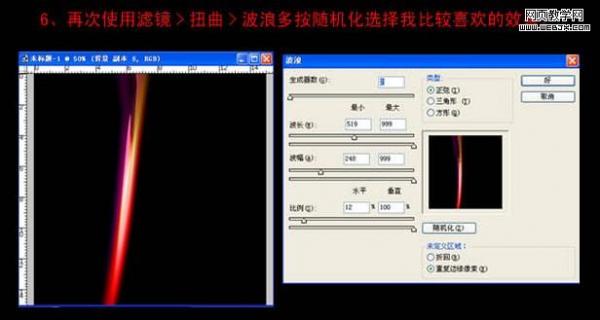
6、再次执行:滤镜 > 扭曲 > 极坐标,参数设置如下图,确定后按Ctrl + F 多试几次选择自己满意的效果。
7、执行:滤镜 > 扭曲 > 切变,调出自己比较喜欢的效果。

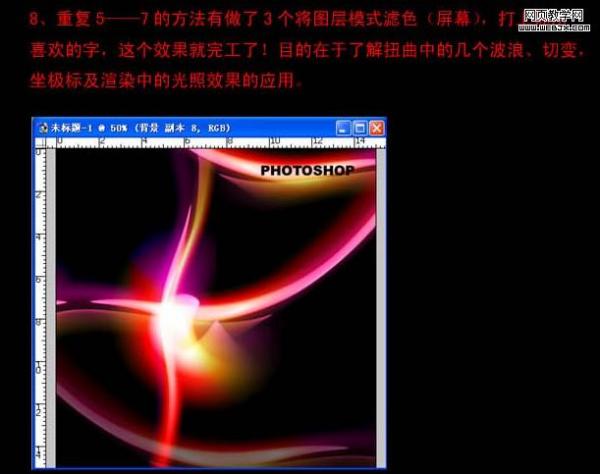
8、重复5-7步骤,多制作几组效果,然后适当调整好角度及颜色。再把各图层混合模式改为“滤色”效果就出来了。
学习 · 提示
相关教程
关注大神微博加入>>


网友求助,请回答!