ps个性欧洲杯logo标志(7)
目前正进行的如火如荼的欧洲杯,让全世界男人疯狂,顶着个熊猫眼也无所谓,只为看那英姿煞爽的身影,那么我们今天也为大家带来一个个性十足的欧洲杯logo吧!让欧洲杯的气氛来的更猛烈点!
工具/原料
photoshop软件
步骤/方法
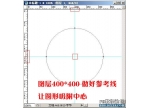
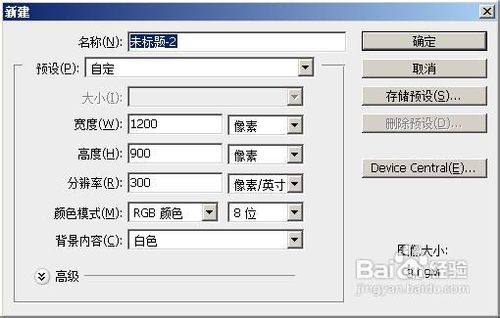
打开photoshop软件,按下ctrl+n,新建一个文件,设置参数如图所示,然后点击确定按钮
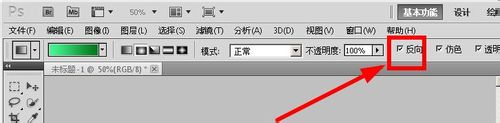
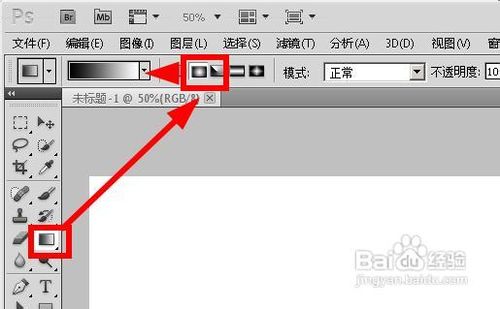
使用渐变工具,选中【中心渐变】,勾选【反向】,然后点击渐变条,改变渐变颜色。
在渐变编辑器中,我们双击色标就可以打开拾色器,我们设置为深绿到浅绿的渐变。
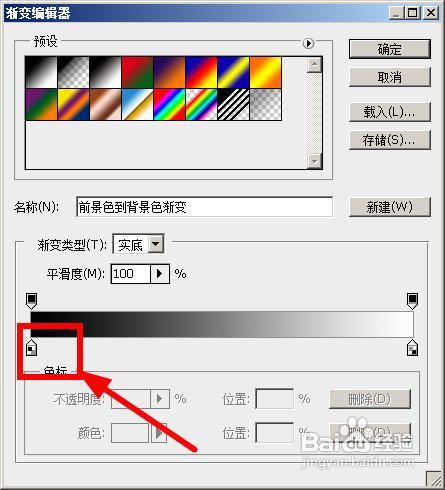
如图所示拖动鼠标,可以添加一个渐变的颜色
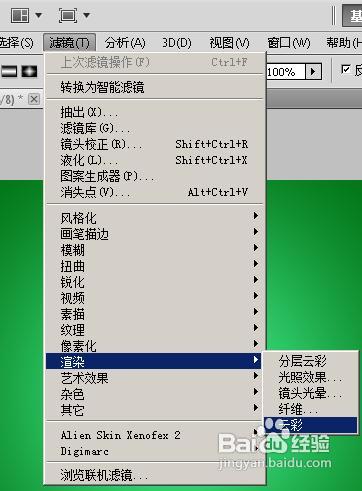
设置前景色和背景色分别为黑色和白色

在菜单栏上执行:滤镜--渲染--云彩
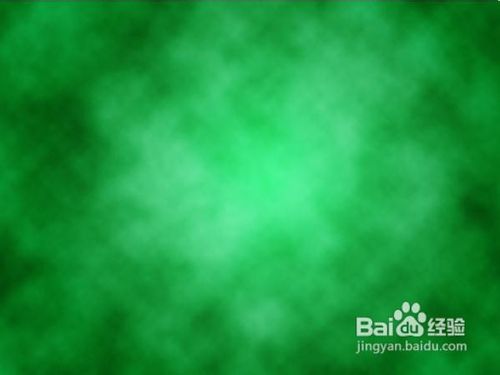
设置该图层的混合模式为:柔光

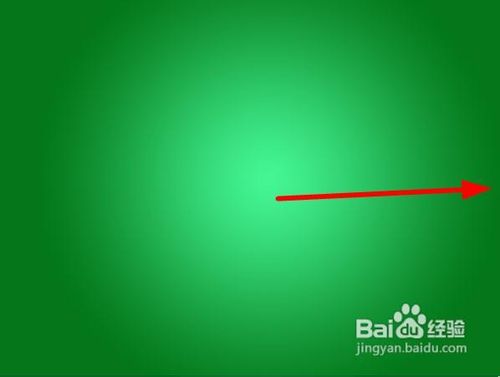
我们看到这个效果图如下:
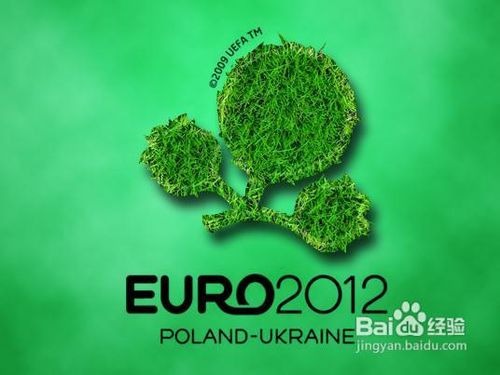
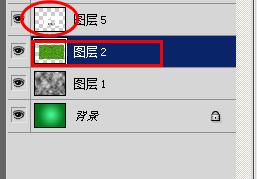
接着打开两张图,一张是欧洲杯的logo,一张是草坪,都拖动到该文件中,形成新的图层。
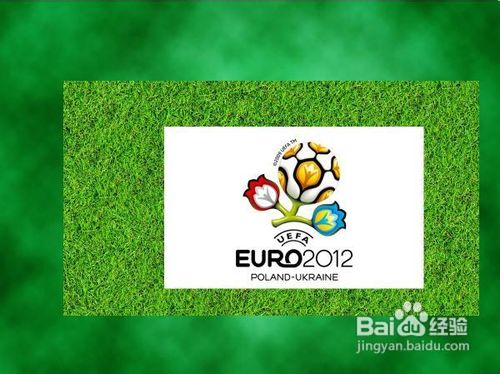
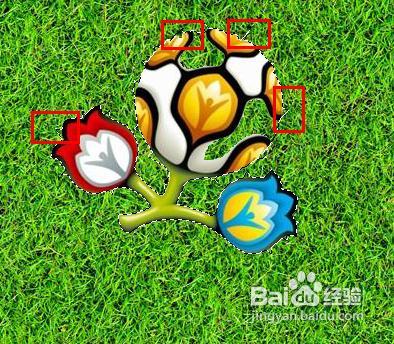
用橡皮擦擦去多余的文字

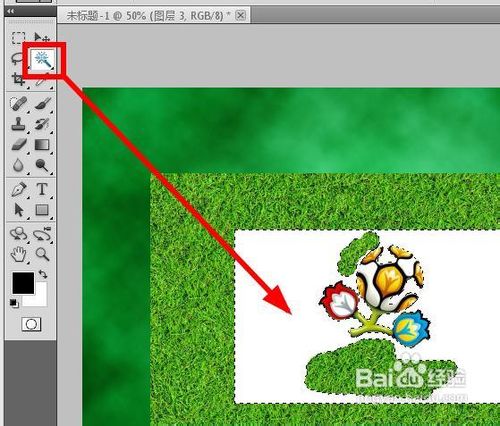
使用魔术棒工具,点击白色的区域,选中白色的区域,然后按下delete键,删除白色部分。

选中草坪所在的图层,按下ctrl键,鼠标点击logo所在的图层的缩略图,载入logo选区
使用【多边形套索工具】,按下shift键,将选区的边缘画出一些突出的刺,显出草坪的质感。
按下ctrl+j,快速的复制选区,并建立新的图层,隐藏草坪所在的图层。

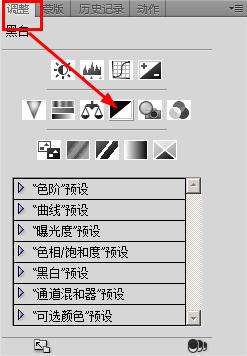
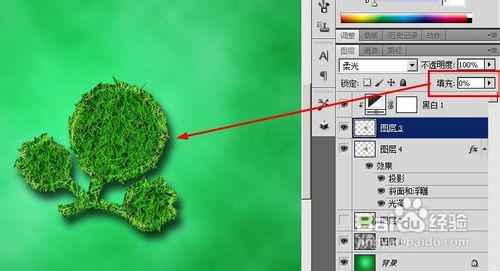
在调整面板中,点击【黑白】选项
按下alt键,鼠标点击图层3,黑白效果值运用到图层3,也就是logo所在的图层
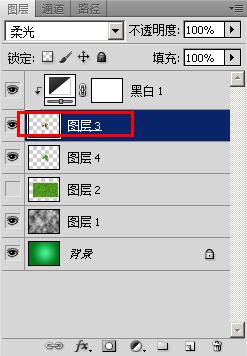
将图层3的混合模式设置为【柔光】
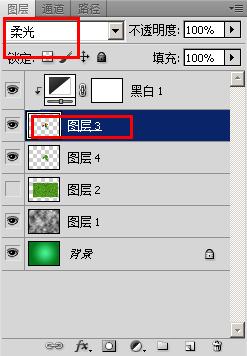
我们看到目前的效果图:如果你不喜欢有纹理的logo,你可以隐藏图层3.

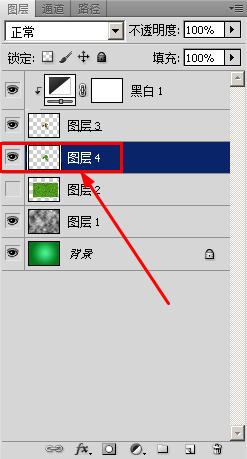
双击图层4,也就是有logo形状的草坪,打开图层样式对话框
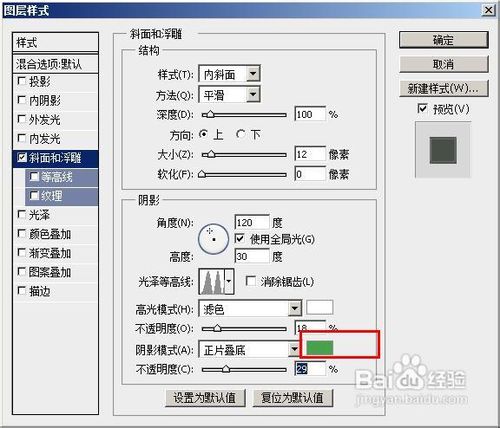
先勾选【斜面和浮雕】,设置参数如图所示
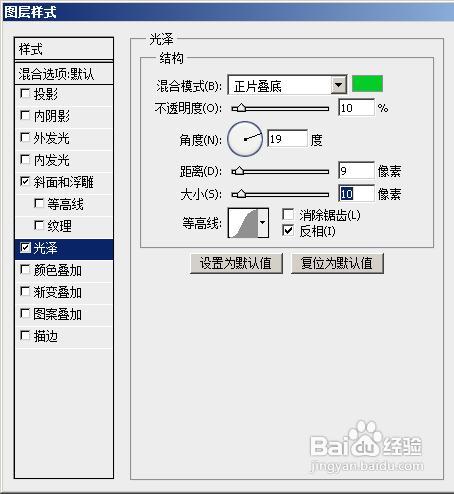
勾选【光泽】选项,设置参数如图所示
勾选投影选项,设置参数如图所示,然后点击确定按钮
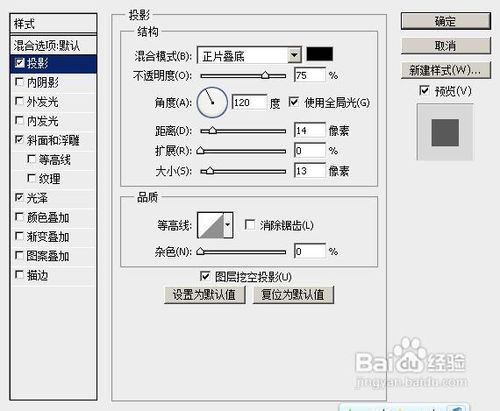
基本的样式已经出现了:

如果你不喜欢有纹理的logo,你可以隐藏图层3,也就是logo所在的图层
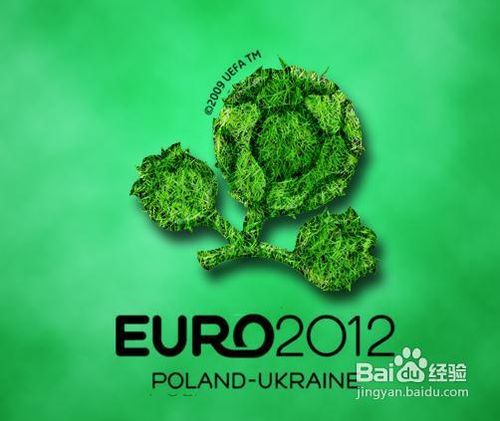
添加文字以后,我们就看到最后的个性标志了:

学习 · 提示
相关教程