Photoshop调色教程:冷艳汤唯倾情演绎
来源:未知
作者:bbs.16xx8.com
学习:702人次
作者:零丁 出处:中国风
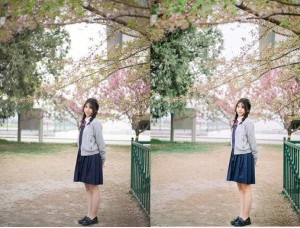
冷艳汤唯倾情演绎效果图:

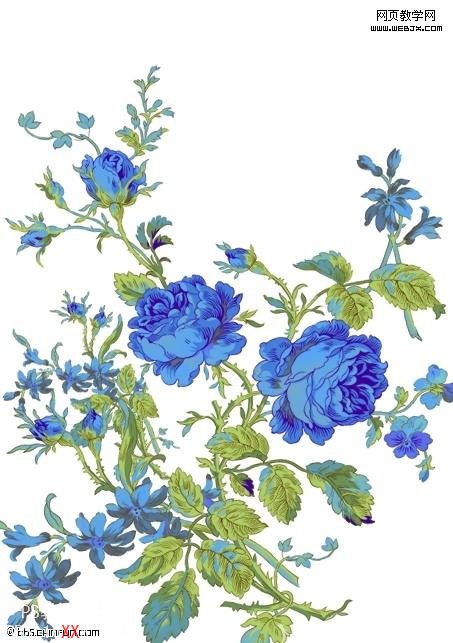
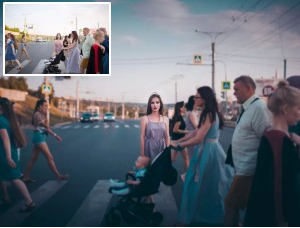
素材:
原图:
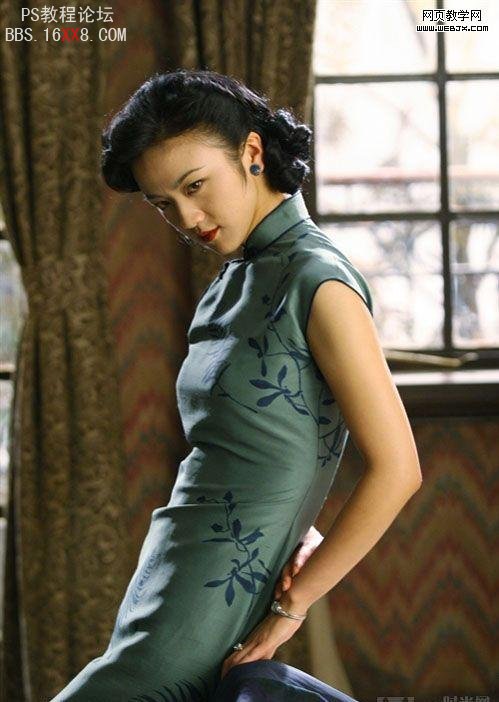
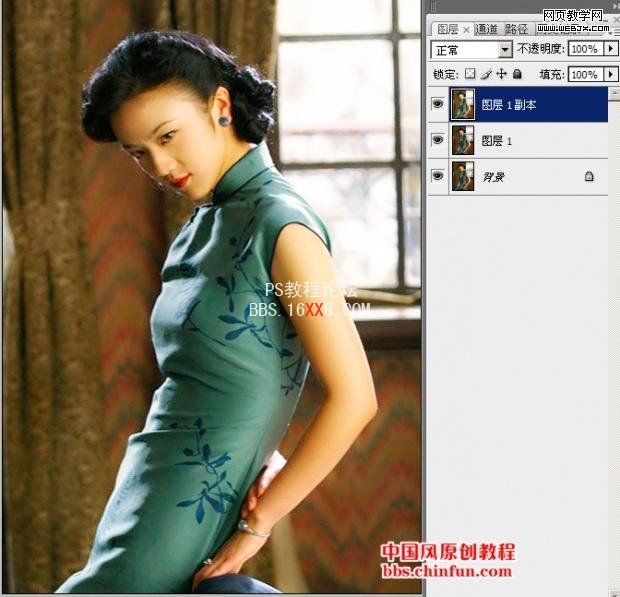
一、对人物简单魔皮处理(关于磨皮可以参考网上的教程,在此不细说)!
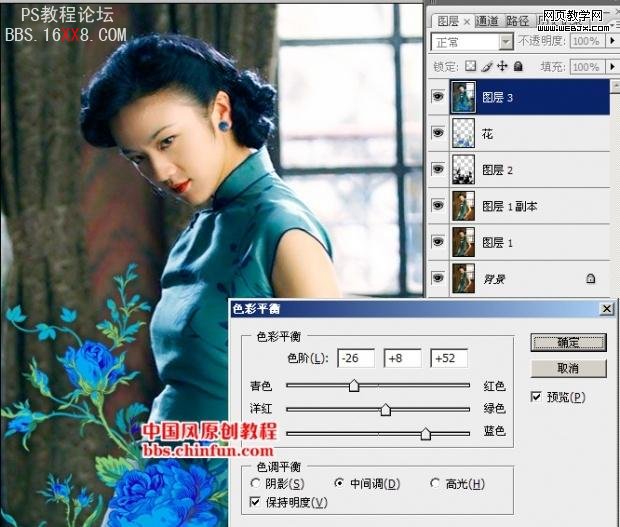
二、加入素材二(花),在对花进行描边填入黑色,在进行羽化,在进行正面叠底,调整透明度。
这样显得花与人物相接不会这么生疏,盖印图层 (CTRL+ALT+SHIFT+E)。

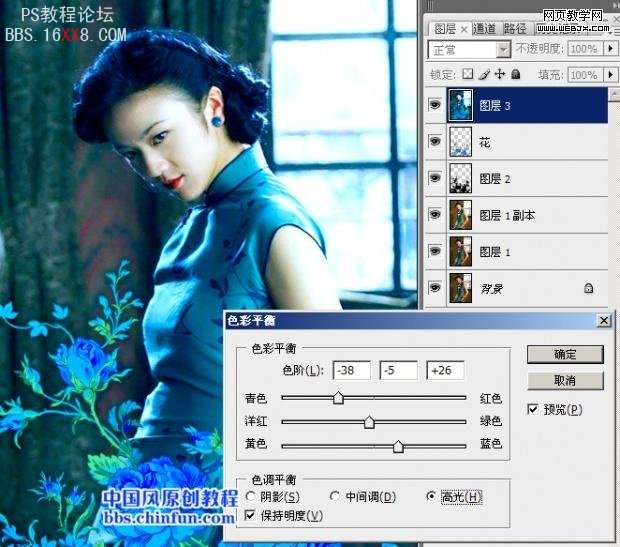
三、色彩平衡处理!
中间调及高光处理
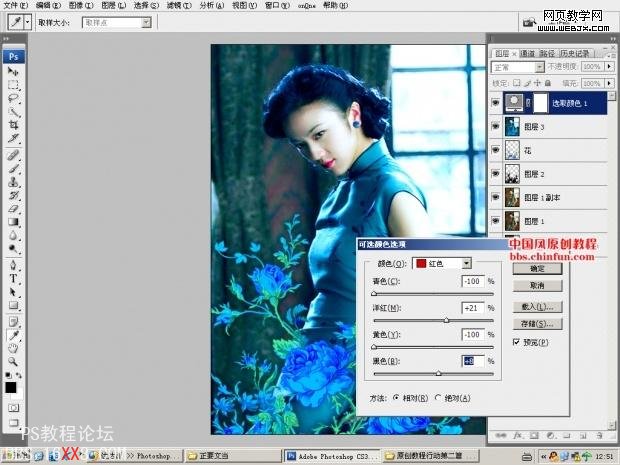
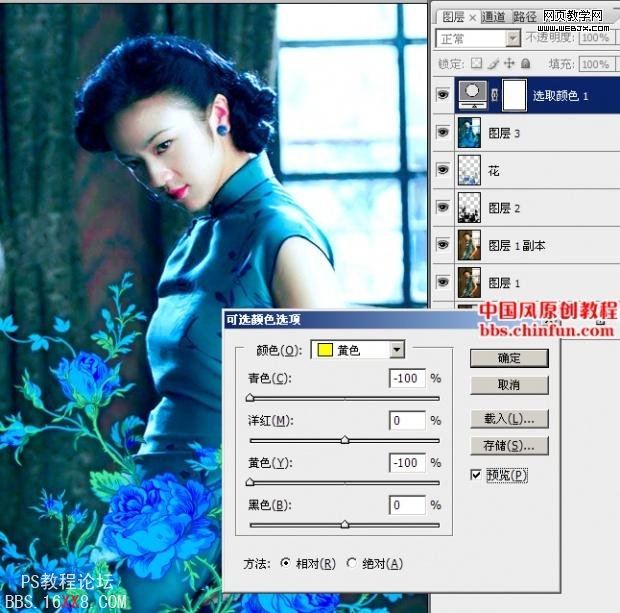
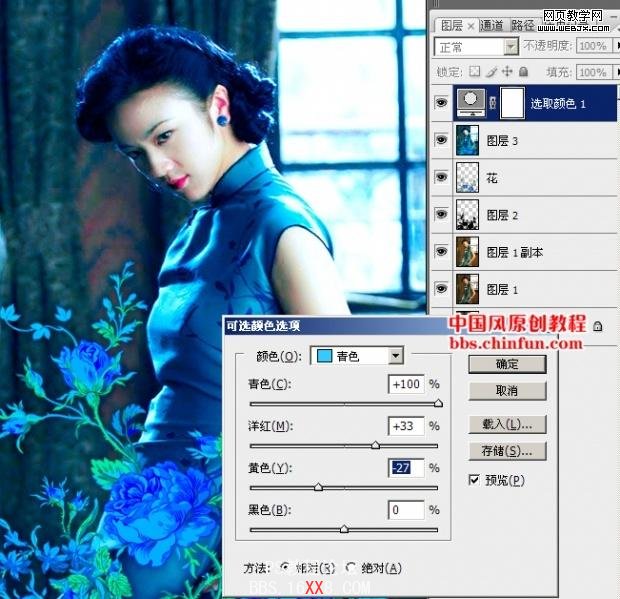
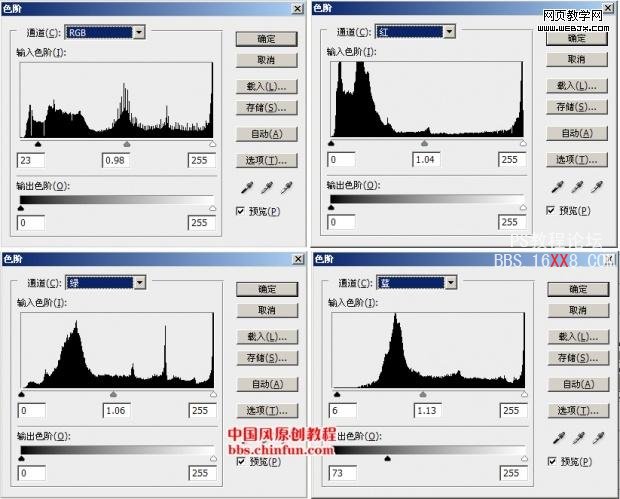
四、创建可选颜色,数值如下图!

五、创建色阶图层
六、为了有个好的对比,可以在需要暗的地方填上叠加色彩。
在加上修饰字!更多花样字体请到这里下载
完成效果!
学习 · 提示
关注大神微博加入>>


网友求助,请回答!