ps合成吉他人教程(3)
来源:北京名人摄影化妆学校
作者:佚名 发布
学习:5436人次
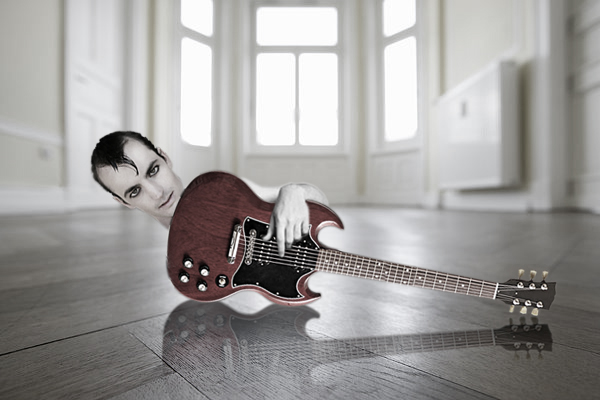
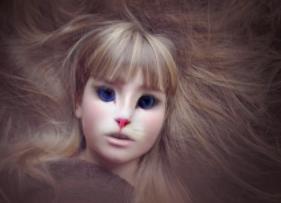
先看下素材和完成图
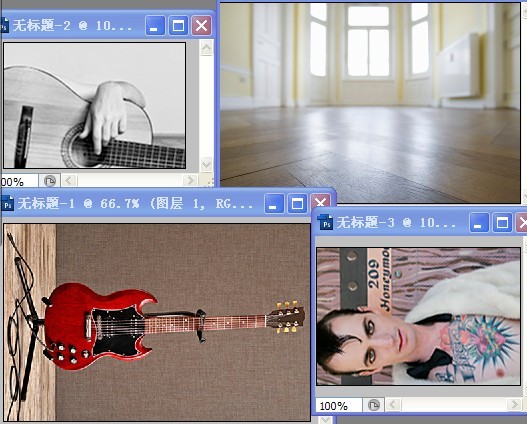
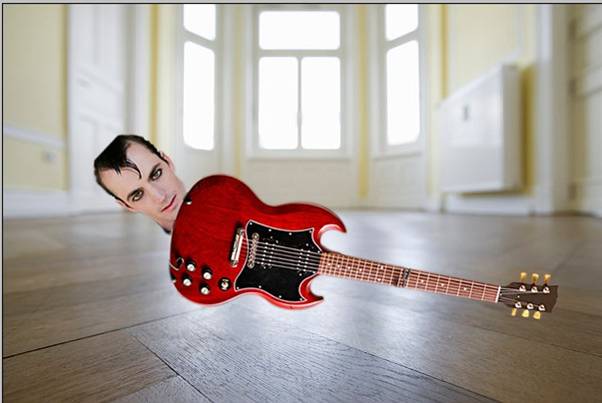
步骤1:打开背景图片,拖入人物图片
做选区蒙版,拉入吉他图片选区蒙版
放入适当位置。
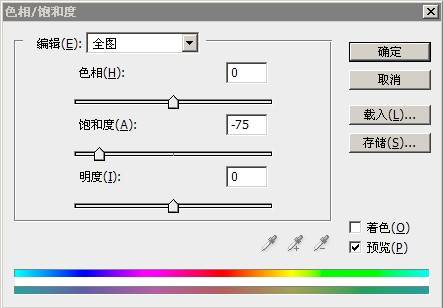
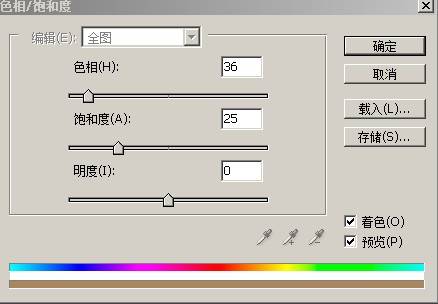
步骤2:调整色相/饱和度面板,
数值如下图。
 a
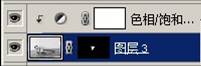
a步骤3:拖入手的图层钢笔路径蒙版,新建色相/饱和度图层,
针对下一层。
数值如下图。
步骤4:新建曲线调整人物脸部光影,做出整体投影
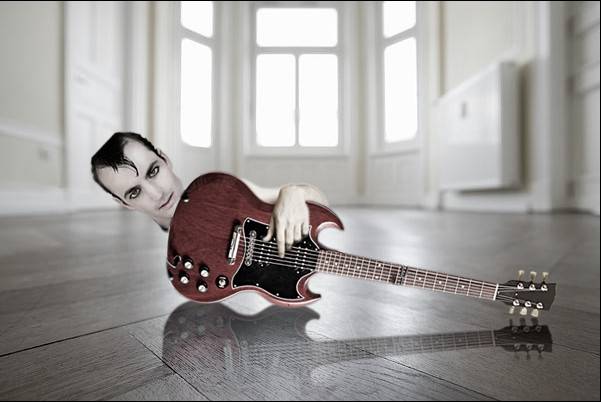

步骤5:修饰整体细节,头发,吉他细节避免穿帮完成作品
学习 · 提示
相关教程
关注大神微博加入>>


网友求助,请回答!