马上注册,结交更多好友,享用更多功能,让你轻松玩转社区。
您需要 登录 才可以下载或查看,没有账号?注册

x
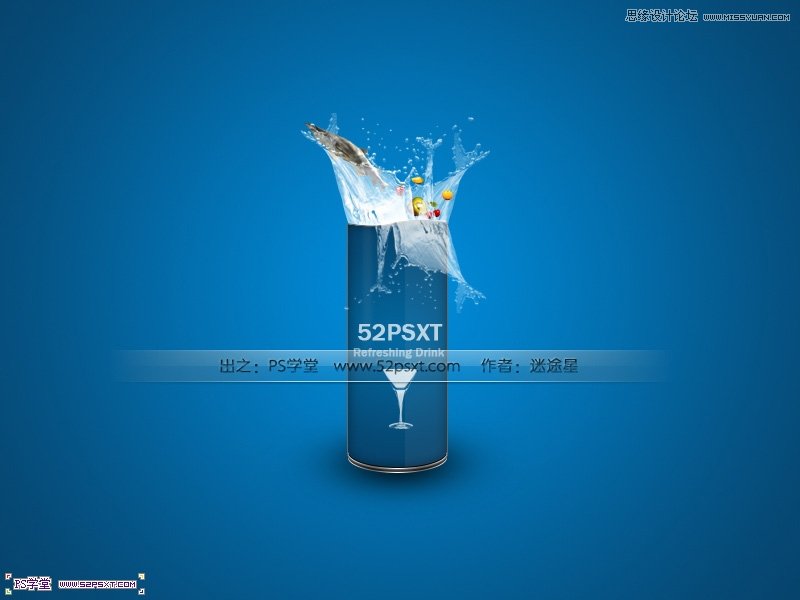
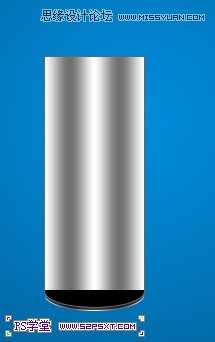
先来看下
效果
图:
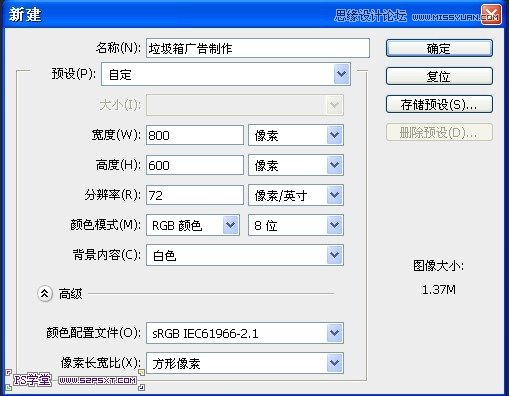
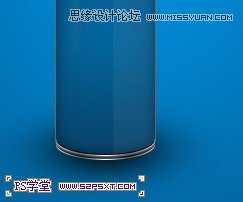
教程所需素材下载:http://pan.baidu.com/share/link?shareid=97365&uk=7550008211.新建一个800X600的画布
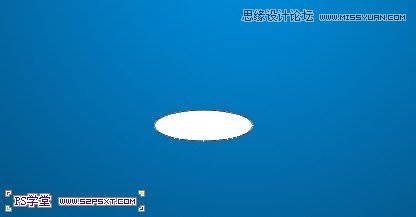
2.将前景色设置为 #008cda, 背景色设置为#06446d,选择渐变工具,拉一个从中心到四周的径向渐变

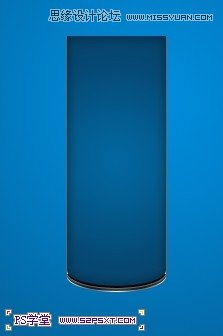
3.选择椭圆工具,前景色设置为白色,在适当位置拉一个椭圆
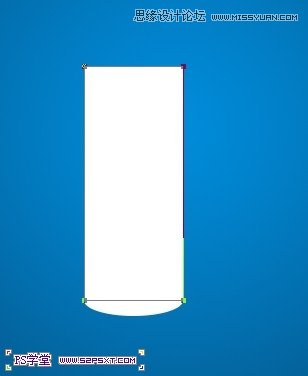
4.选择矩形工具,在椭圆的上方拉一个矩形,注意椭圆和矩形的接合处,然后合并椭圆和矩形图层,得到矩形1
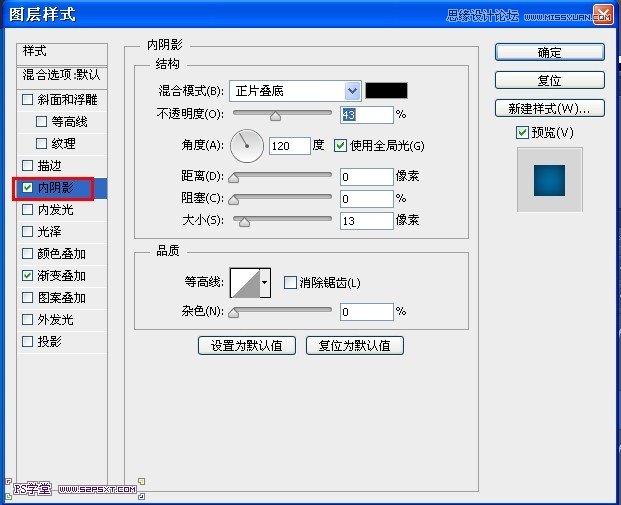
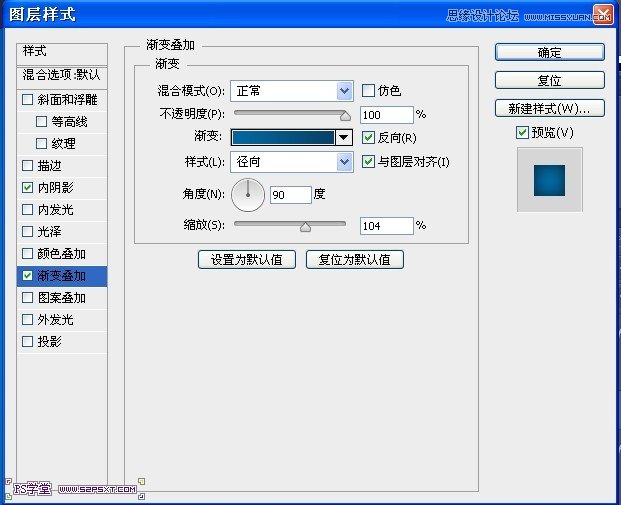
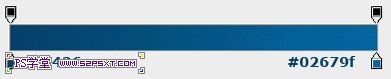
5.给合并的形状添加图层样式
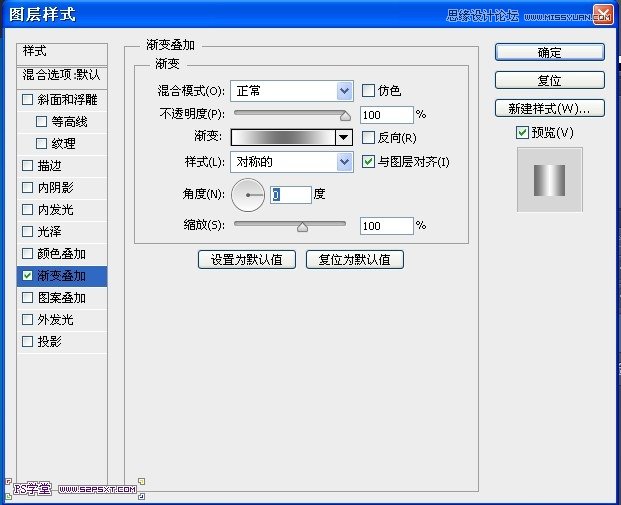

6.复制一层,得到矩形1副本1,向上移动4个像素,添加图层样式

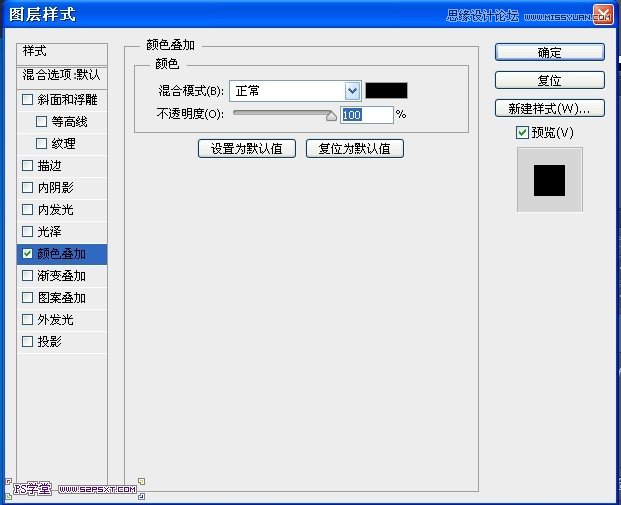
7.复制图层,矩形1副本2,然后清除样式,颜色叠加 黑色,然后将复制的图层向上移动2px
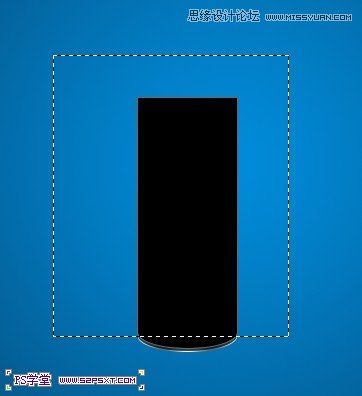
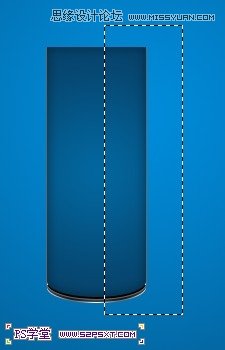
8.框出如图选区,按住alt点击蒙板图标,给矩形1副本2添加蒙板
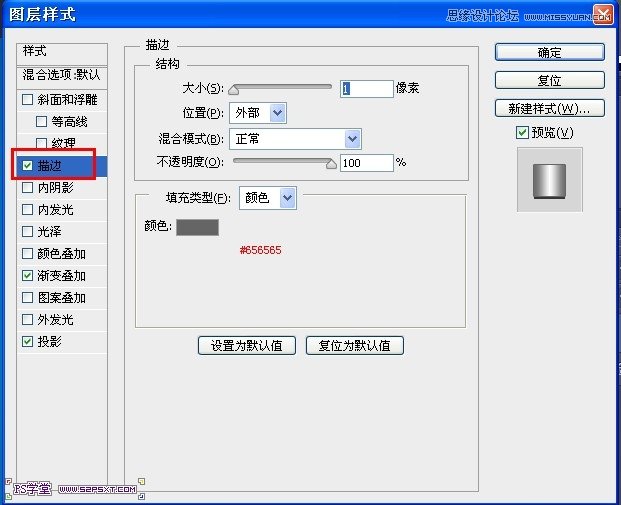
9.复制 矩形1副本,得到矩形1副本3向上移动2像素,清除所有的图层样式,然后添加图层样式
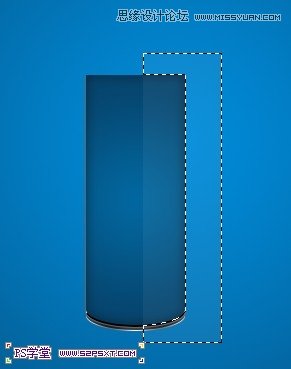
10.用矩形选框框出如图,新建一层,填充白色,不透明度改成5%
11.保持选区,按住ctrl+alt,点矩形1副本3,如图,然后按del删除
12.继续新建一层用矩形选框做高光部分,填充白色,不透明度5%
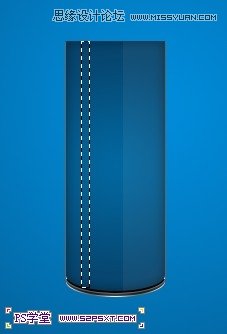
13.给此图层添加蒙板,用黑色画笔处理底部

14.在背景层上面新建一层,添加罐子的投影,用柔焦的黑色画笔在图层上面点下,然后ctrl+T,进行压缩,然
后改变不透明度即可
15.用钢笔工具处理口部,我是通过钢笔工具和蒙板实现的

16.打开水滴素材,抠出水滴,笨点的办法就是用钢笔啦,然后放到我们的作图的画布里面,将水滴的图层不透
明度为80%,图层模式为滤色
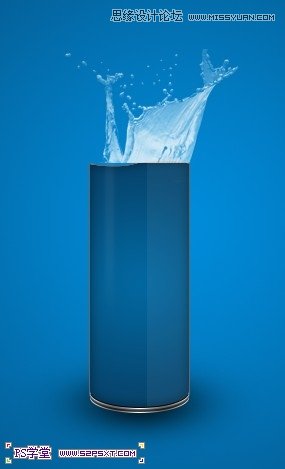
17.复制水滴图层,进行水平翻转,然后把不透明度改成100%,移动到合适的位置,将水滴图层拉到最下面
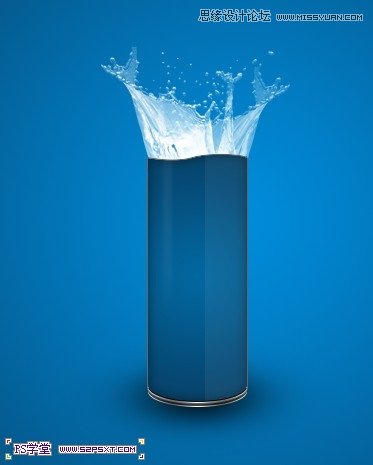
18.复制水滴图层,垂直翻转,然后拉到最上面,进行调整大小和位置
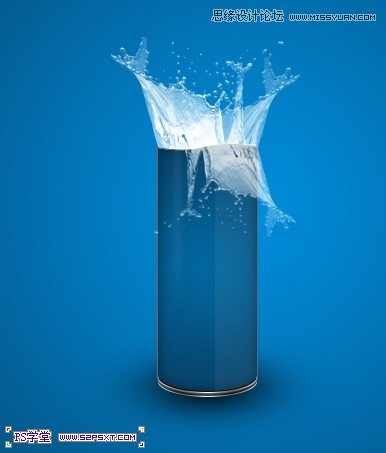
19.然后把鲨鱼和水果的图抠出来放进去
20.最后打上文字,放一个玻璃杯图案,玻璃杯的图层混合模式为滤色,调整它们的不透明度到适合即可
教程编号:111676 作者:佚名 出处:PS学堂 | 


 狗仔卡
狗仔卡 发表于 2012-11-14 03:01:26
 提升卡
提升卡 置顶卡
置顶卡 沉默卡
沉默卡 喧嚣卡
喧嚣卡 变色卡
变色卡 千斤顶
千斤顶 显身卡
显身卡