photoshop制作水墨画(7)
来源:未知
作者:学photoshop
学习:2271人次
图26

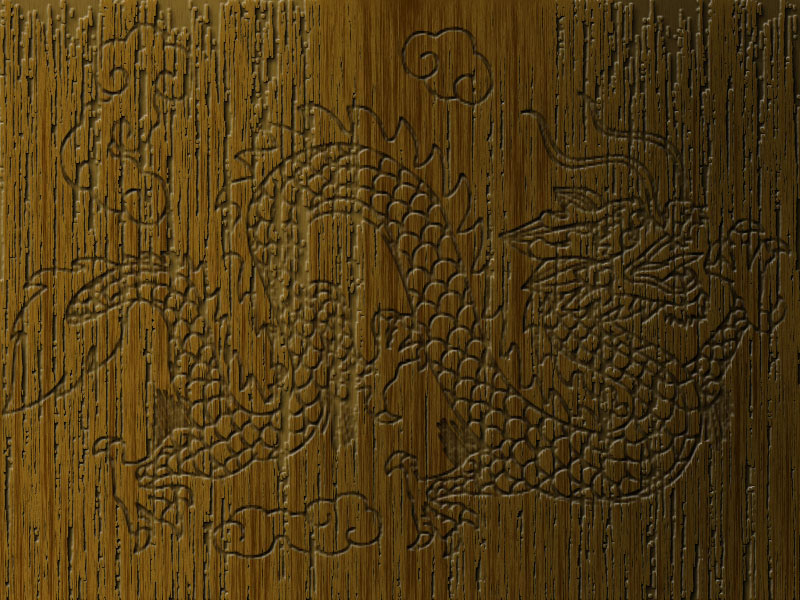
图27 16、新建图层得到"图层12"选择画笔工具,在其选项栏中选择默认的"粗边圆形钢笔",大小选择30像素,然后按F5调出"画笔"调板,并设置其参数如图28所示。选择钢笔工具,在图像右侧绘制一条路径,如图29所示,切换到"路径"调板,按Alt键单击用画笔描边路径按钮,在弹出的对话框中选中"模拟压力"选项,单击确定,隐藏路径后得到如图30所示效果。然后返回到"图层"调板,拖动"图层12"至"图层10"的下方。
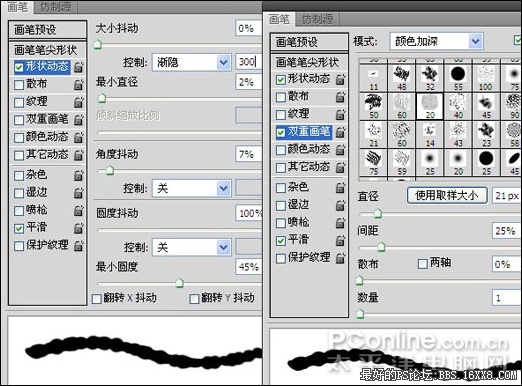
图28
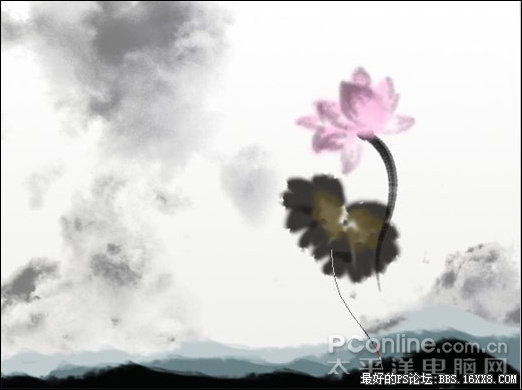
图29

图30
学习 · 提示
相关教程
关注大神微博加入>>


网友求助,请回答!