photoshop设计建国60周年主题海报(2)
来源:未知
作者:ps狂想曲
学习:565人次
13.设置前景色为白色,选择“横排文字工具”,在其工具条上设置适当画笔和字号,将光标放到路径上输入如图14所示的英文。

图14
14.同样的方法,设置前景色为9c9c9c,在下排路径复制一条路径,输入如图15所示文字。

图15
15.打开“素材红旗”将其放置在线条中间得到如图16所示效果。
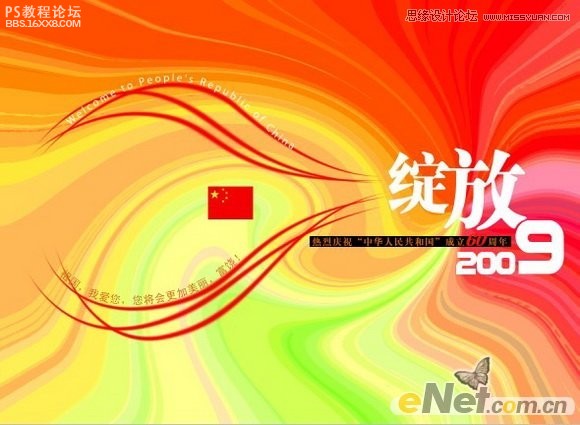
图16
16.选择“矩形工具”,单击其工具选项条上形状图层按钮,在红旗左侧绘制两个红色竖条,得到如图17所示效果。
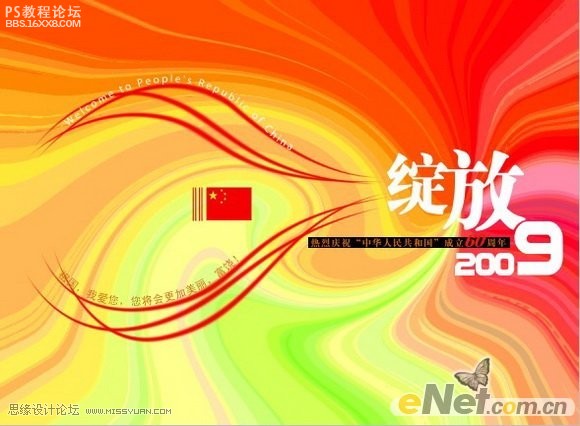
图17
17.最后把素材60拖至画面上并用用“横排文字工具”输入如图18所示文字,得到最终效果。
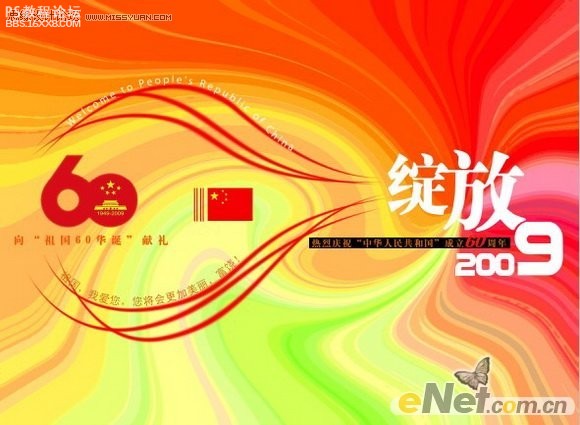
图18
最终效果:

作者:南风潇雨 出处:eNet硅谷动力
学习 · 提示
相关教程
关注大神微博加入>>


网友求助,请回答!