photoshop鼠绘实例教程:数码相机(7)
来源:未知
作者:福特少普ps
学习:5912人次
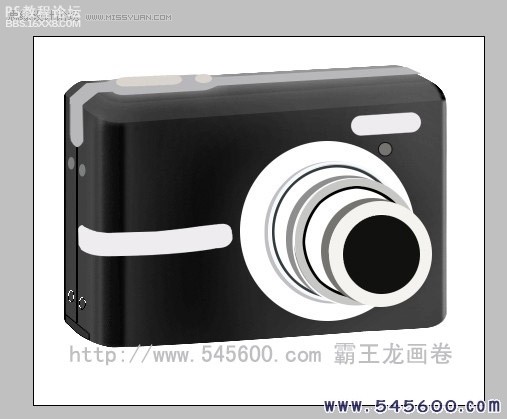
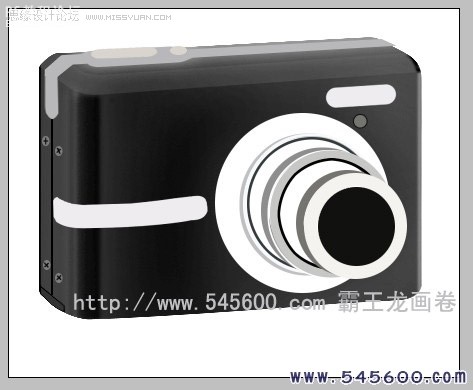
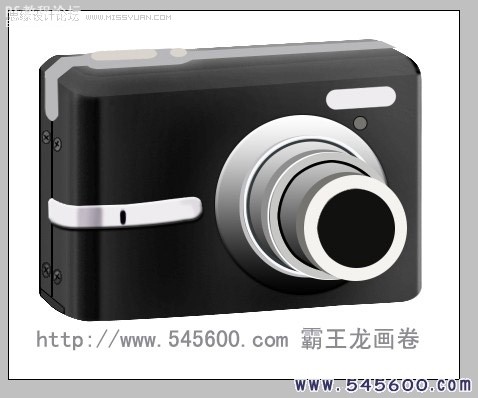
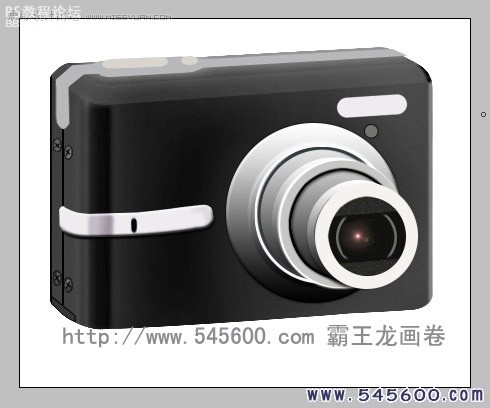
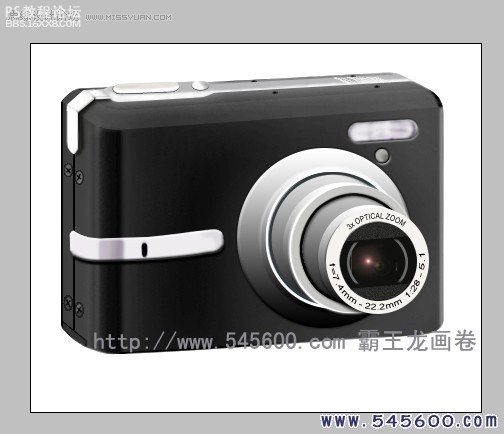
先看成品:

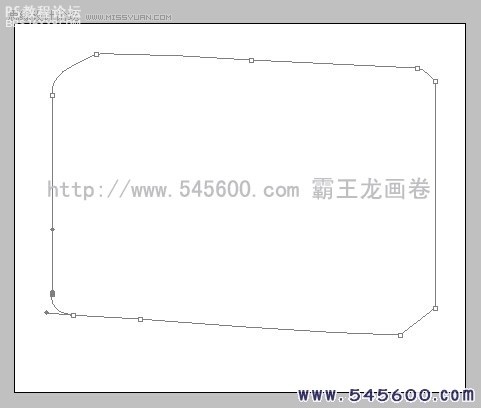
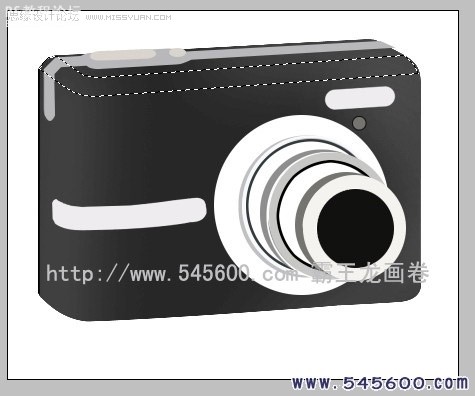
1,新建一个图层,先用自由钢笔描出相机轮廓,然后将路径变换为选择区域,填充颜色(注意:以后每画一样东西,就先新建一个图层,这样利于单项编辑,我画这个相机建了30个图层)
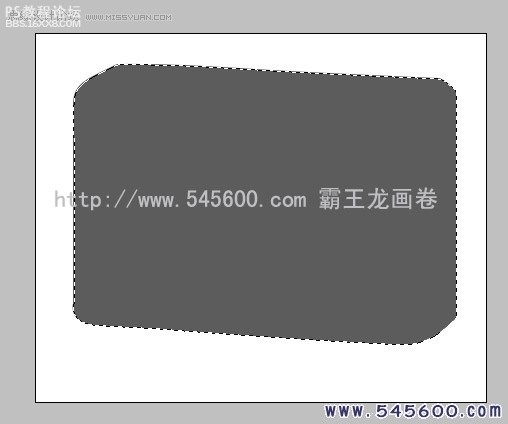
2.同样,描出其他部位填充颜色
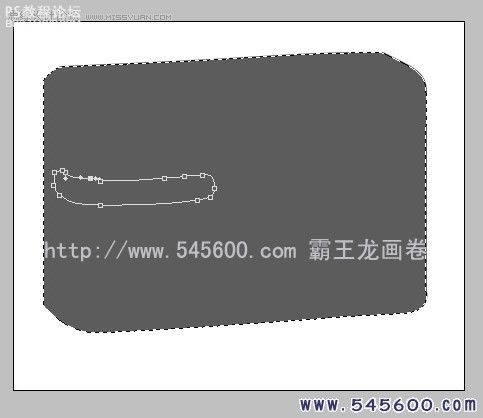


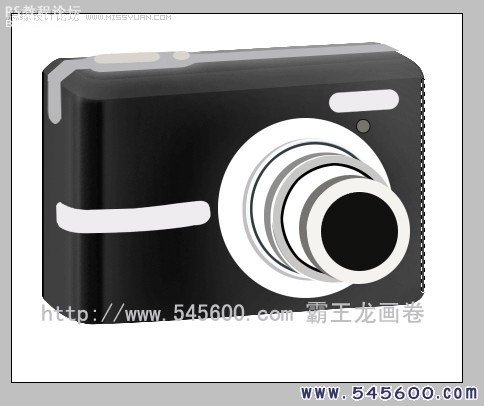
3,描出转折部位,填充稍微浅一点的颜色

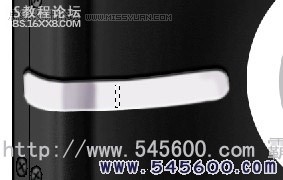
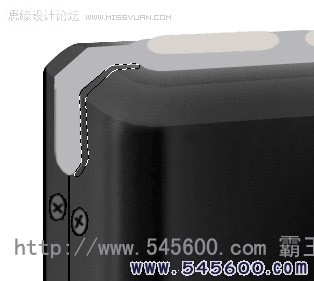
描出边角线填充白色,然后模糊一下,立体感就出来了
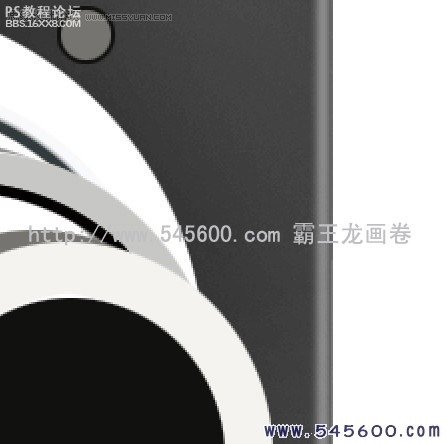
描出开口线,电池盖,和螺丝帽
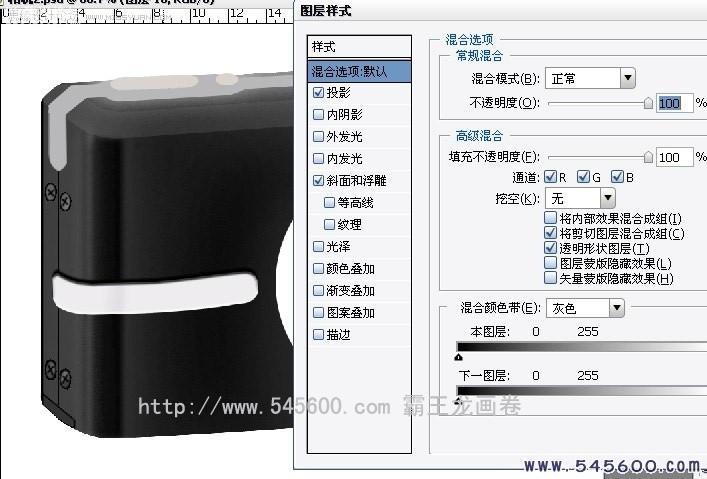
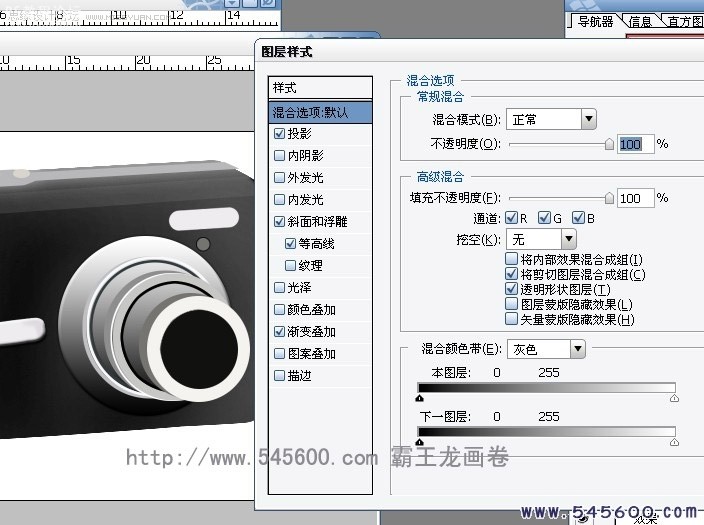
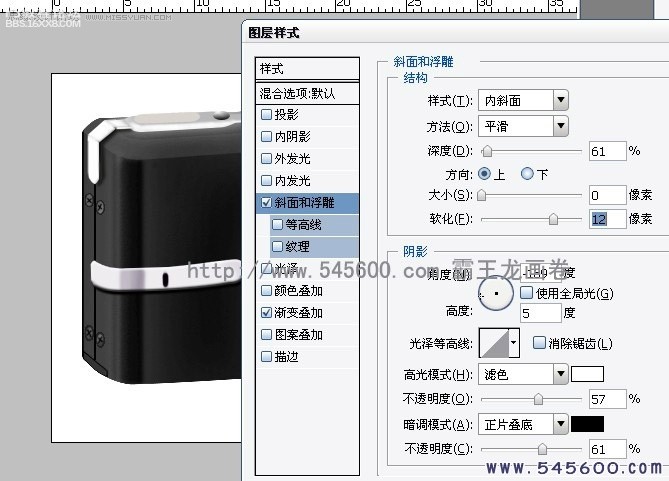
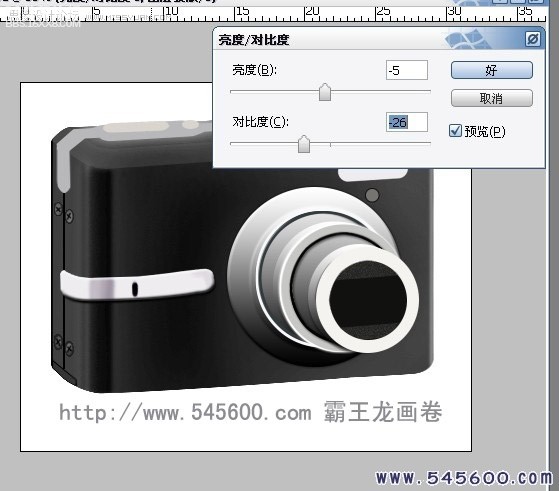
调整一下配件的图层属性参数,使它更加逼真,然后用加深减淡工具制造出光泽
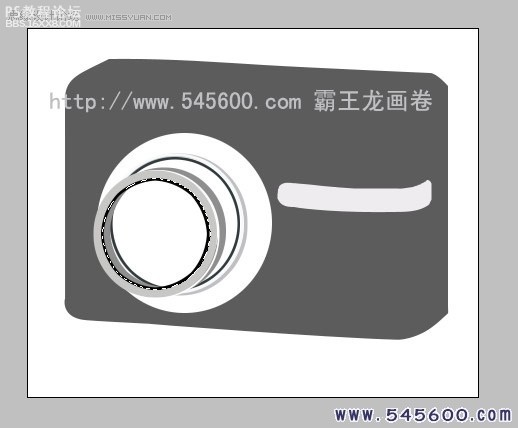
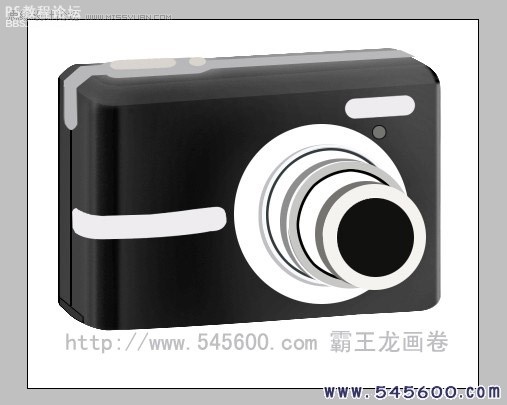
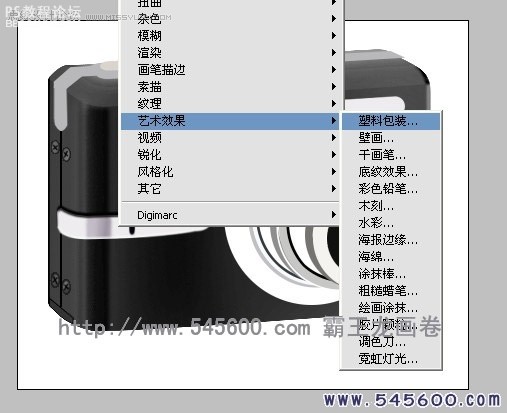
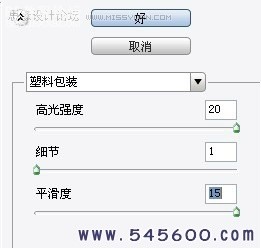
到伸缩镜头了,我们用滤镜---塑料包装,使它更加富有光泽和真实感
再调整一下图层属性,就更加完美了
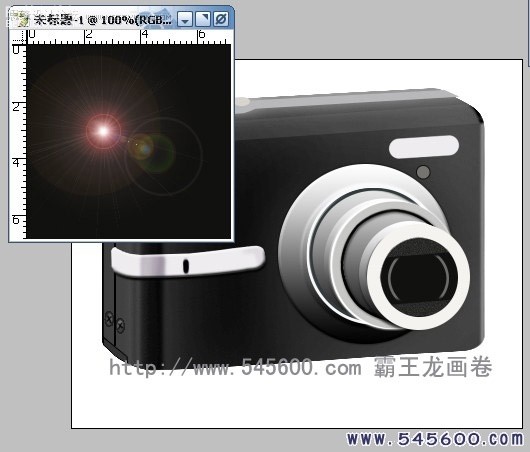
镜头里的光线有个简单的方法可以解决,就是新建一个黑色背景图片,然后滤镜---渲染---镜头光晕,然后我们把它拷贝到相机中粘贴
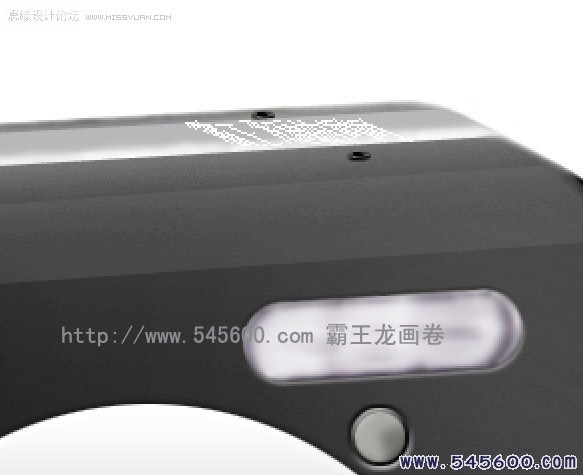
闪光灯我们先调整一下图层属性,使它具有立体感,然后用加深减淡工具涂抹一下,使它有光泽
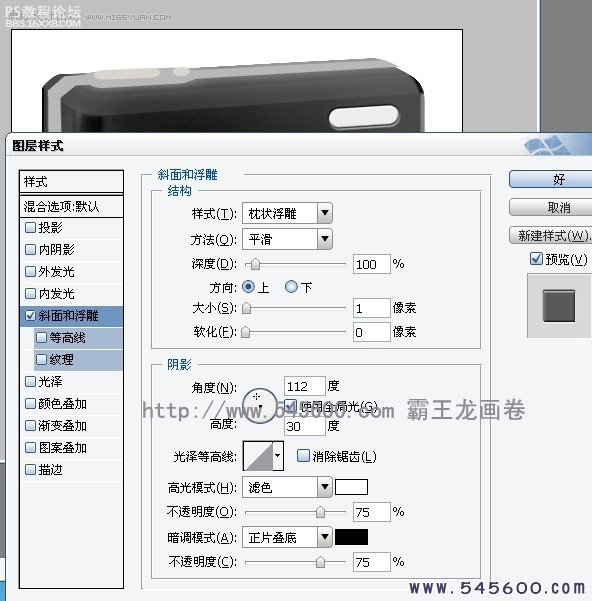
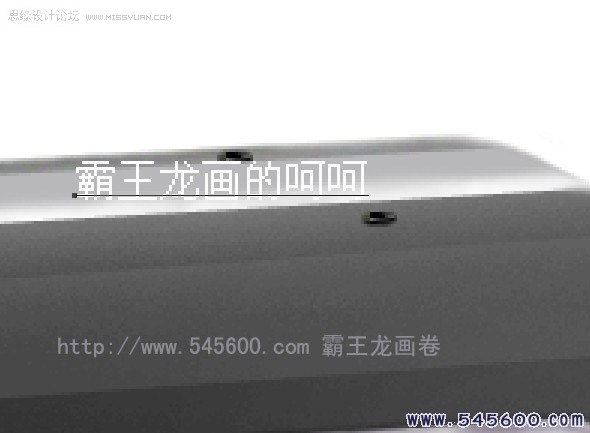
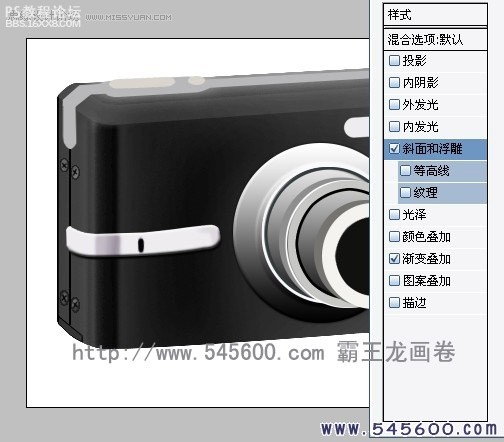
同样的,相机顶部配件也用钢笔描出边缘,然后变换为选择区域,填充颜色,然后调整图层属性,使它具有立体感
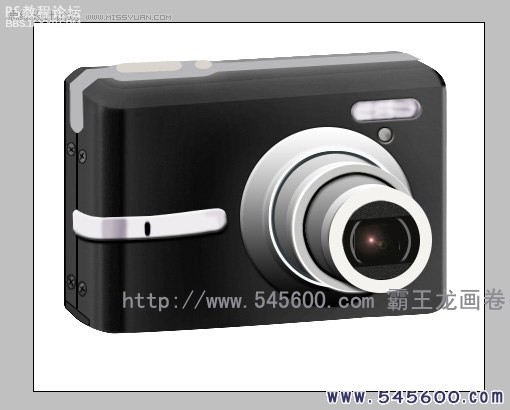
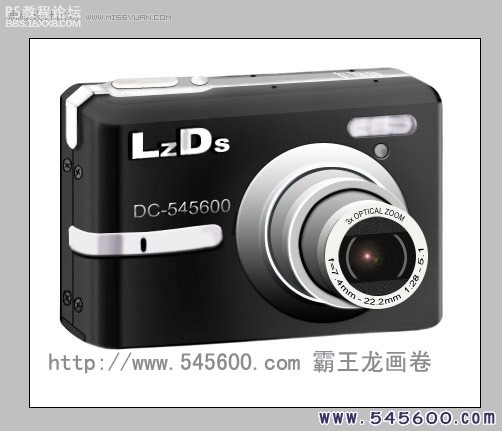
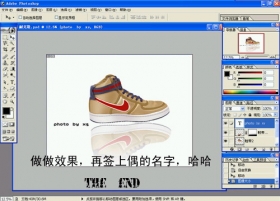
写上一些字,有些字很小,基本上看不见,就随便写,缩小以后也有效果的,哈哈!
写上伸缩镜头上的字,这个圆形字的写法和制作图章一样,先拉出一个圆形形状,然后转化为路径,用文字工具在路径上点击,就可以输入圆形的文字了
最后加上我们论坛的LOGO,调整一下图层属性,同样用加深减淡工具涂抹一下光泽度,就OK了

作者:霸王龙 出处:麤寨都市網站
1,新建一个图层,先用自由钢笔描出相机轮廓,然后将路径变换为选择区域,填充颜色(注意:以后每画一样东西,就先新建一个图层,这样利于单项编辑,我画这个相机建了30个图层)
2.同样,描出其他部位填充颜色
3,描出转折部位,填充稍微浅一点的颜色
描出边角线填充白色,然后模糊一下,立体感就出来了
描出开口线,电池盖,和螺丝帽
调整一下配件的图层属性参数,使它更加逼真,然后用加深减淡工具制造出光泽
到伸缩镜头了,我们用滤镜---塑料包装,使它更加富有光泽和真实感
再调整一下图层属性,就更加完美了
镜头里的光线有个简单的方法可以解决,就是新建一个黑色背景图片,然后滤镜---渲染---镜头光晕,然后我们把它拷贝到相机中粘贴
闪光灯我们先调整一下图层属性,使它具有立体感,然后用加深减淡工具涂抹一下,使它有光泽
同样的,相机顶部配件也用钢笔描出边缘,然后变换为选择区域,填充颜色,然后调整图层属性,使它具有立体感
写上一些字,有些字很小,基本上看不见,就随便写,缩小以后也有效果的,哈哈!
写上伸缩镜头上的字,这个圆形字的写法和制作图章一样,先拉出一个圆形形状,然后转化为路径,用文字工具在路径上点击,就可以输入圆形的文字了
最后加上我们论坛的LOGO,调整一下图层属性,同样用加深减淡工具涂抹一下光泽度,就OK了
作者:霸王龙 出处:麤寨都市網站
学习 · 提示
相关教程
关注大神微博加入>>


网友求助,请回答!