photoshop鼠绘红苹果(3)
来源:未知
作者:laoolaoo
学习:521人次
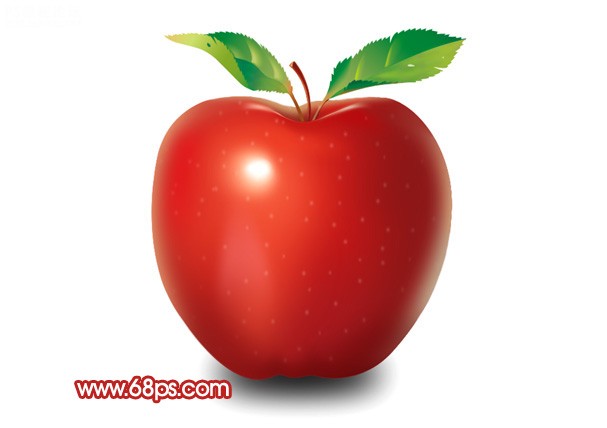
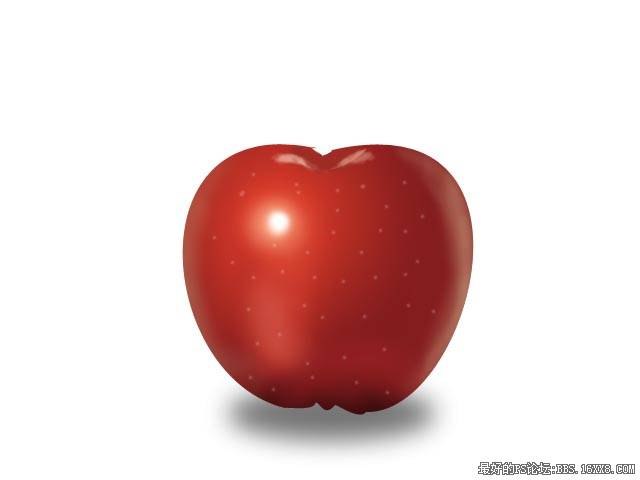
最终效果
1、新建一个800 * 600 像素的文件,背景填充白色,新建一个图层,用钢笔工具勾出下图所示的苹果轮廓选区。
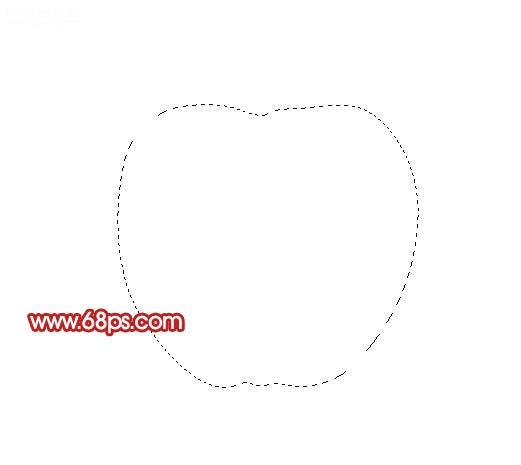
图1
, 2、选择渐变工具,颜色设置如图2,拉出图3所示的径向渐变。
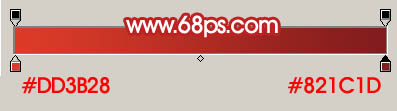
图2
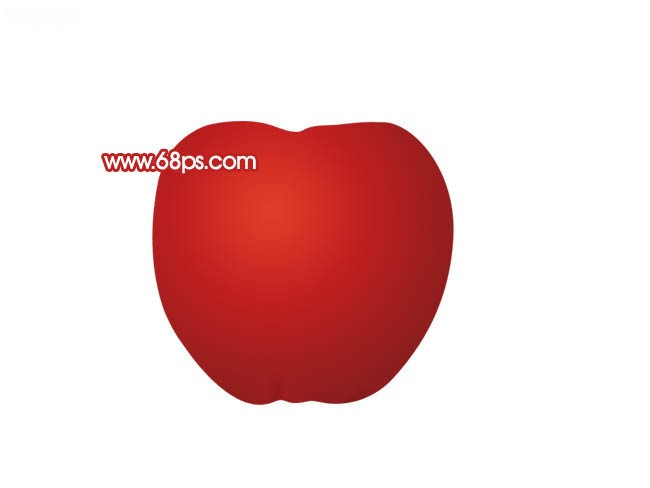
图3
3、锁定图层,把前景颜色设置为:#A62126,然后用画笔工具,不透明度为:10%左右,涂抹下图选区位置。涂抹的时候不需要真的勾出选区,自己只要把握好大致的位置和区块即可。下面涂抹的时候类似。
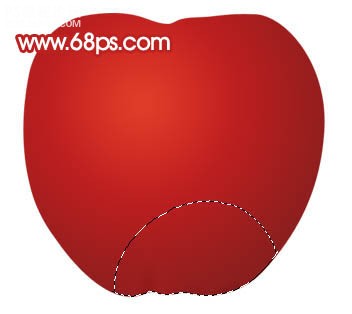
图4
4、把前景颜色设置为:#D93A2B,同样用画笔涂抹下图选区部分。
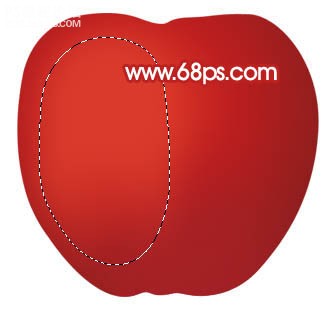
图5
, 5、下图选区部分用颜色:#8A1F1F涂抹,大致涂好的效果如图7。
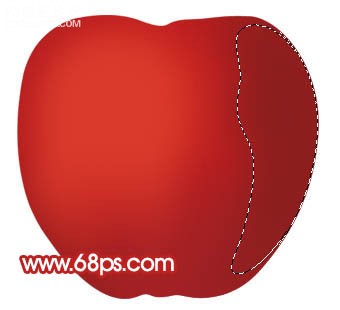
图6
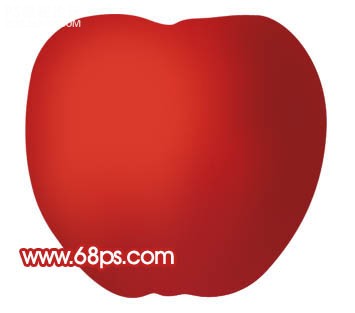
图7
6、把前景颜色设置为:#D1B38C,用画笔涂抹图8所示的区域,给苹果加上边缘高光,效果如图9。
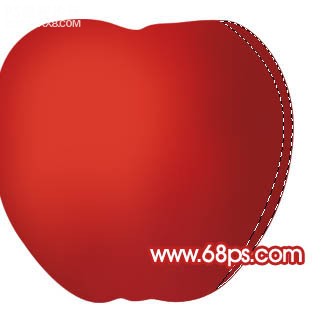
图8
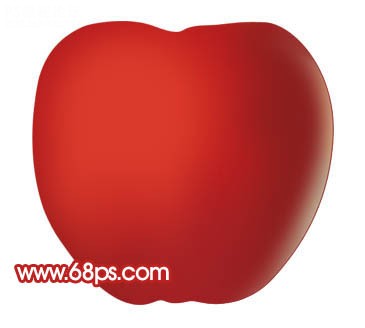
图9
, 7、同样的方法涂出左边边缘部分的高光区域,效果如下图。

图10
8、把前景颜色设置为:#E85138,用画笔涂出图11选区部分的高光区域,效果如图12。
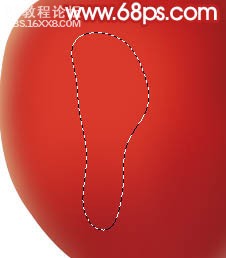
图11
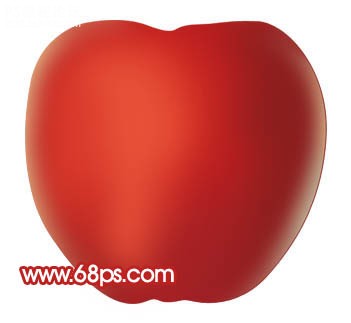
图12
9、整体调整一下光感。
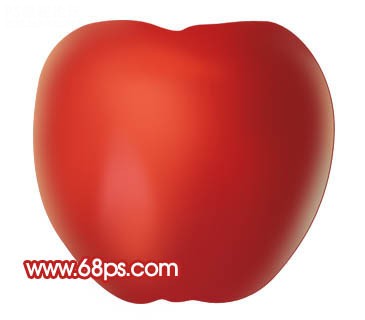
图13
, 10、新建一个图层,用画笔涂出图14所示的淡黄色,可以适当高斯模糊,然后再新建一个图层,用白色画笔涂出中心高光,效果如图15。
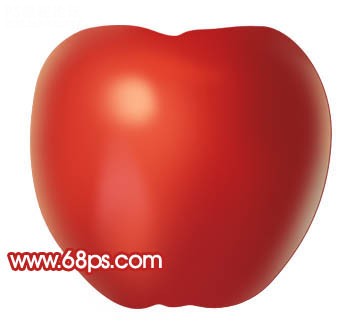
图14
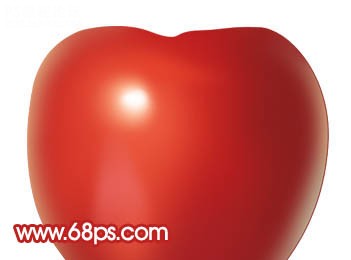
图15
11、新建一个图层,用钢笔勾出图16所示的选区,用画笔涂上颜色,效果如图17。
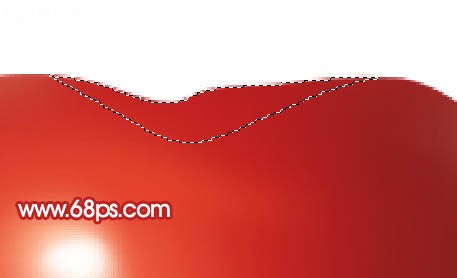
图16
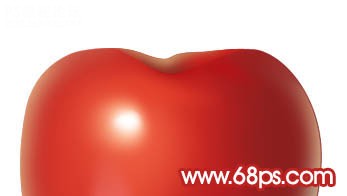
图17
, 12、新建一个图层,用画笔涂出顶部的高光区域,效果如下图。
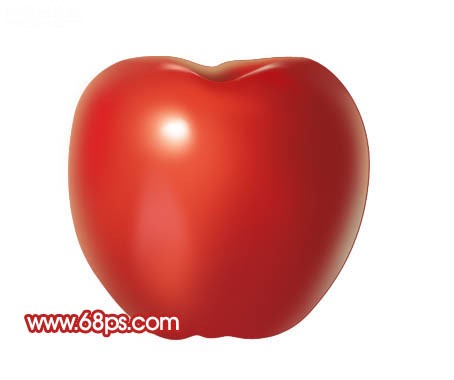
图18
13、苹果表面大致完成的效果。
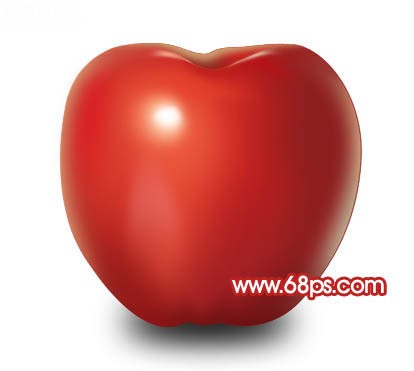
图19
14、新建一个图层,用白色画笔点上一些小点,适当降低下图层不透明度,效果如下图。
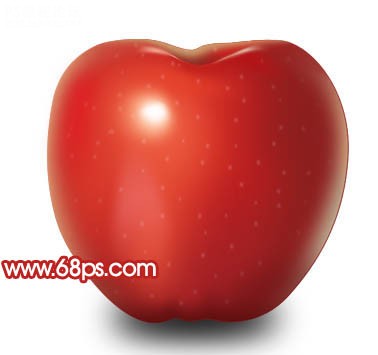
图20
15、新建一个图层,画上树叶部分,完成最终效果。
图21
作者:Sener 出处:PS聯盟
1、新建一个800 * 600 像素的文件,背景填充白色,新建一个图层,用钢笔工具勾出下图所示的苹果轮廓选区。
图1
, 2、选择渐变工具,颜色设置如图2,拉出图3所示的径向渐变。
图2
图3
3、锁定图层,把前景颜色设置为:#A62126,然后用画笔工具,不透明度为:10%左右,涂抹下图选区位置。涂抹的时候不需要真的勾出选区,自己只要把握好大致的位置和区块即可。下面涂抹的时候类似。
图4
4、把前景颜色设置为:#D93A2B,同样用画笔涂抹下图选区部分。
图5
, 5、下图选区部分用颜色:#8A1F1F涂抹,大致涂好的效果如图7。
图6
图7
6、把前景颜色设置为:#D1B38C,用画笔涂抹图8所示的区域,给苹果加上边缘高光,效果如图9。
图8
图9
, 7、同样的方法涂出左边边缘部分的高光区域,效果如下图。
图10
8、把前景颜色设置为:#E85138,用画笔涂出图11选区部分的高光区域,效果如图12。
图11
图12
9、整体调整一下光感。
图13
, 10、新建一个图层,用画笔涂出图14所示的淡黄色,可以适当高斯模糊,然后再新建一个图层,用白色画笔涂出中心高光,效果如图15。
图14
图15
11、新建一个图层,用钢笔勾出图16所示的选区,用画笔涂上颜色,效果如图17。
图16
图17
, 12、新建一个图层,用画笔涂出顶部的高光区域,效果如下图。
图18
13、苹果表面大致完成的效果。
图19
14、新建一个图层,用白色画笔点上一些小点,适当降低下图层不透明度,效果如下图。
图20
15、新建一个图层,画上树叶部分,完成最终效果。
图21
作者:Sener 出处:PS聯盟
学习 · 提示
- 发评论 | 交作业 -
最新评论
阅悦2015-03-25 02:38
自己跟着教程画了一个 不过那个凹下去的很难画 所以没画 我的苹果跟楼主的苹果真是天差地别啊 还有不能理解楼主说的锁定是什么意思
回复
相关教程
关注大神微博加入>>


网友求助,请回答!