photoshop怎样做酒杯中的酒摇动效果(3)
来源:未知
作者:学photoshop
学习:1707人次
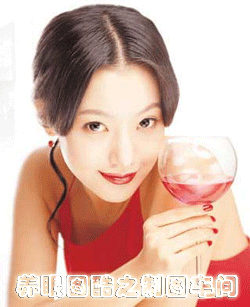
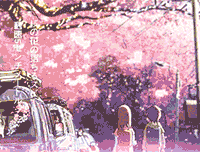
原图

效果图
photoshop制作方法:
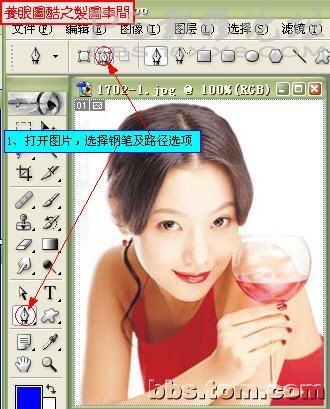
1、打开图片,选择钢笔路径工具。
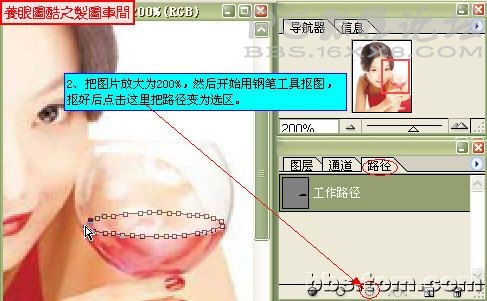
2、把图片放大到200%,然后开始用钢笔工具抠图,抠好后转为选区。
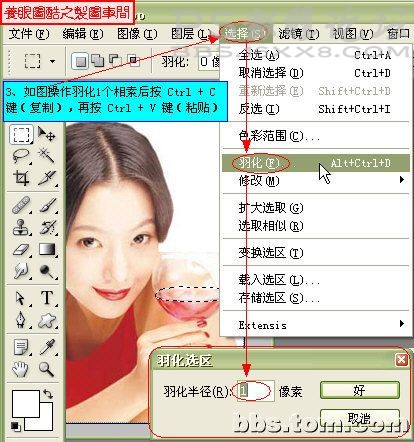
3、把选区羽化1个像素,然后复制出来。
4、对抠出来的部份进行变换

变换参数如图:

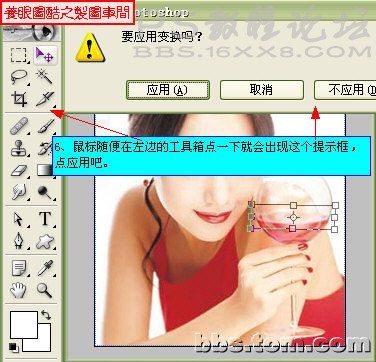
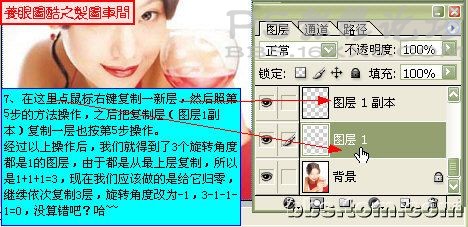
多复制几层,依次进行变换角度
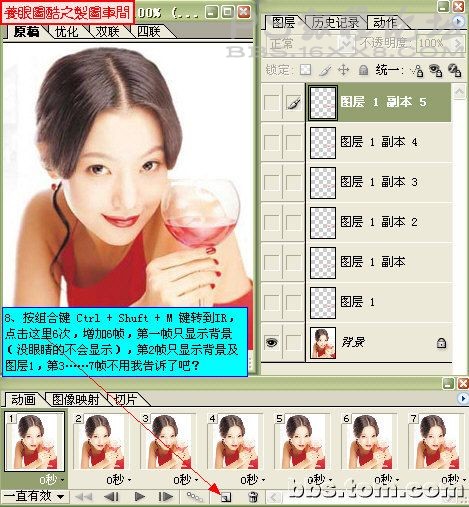
转到IR做动画,做法如下:
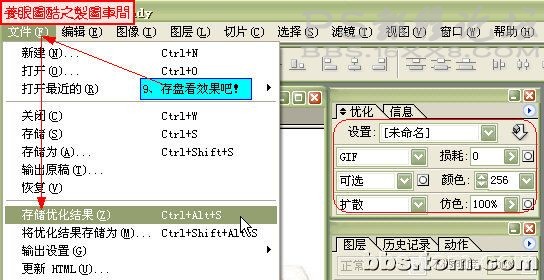
最后存盘
最终效果!
来自制图车间
效果图
photoshop制作方法:
1、打开图片,选择钢笔路径工具。
2、把图片放大到200%,然后开始用钢笔工具抠图,抠好后转为选区。
3、把选区羽化1个像素,然后复制出来。
4、对抠出来的部份进行变换
变换参数如图:
多复制几层,依次进行变换角度
转到IR做动画,做法如下:
最后存盘
最终效果!
来自制图车间
学习 · 提示
相关教程
关注大神微博加入>>


![[IR动图教程] PS7.0 下雨的星期天](http://pic.16xx8.com/article/UploadPic/2007/10/31/2007103165638598.jpg)
![[IR动图教程] 菜鸟学飞:打造转转风车动画](http://pic.16xx8.com/article/UploadPic/2007/10/29/2007102991227105_lit.gif)
网友求助,请回答!