PS合成和谐家庭黄昏风景(3)
来源:未知
作者:福特少普ps
学习:451人次
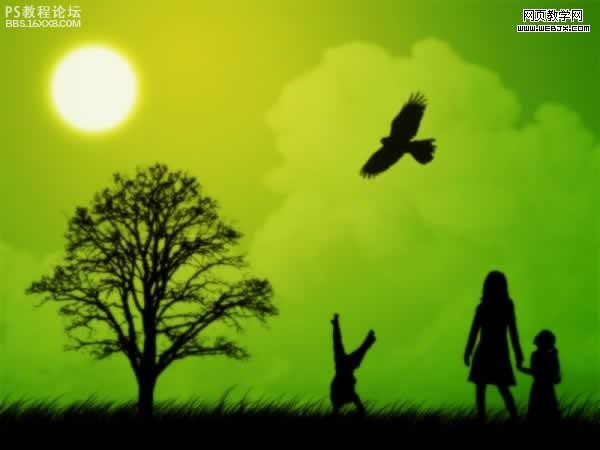
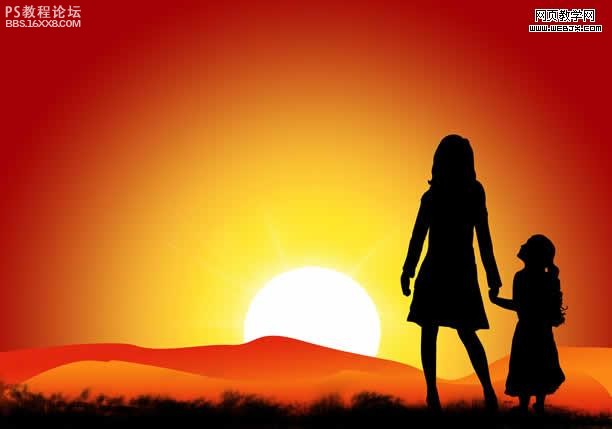
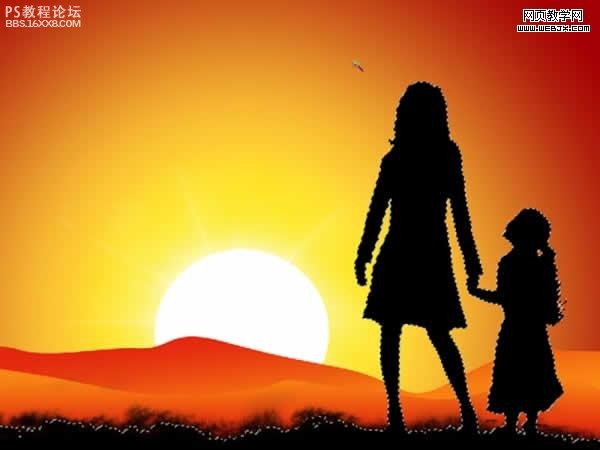
先看效果图:
素材1
素材2
,素材3
素材4
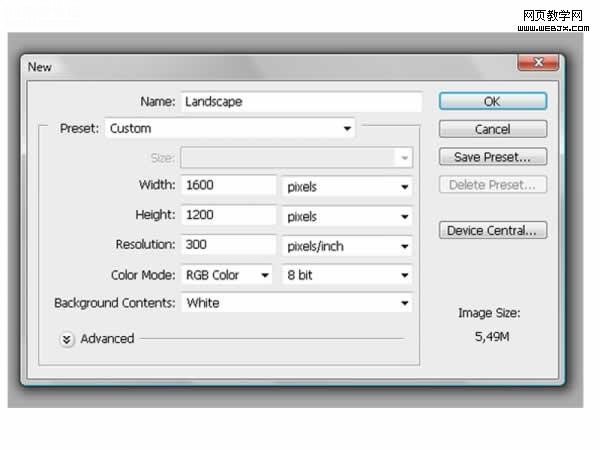
新建一个photoshop文档:
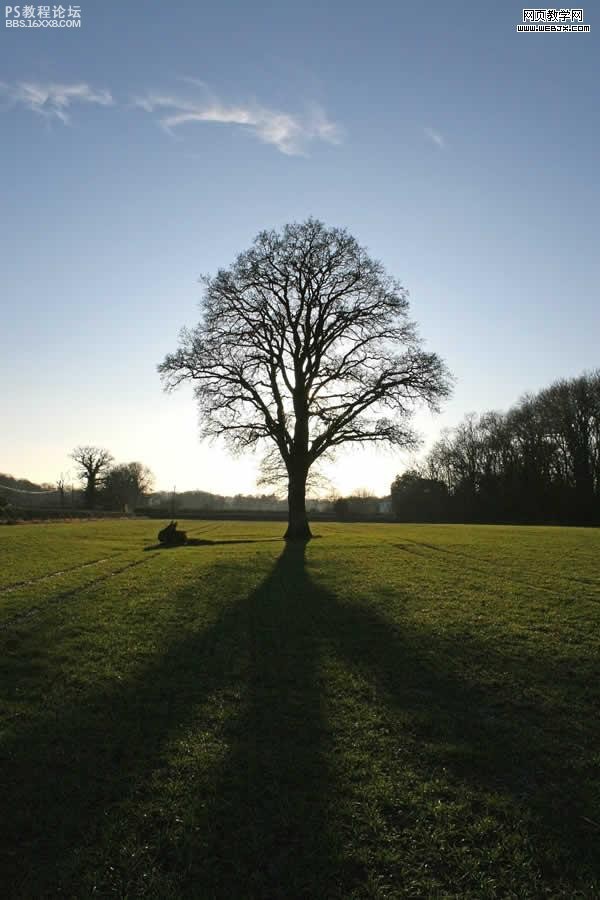
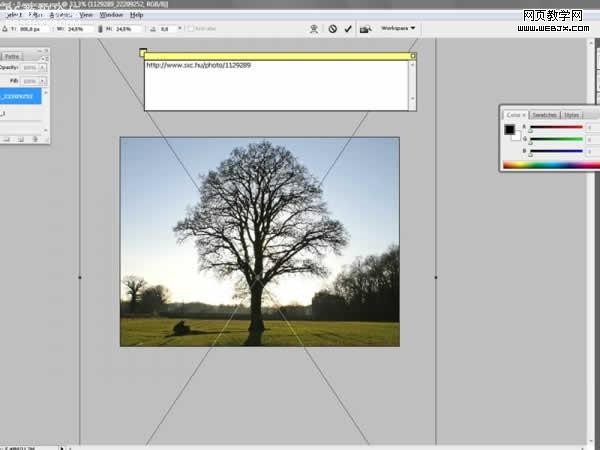
,然后执行文件-置入,选择树的照片,调整大小到合适位置,效果如下。
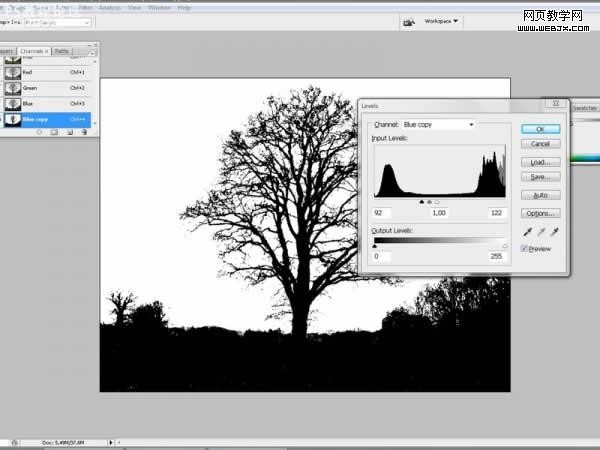
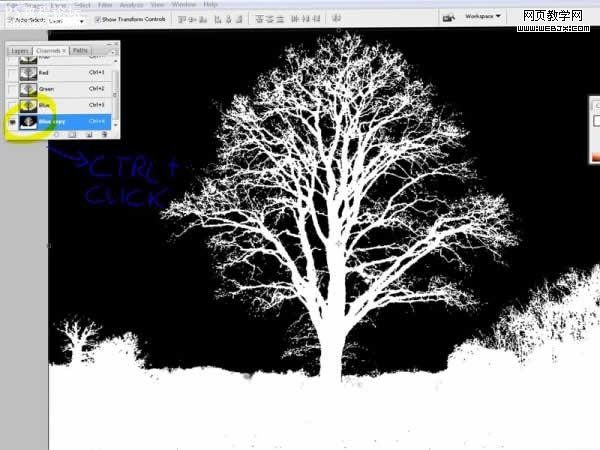
按回车确认后,然后选择树的图层,然后切换到通道面板,复制蓝色通道,按CTRL+T设置如下。
按Ctrl+I反相,按CTRL单击通道,效果如下。
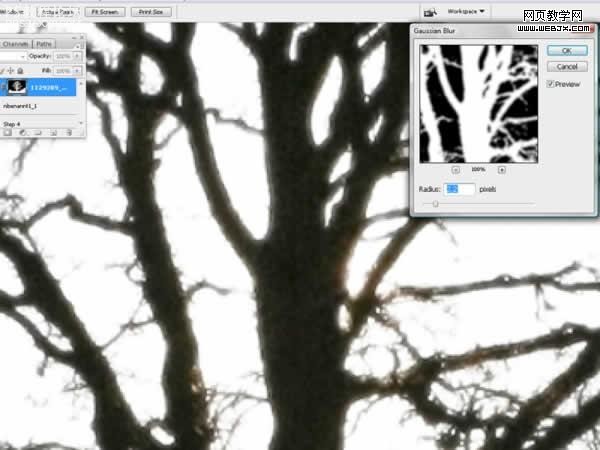
,然后按RGB通道,然后执行高斯模糊滤镜。
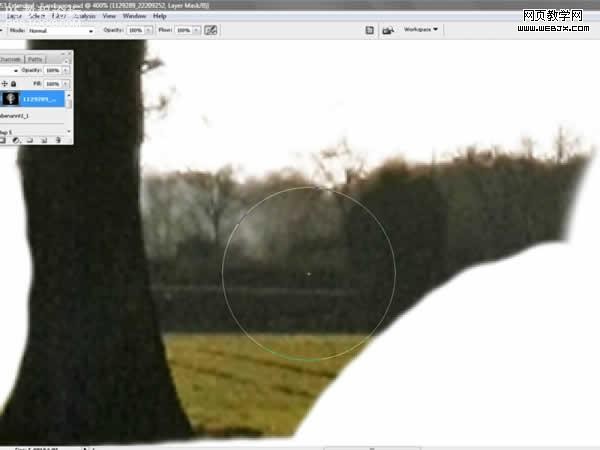
然后放大图片,添加一个蒙板,用大的笔刷涂抹,效果如下。
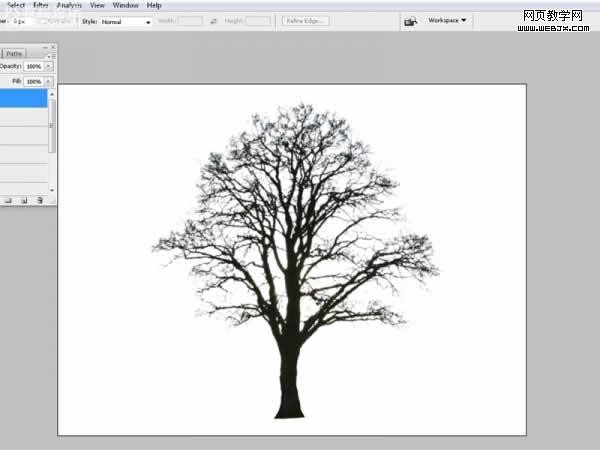
然后单击蒙板,应用蒙板,树的图案就扣取好了
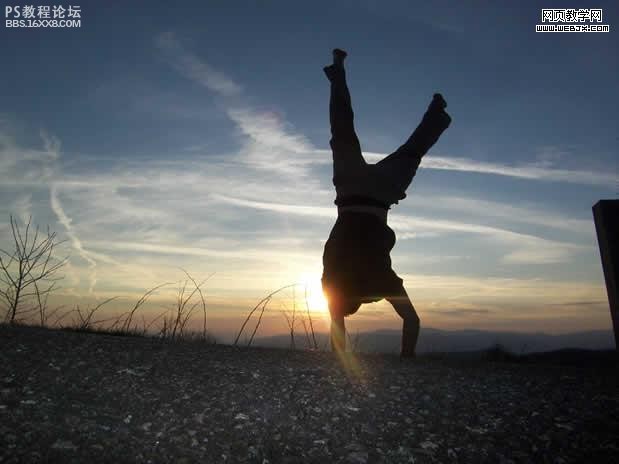
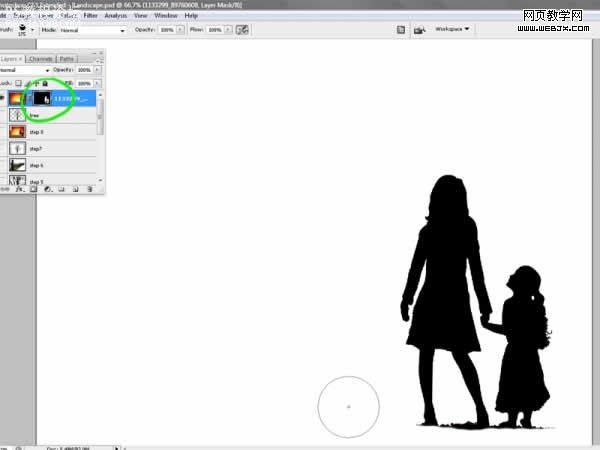
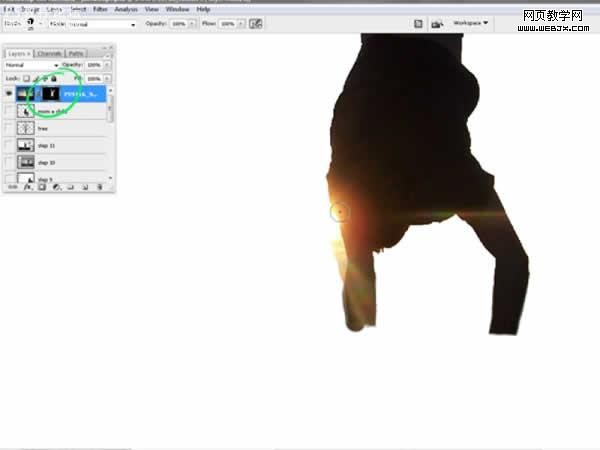
,然后打开另一幅素材,使用套索工具选择如下形状。
然后建立蒙板,用笔刷擦去不需要的部分。
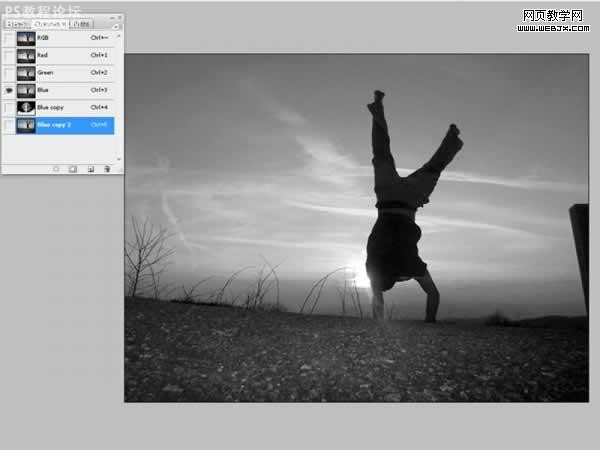
然后打开另外一素材,切换到通道面板,然后复制蓝色通道
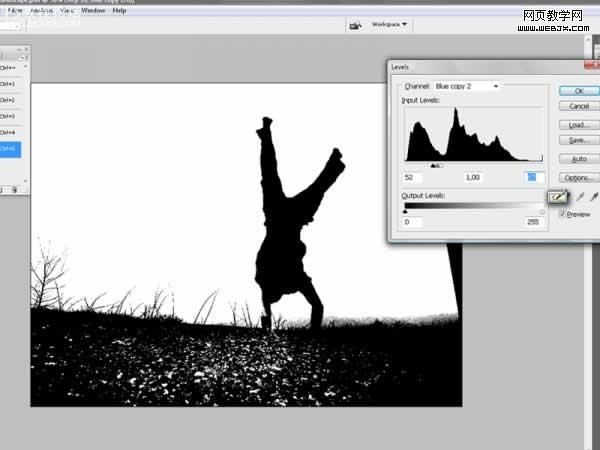
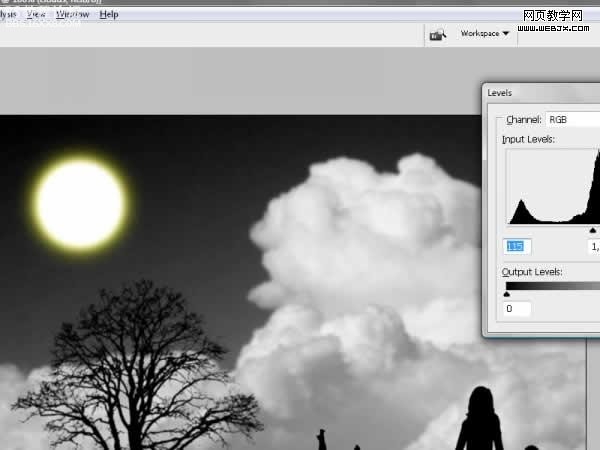
然后调整色阶
然后用画笔添加一个黄色的光照效果
,高斯模糊
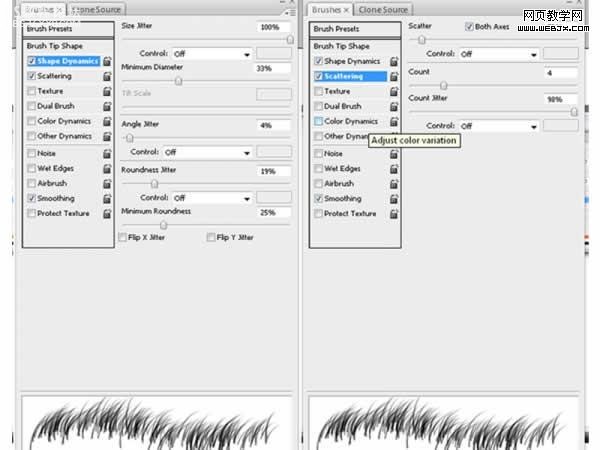
设置笔刷
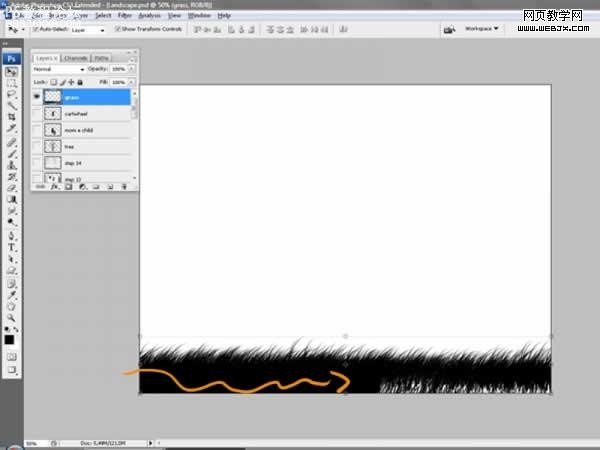
绘制一些草
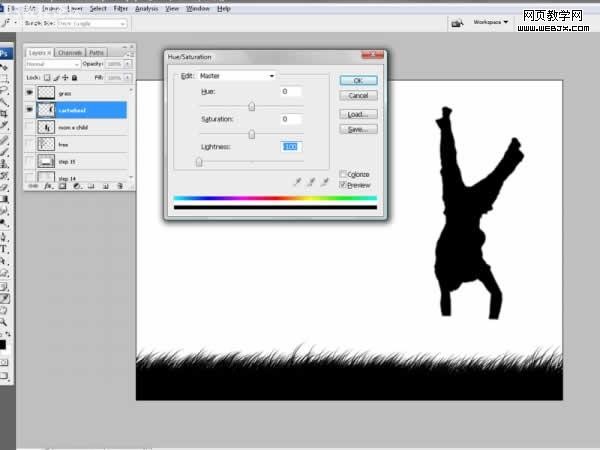
,调整色相和饱和度
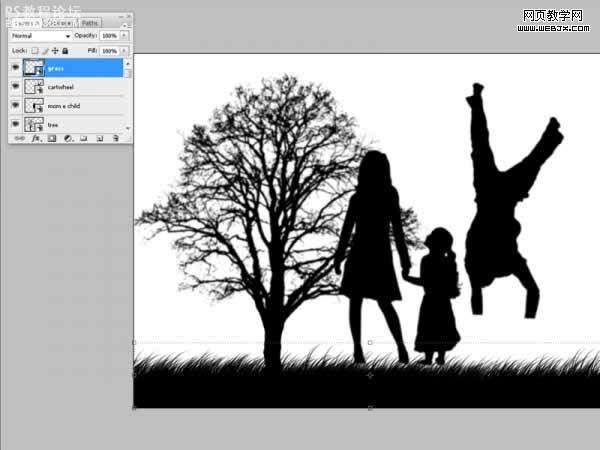
三个放到一起
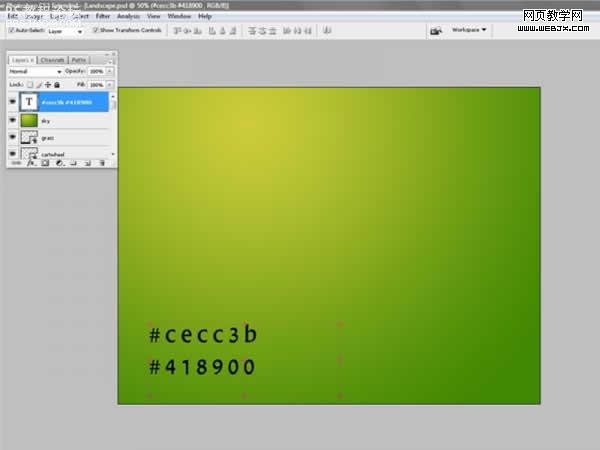
下面我们制作一个渐变背景
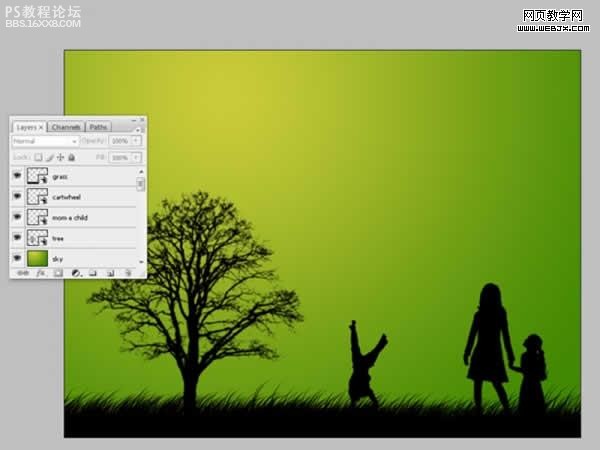
,调整图层顺序
设置画笔制作一个模糊的太阳
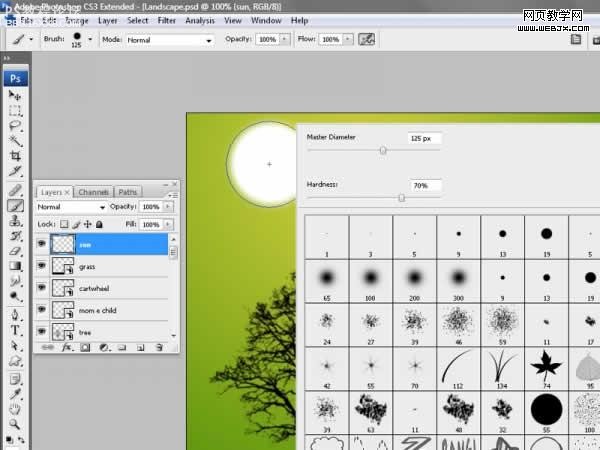
设置图层样式,让太阳发光

,转换太阳图层为智慧对象,降低不透明度为20%,效果如下。
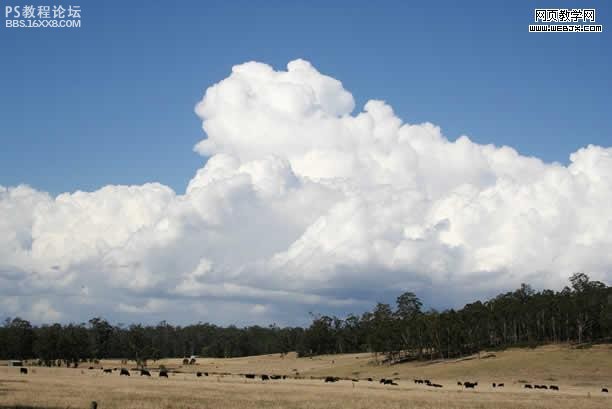
在太阳和下面的图层中间放入云彩素材。

把云彩去色,调整色阶和亮度/对比度。
最终效果。
素材1
素材2
,素材3
素材4
新建一个photoshop文档:
,然后执行文件-置入,选择树的照片,调整大小到合适位置,效果如下。
按回车确认后,然后选择树的图层,然后切换到通道面板,复制蓝色通道,按CTRL+T设置如下。
按Ctrl+I反相,按CTRL单击通道,效果如下。
,然后按RGB通道,然后执行高斯模糊滤镜。
然后放大图片,添加一个蒙板,用大的笔刷涂抹,效果如下。
然后单击蒙板,应用蒙板,树的图案就扣取好了
,然后打开另一幅素材,使用套索工具选择如下形状。
然后建立蒙板,用笔刷擦去不需要的部分。
然后打开另外一素材,切换到通道面板,然后复制蓝色通道
然后调整色阶
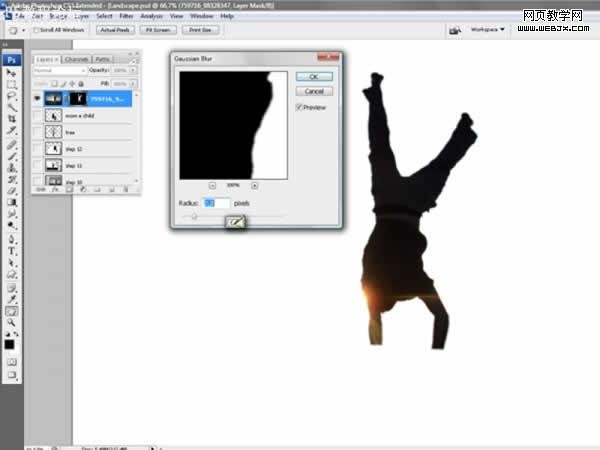
然后用画笔添加一个黄色的光照效果
,高斯模糊
设置笔刷
绘制一些草
,调整色相和饱和度
三个放到一起
下面我们制作一个渐变背景
,调整图层顺序
设置画笔制作一个模糊的太阳
设置图层样式,让太阳发光
,转换太阳图层为智慧对象,降低不透明度为20%,效果如下。
在太阳和下面的图层中间放入云彩素材。
把云彩去色,调整色阶和亮度/对比度。
最终效果。
学习 · 提示
相关教程
关注大神微博加入>>


网友求助,请回答!