Photoshop水彩风格图片效果教程(2)
来源:作者:Ps便当 来源:ENET
作者:admin
学习:6091人次
步骤 5、复制模糊层,并命名为“水彩”,反相(Ctrl + I),图层混合模式设为“颜色减淡”。
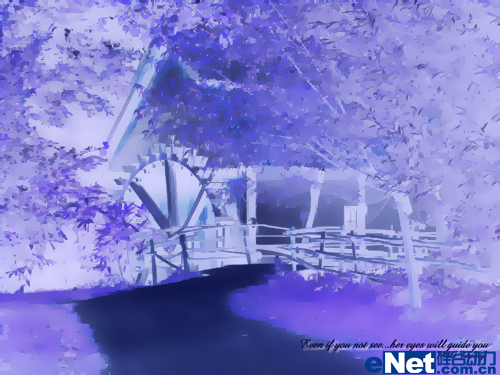
步骤 6、将前景色设为黑色,选择如下干笔刷,笔刷不透明度为10%,涂抹水彩层得到如下效果。
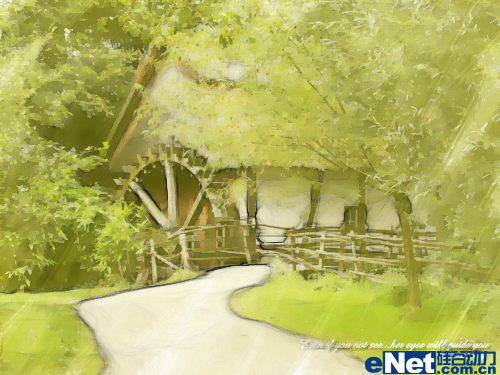
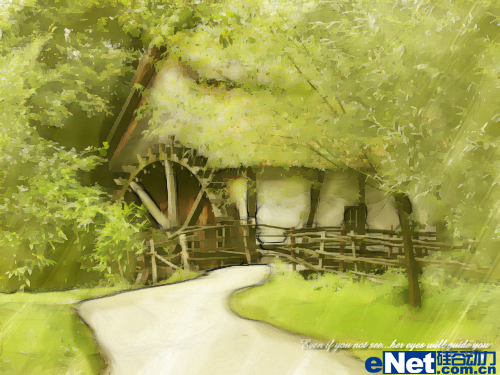
步骤 7、载入水彩笔刷(点击打开下载页面),将笔刷不透明度设为50%,大小为15px。随意涂抹水彩层的木屋处。
学习 · 提示
关注大神微博加入>>


网友求助,请回答!