Photoshop水彩风格图片效果教程
来源:作者:Ps便当 来源:ENET
作者:admin
学习:6091人次
这教程主要教大家做Photoshop水彩风格,是一套运用ps做图片效果的教程.
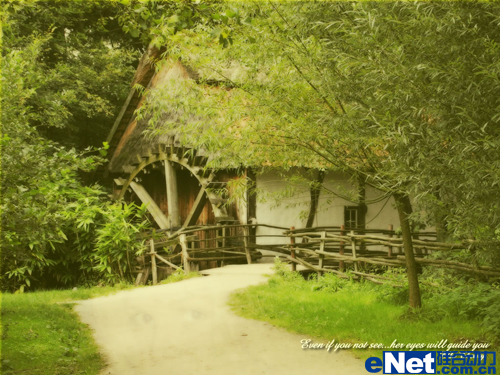
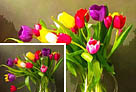
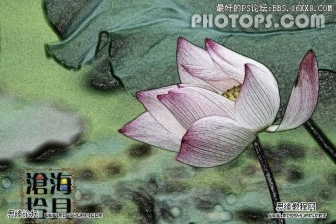
原图:
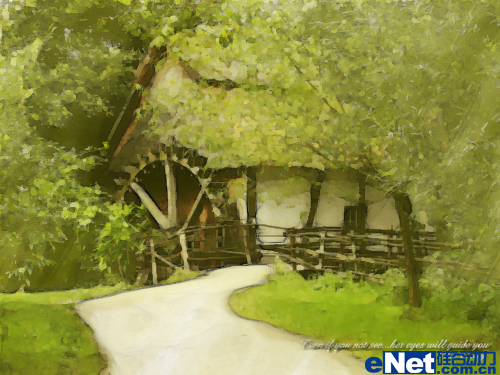
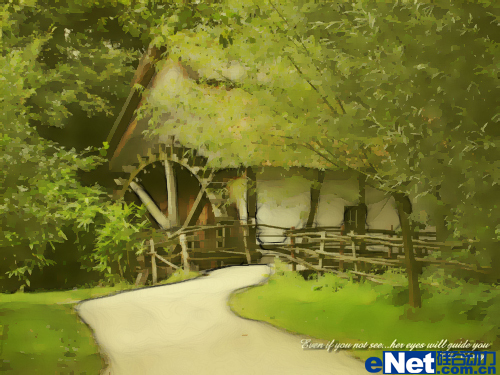
效果图:
步骤 1、打开图片素材。
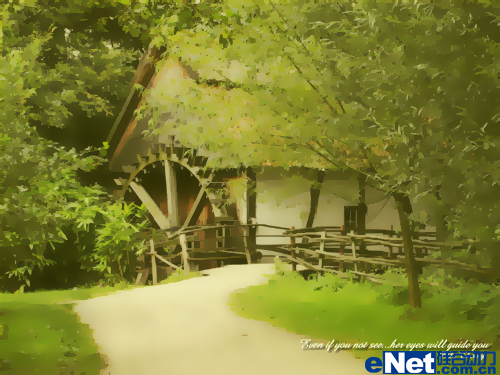
步骤 2、复制图层,并命名为“模糊层”,滤镜 >> 模糊 >> 特殊模糊,半径设为10,阀值为30。
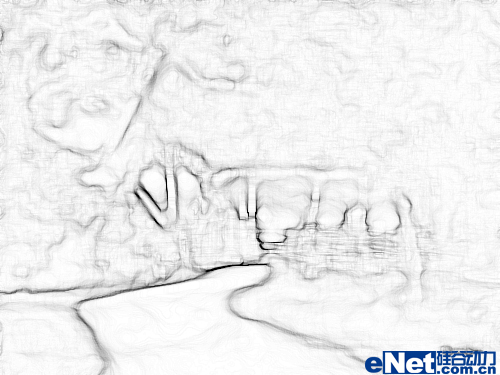
步骤 3、复制原始图层,并命名为“描边”,滤镜 >> 风格化 >> 照亮边缘,边缘宽度为1,亮度12,平滑度15;
反相(Ctrl + I),图像 >> 调整 >> 去色。
反相(Ctrl + I),图像 >> 调整 >> 去色。
步骤 4、将图层混合模式设为“正片叠底”,不透明度为80%。
学习 · 提示
关注大神微博加入>>


网友求助,请回答!