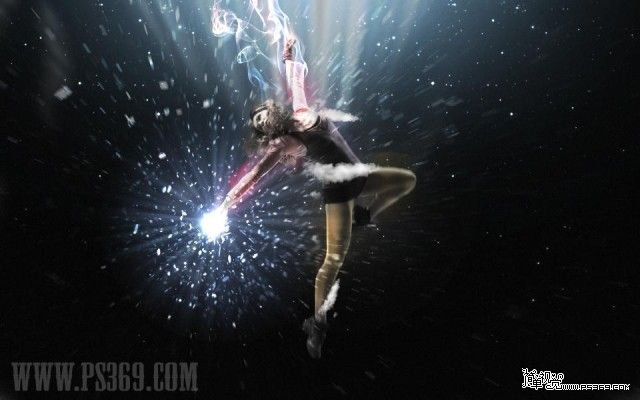
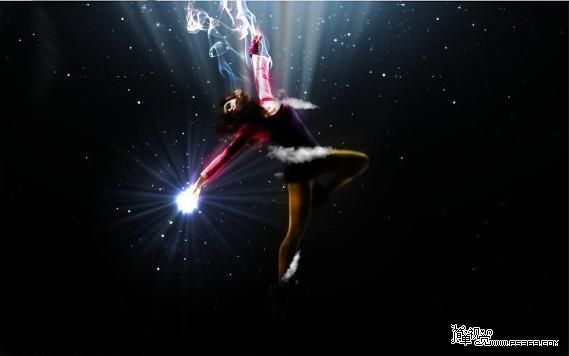
Photoshop照片合成实例:黑夜中眩光芭蕾舞者(9)
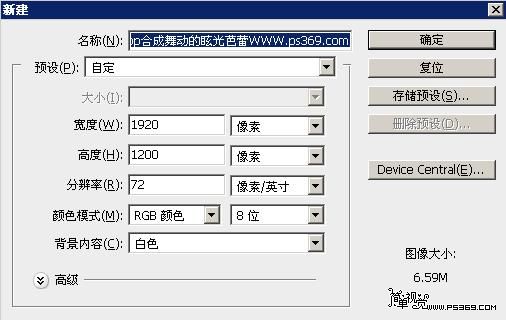
第一步:新建宽1920PX 高1200PX的画布
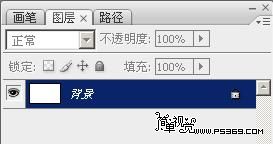
双击图层解锁,会弹出个新建图层,点击确定
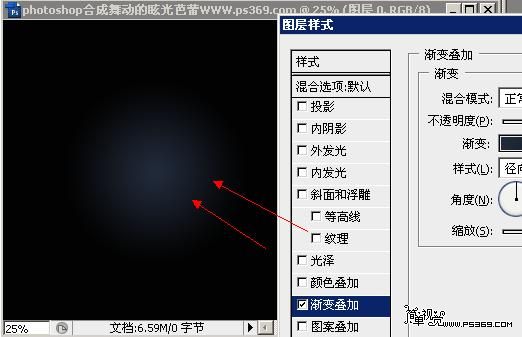
双击解锁后的图层进入图层混合模式,选择渐变叠加参数如下。
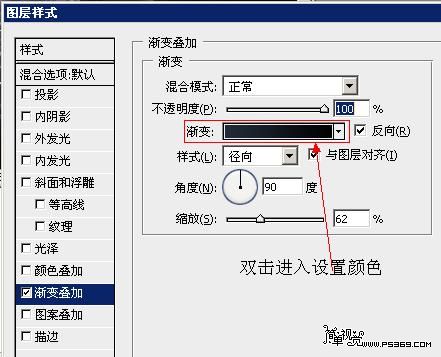
然后双击上图红框位置,进入渐变设置,从左到右为#020202→#212a3a
设置好后点击确定,然后图层样式的窗口先不要关,把鼠标放到画布上,移动光电的位置
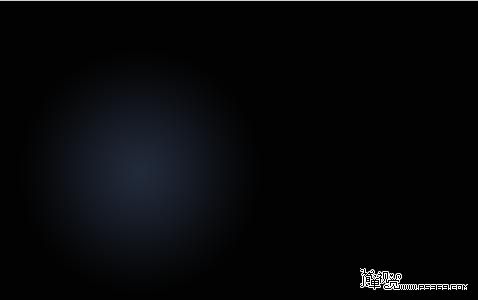
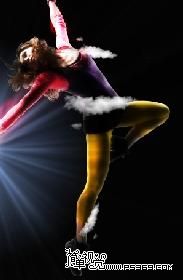
完成后效果如下
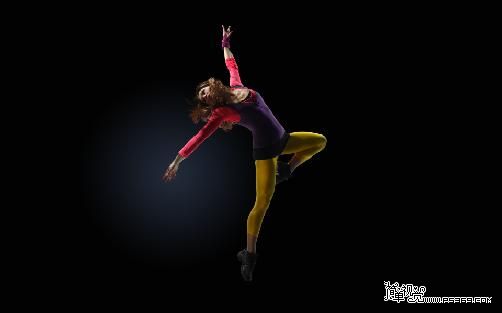
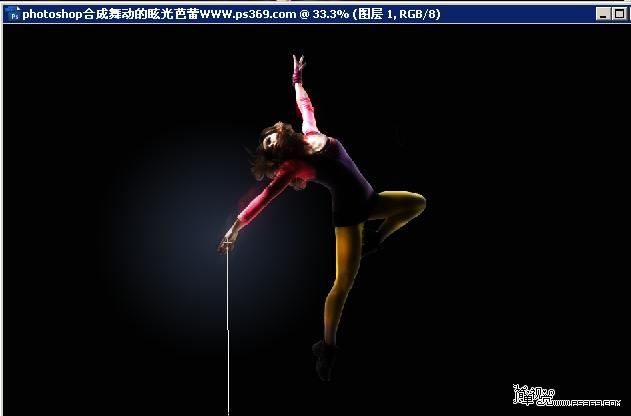
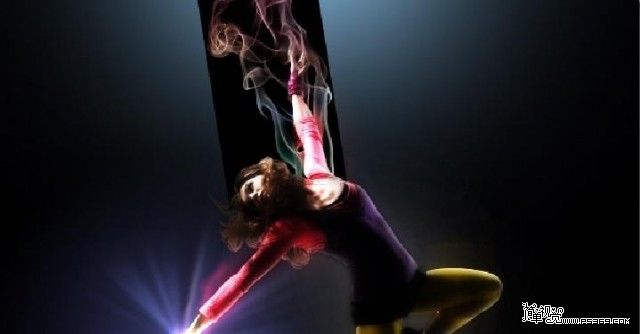
第二步:用PS打开芭蕾舞透明素材
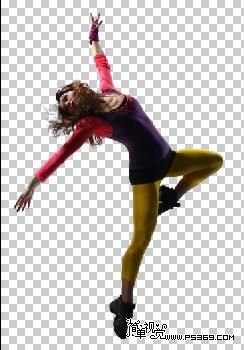
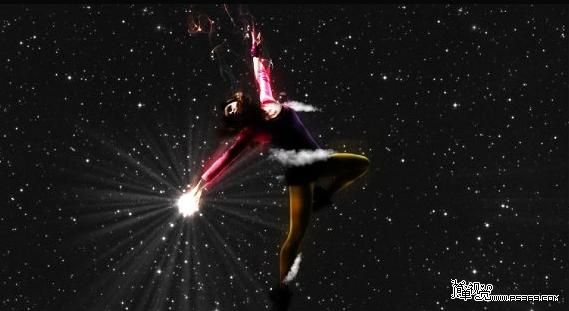
按V选择移动工具然后将图中的女孩拖动进来,使其右手处于上一步所建渐变的中心位置,效果如图,重命名图层为女孩
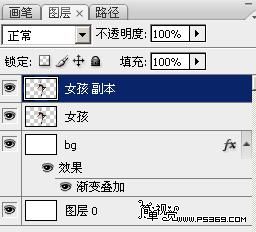
第三步:复制[女孩]图层得到[女孩副本]
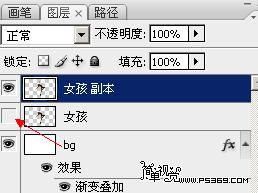
将[女孩]图层暂时隐藏。
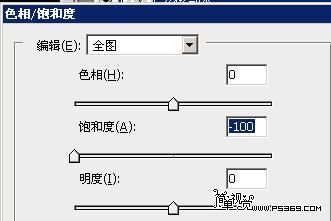
选择[女孩l副本]图层按CTRL+U调整色相/饱和度 设置饱和度为-100,现在你得到了一张灰度效果的图片
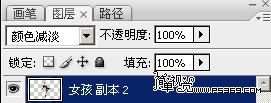
第四步:复制前面隐藏的[女孩]图层得到一个新的名为[女孩副本2]图层,将其移动到灰色的[女孩l副本]图层上面。
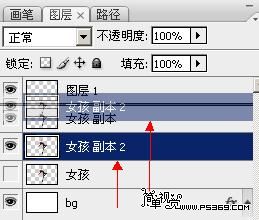
改变其图层混合模式为颜色减淡。
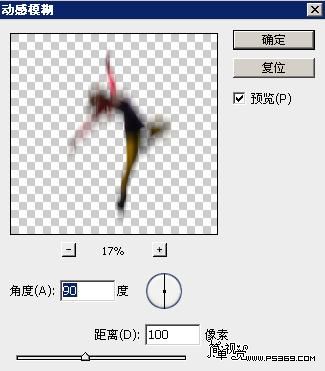
然后使用滤镜>模糊>动感模糊,设置角度为90º,距离为100。
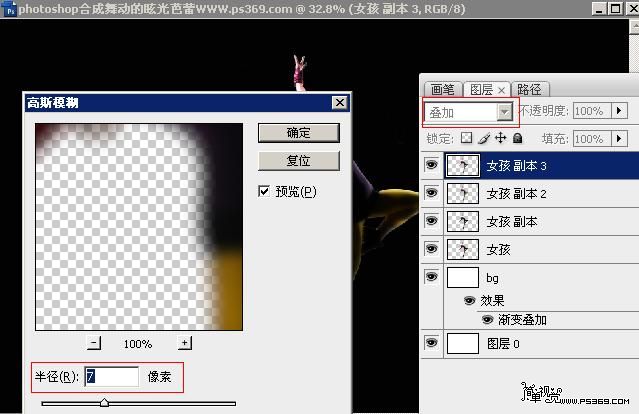
第五步:再次复制[女孩]图层得到一个新的名为[女孩副本3]的图层,
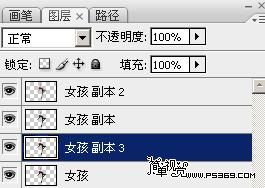
将其移动到最顶层
改变图层的混合模式为[叠加]。然后使用滤镜>模糊>高斯模糊,半径设为7像素。
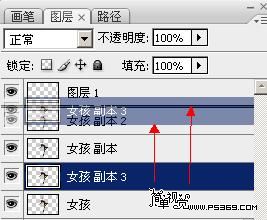
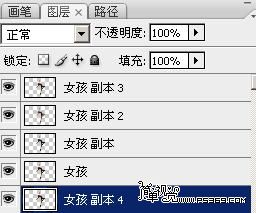
第六步:再次复制[女孩]图层得到一个新的名为[女孩副本4]的图层,将其移动到[女孩]的下面
添加高斯模糊(滤镜>模糊>高斯模糊),半径高为40像素,并改变其图层混合模式为色彩减淡。
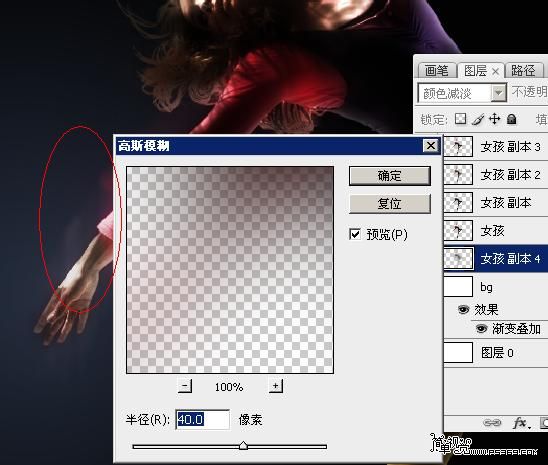
这个图层位于其它girl图层的下方,在建立光线和其它特效之前可以为girl建立一个外发光的效果(主要在女孩的右手位置会发生光效)。
然后选择有关girl的5个图层,按CTRL+G,将这几个图层编组,并命名为:girl。
说明:做以上几步的时候如果是CS3以上版本可以使用智能滤镜,在图层上右键转换为智能滤镜,然后选择应用滤镜,该滤镜可以象图层样式一样添加到图层下面,以方便随时关闭或更改滤镜参数。
——————————————————————————————————————
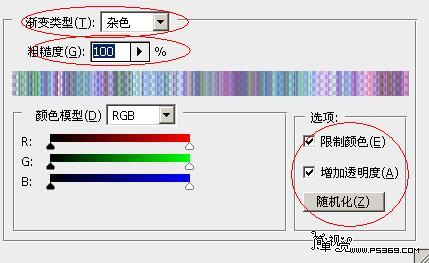
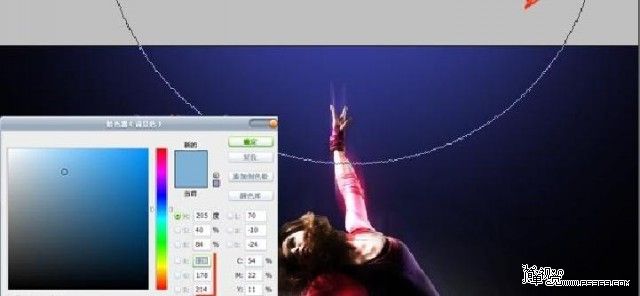
第七步:选择渐变工具双击下图红色箭头位置编辑渐变的颜色。
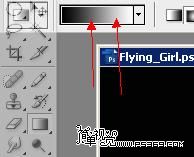
将其[渐变类型]设置为杂色,[粗糙度]100%,并将[限制颜色]和[增加透明度]两项勾选。如下图
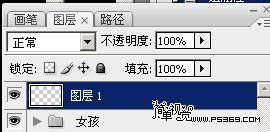
第八步:在女孩图层组的最上方新建一个图层用于制作渐变
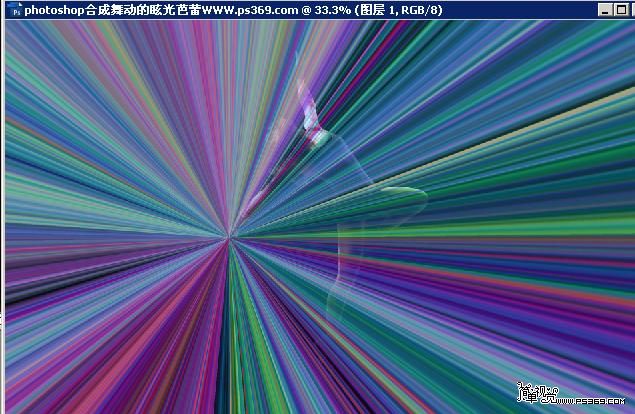
渐变类型选用角度渐变,勾选反相,仿色,透明区域
然后在女孩的右手部为中心用渐变填充图层。效果如下图。
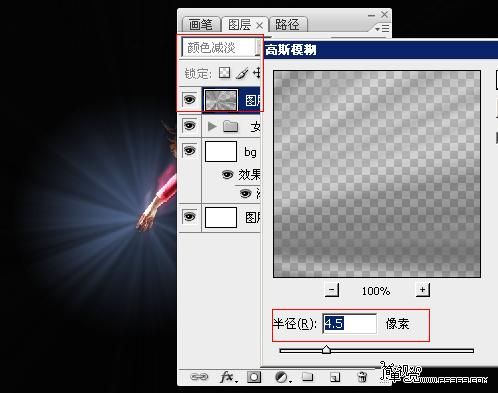
第九步:用图像>调整>去色(快捷键:Ctrl+Shift+U)
添加高斯模糊,半径设为4.5像素,设置图层混合模式为颜色减淡
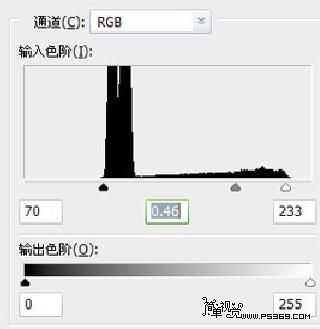
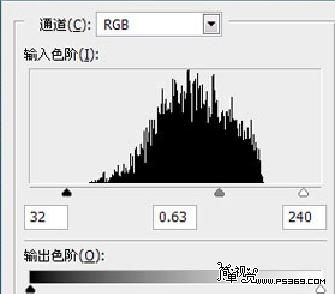
再使用图像>调整>色阶(快捷键:Ctrl+L)调整,增加白色的光线,
随后用橡皮工具或蒙版将大部分的光线擦去,只保留女孩右手周围的一小块,具体可以以背景层的渐变为参考。
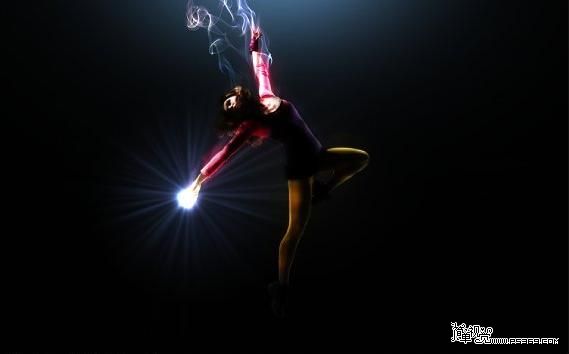
第十步:在图层的最上面建立一个新的图层文件夹并命名为Light,改变这个文件夹的图层混合模式为颜色减淡。
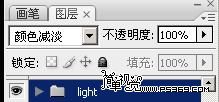
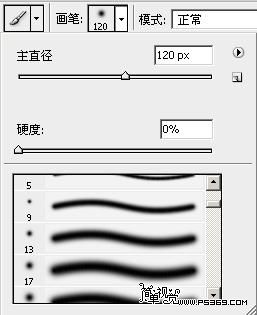
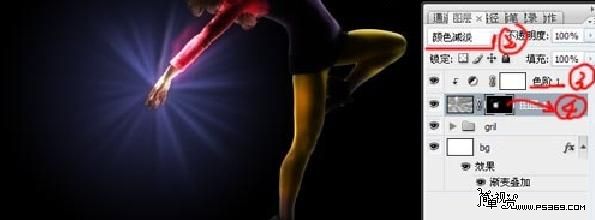
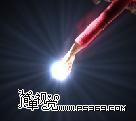
在这个文件夹里新建一个图层,选择画笔工具,设置一种默认的圆头软笔,画笔大小约为120像素左右,硬度为0%,
前景色设为白色。在MM的右手部画一白光。
第十一步:现在让我们在MM的身后加一些光。新建一个新层,将其放置到bg图层上方(MM身后),选择画笔工具,将不透明度设置为5%,前景色为白色,用一个软笔刷在MM的身后画一点光。
第十二步:现在将前景色设为蓝色并选择一个大一点的软笔刷,新建一层并在图像的上方画一点蓝光。
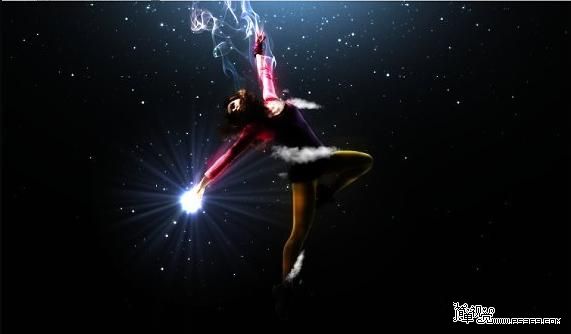
第十三步:打开提供的烟雾素材
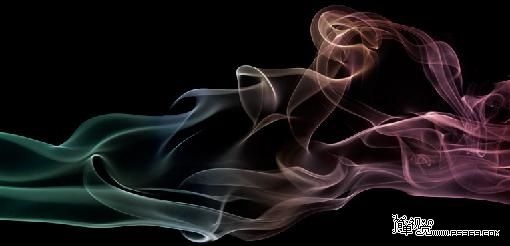
将其放置到文档中,缩小并旋转如下图。将其混合模式改为颜色减淡。
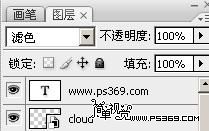
第十四步:打开云的素材,将其置入文档中最上层,并命名为 [cloud] 首先将其去色(Ctrl+Shift+U),

然后调整其色阶(CTRL+L),使其背景完全成为黑色,
再将混合模式改为滤色,这时黑色的背景将变得透明。
第十五步:按CTRL+J复制云的图层,按CTRL+T缩小并旋转并放置到你认为何适的位置。同样,在MM的身后放一两朵云,以加深空间感。效果如图
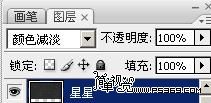
第十六步:下面打开我们的星空素材,把这张图片置于文档中并将其图层混合模式改为颜色减淡,
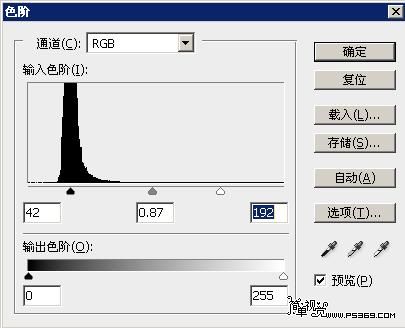
再用色阶(Ctrl+L)将星空进行调整,直到黑色完全消失,只剩星光点点。
效果如下
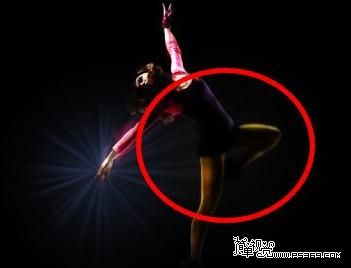
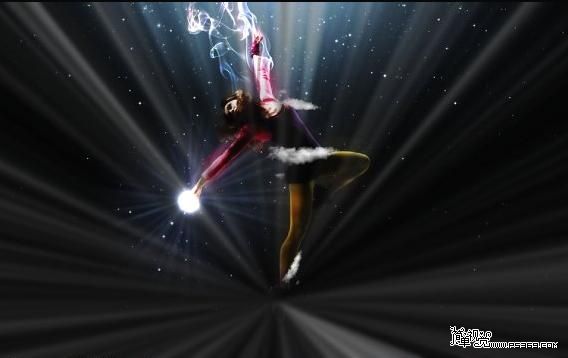
第十七步:重复第八步 盒 九 建立另一个角度渐变。这次的渐变中心从MM的右脚开始,然后用橡皮工具或蒙版,抹掉其它的部分,只保留MM头顶蓝光的部分,这步操作使得图像看起来好象在 顶部有一束光线射进入。如果你想让光线更亮些,可以复制这束光线层几次,在这里我复制了2次,所以这里有3个光线层。
色阶参数如下
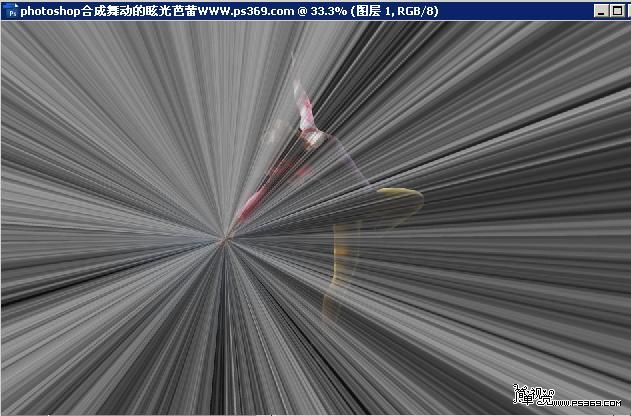
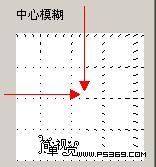
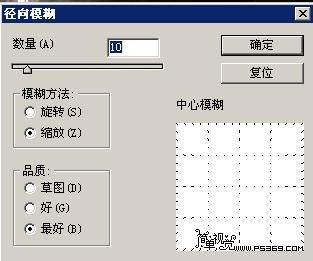
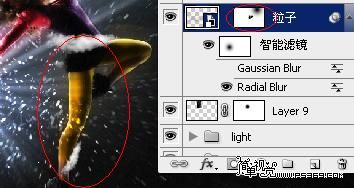
第十八步:打开粒子 素材把这张图放到文档里并使用滤镜>模糊>径向模糊这步最困难的地方在于如何确定径向模糊的中心,因为这个想法需要模糊中心位于MM的右手 处,但在PS中径向模糊无法在图中准确定位中心。解决这个问题似乎只有将这个粒子图层转换为智能图层,然后加智能滤镜,这样可以多次修改滤镜的设置,直到 自己觉得合适。将数量设置为10,模糊方法定为缩放,品质为最好。
看好像有人不会定位 我这里补充下,进入径向模糊,用鼠标在中心模糊位置调整
然后添加一个图层蒙板,用黑色笔刷檫掉人物腿部的粒子
你可以在最上层新增一个图层添加一点杂点,以增强真实感。完成最终效果!
学习 · 提示
相关教程