Photoshop做个人主页教程
来源:
作者:
学习:11307人次
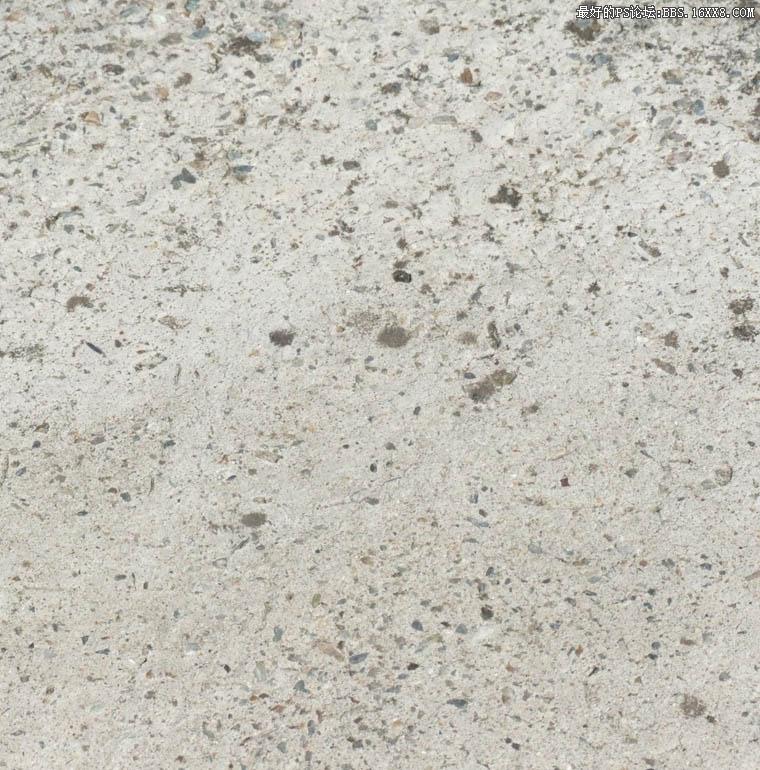
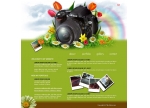
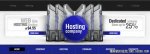
步骤 1、创建画布,并导入如下素材。
步骤 2、调整色相/饱和度(图像 >> 调整 >> 色相/饱和度)。
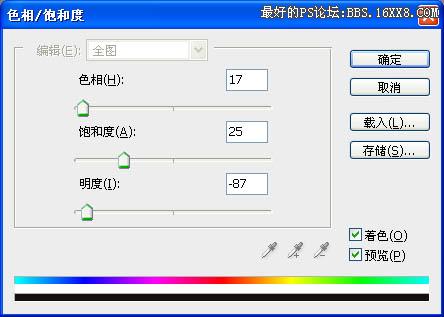
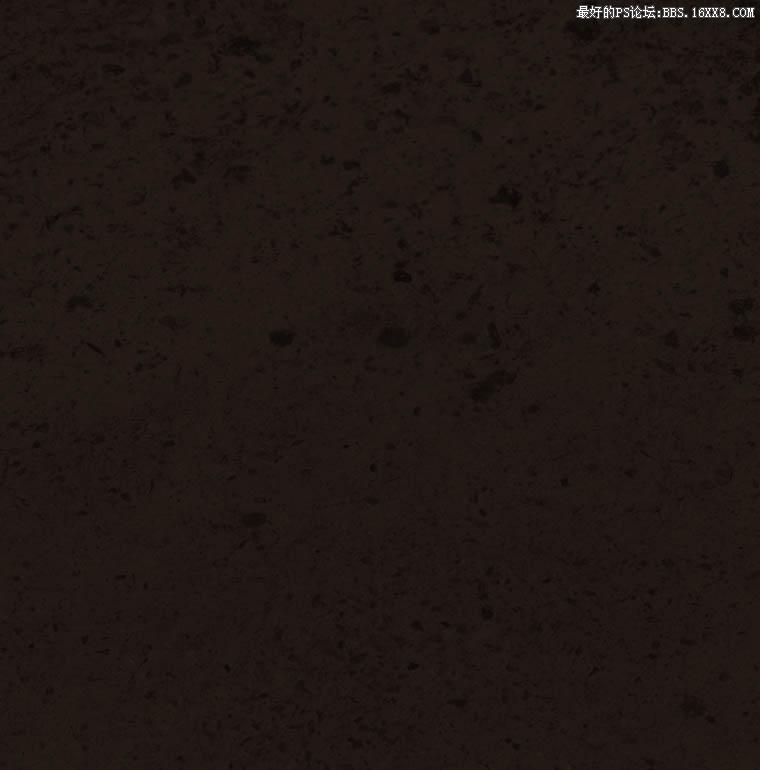
得到如下效果:
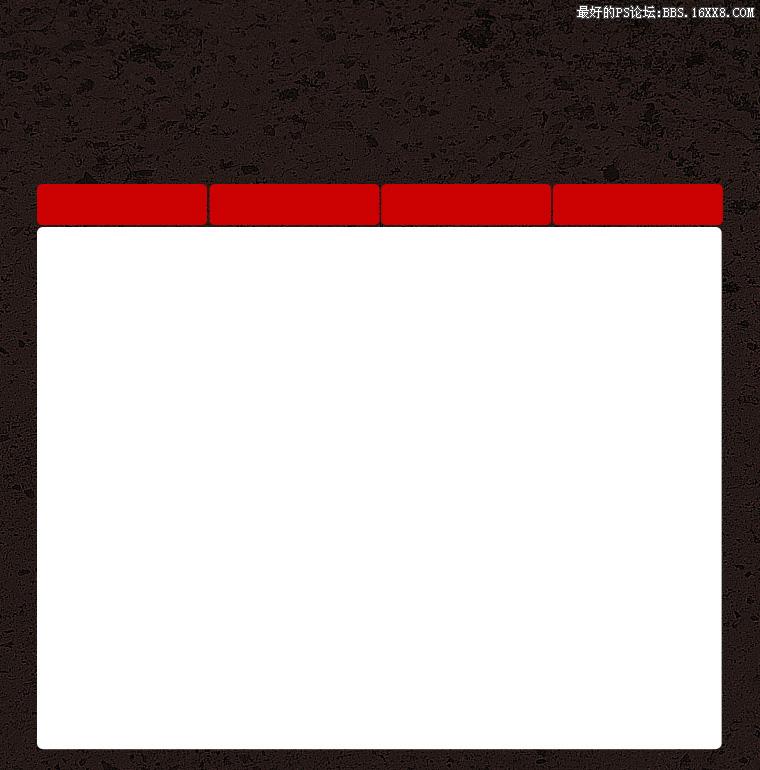
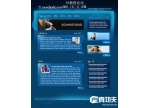
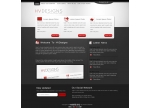
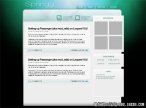
步骤 3、使用圆角矩形工具绘制标题栏与内容框。
步骤 2、调整色相/饱和度(图像 >> 调整 >> 色相/饱和度)。
得到如下效果:
步骤 3、使用圆角矩形工具绘制标题栏与内容框。
学习 · 提示
相关教程
关注大神微博加入>>


网友求助,请回答!