冷暖对比色调效果(3)
来源:
作者:
学习:7497人次
5、新建一个图层,盖印图层,执行:滤镜 > 画笔描边 > 深色线条,参数设置如图8,确定后把人物部分用黑色画笔擦出来,效果如图9。
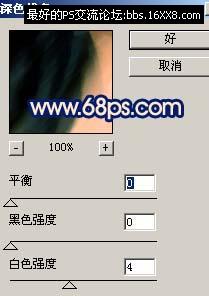
<图8>

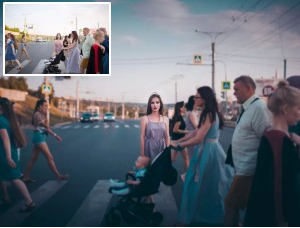
<图9>
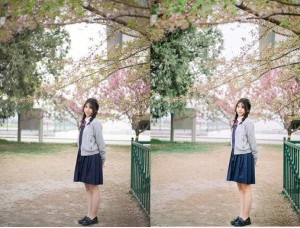
6、新建一个图层填充颜色:#44648B,然后把图层混合模式改为“叠加”,加上图层蒙版把人物部分用黑色画笔擦出来,效果如图10。

<图10>
7、新建一个图层,按Ctrl + Alt + ~调出高光选区,填充颜色:#FBEBBF,然后把图层混合模式改为“正片叠底”,效果如图11。

<图11>
8、新建一个图层盖印图层,把图层混合模式改为“滤色”,图层不透明度改为:20%,效果如图12。

<图12>
9、新建一个图层盖印图层,适当的给人物磨下皮,效果如图13。

<图13>
学习 · 提示
相关教程
关注大神微博加入>>


网友求助,请回答!