合成《魔幻之夜》场景的教程(6)
来源:
作者:
学习:5266人次
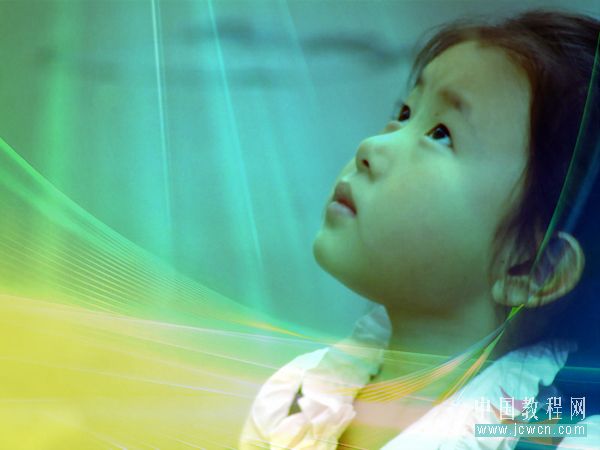
第十四步:将【素材2】拖入【魔幻之夜】中,重命名为【云】,然后按【Ctrl+T】键调成图层大小及位置,如下图所示。
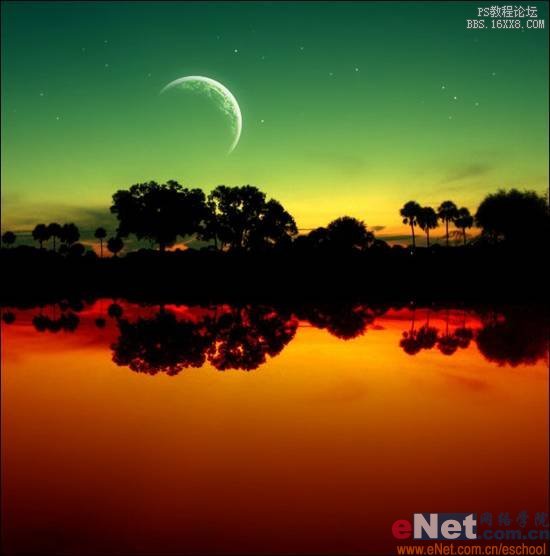
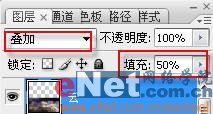
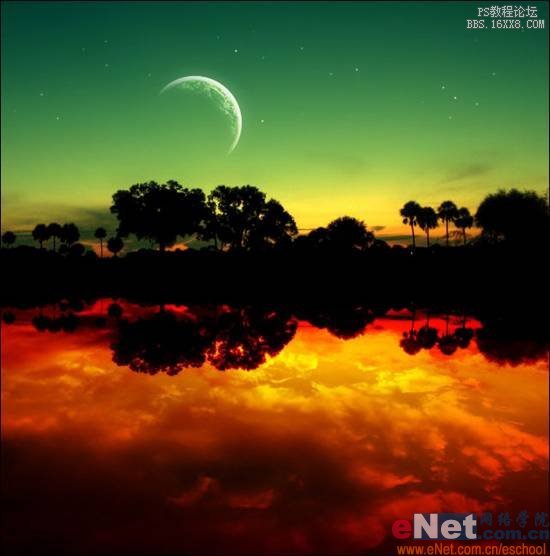
第十五步:将【云】的图层模式改为【叠加】,填充不透明度改为50%,效果如下图所示。

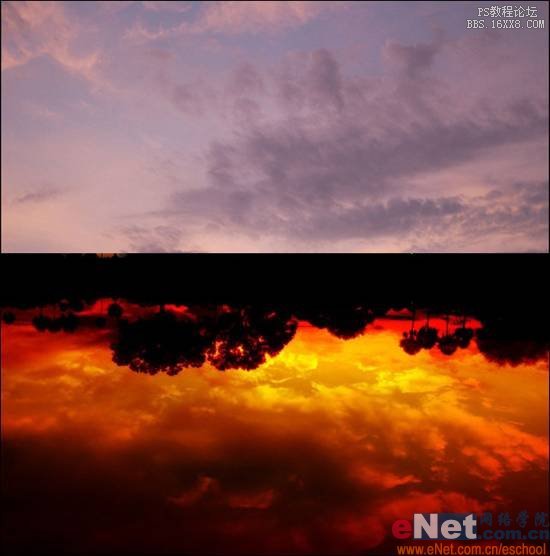
第十六步:我们对画面的上部进行类似的操作,将【素材3】拖入,并重命名为【云2】,调整其大小及位置,如下图所示。
第十七步:类似第十五步的操作,将【云2】的图层模式改为【叠加】,填充不透明度改为50%,效果如下图所示。
学习 · 提示
相关教程
关注大神微博加入>>


网友求助,请回答!