PS照片添加透明马赛克特效和暖色调(3)
来源:
作者:
学习:205人次
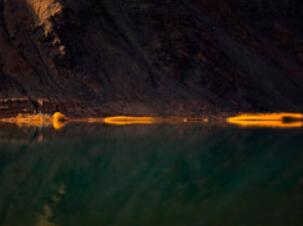
最终效果

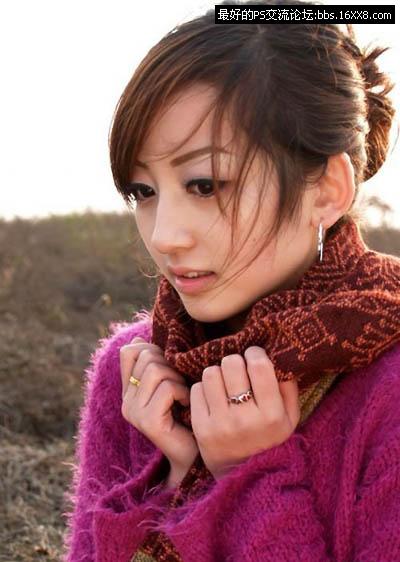
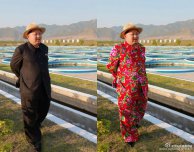
原图
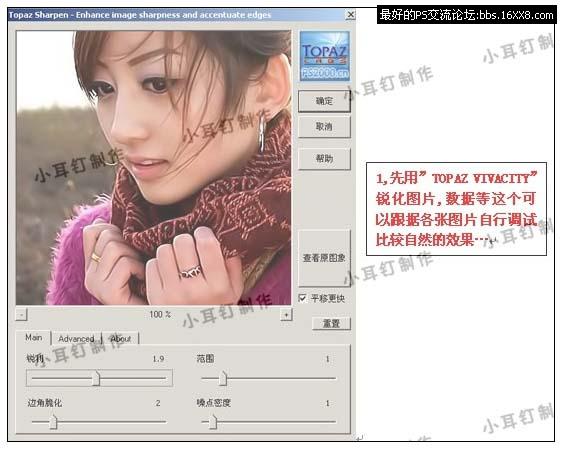
1、打开原图,先用Topaz滤镜锐化一下,参数设置如下图。
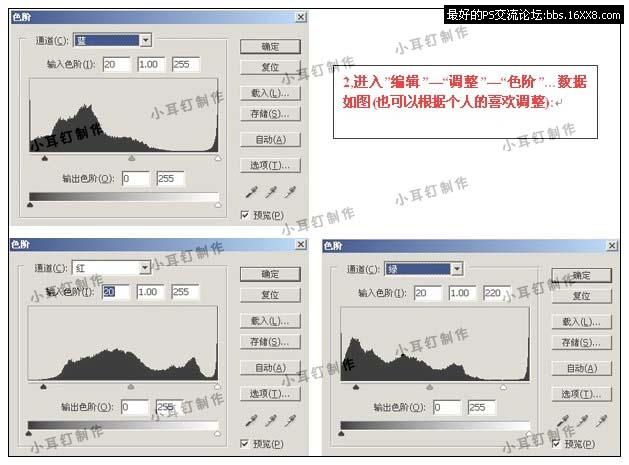
2、创建色阶调整图层,参数设置如下图。
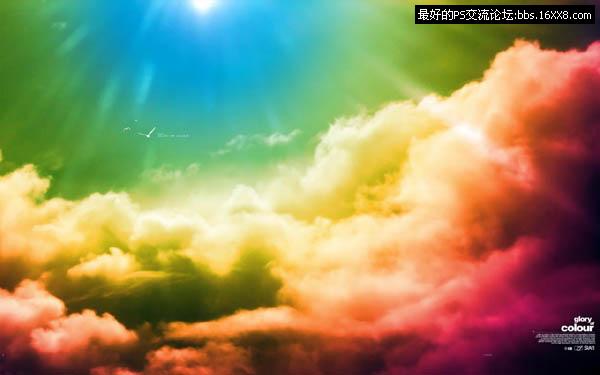
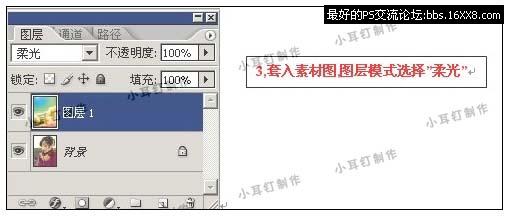
3、打开素材图片拖进来,适当的拉大一点,然后把图层混合模式改为“柔光”。
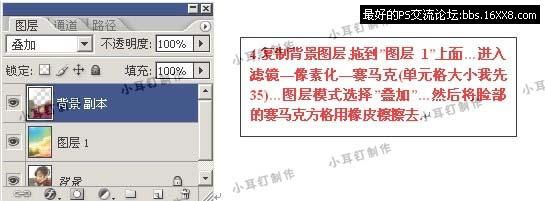
4、把背景图层复制一层,按Ctrl + Shift + ]移到图层最上面,执行:滤镜 > 像素化 > 马赛克,数值为35,确定后把图层混合模式改为“叠加”,然后用橡皮工具把人物脸部位置擦掉。
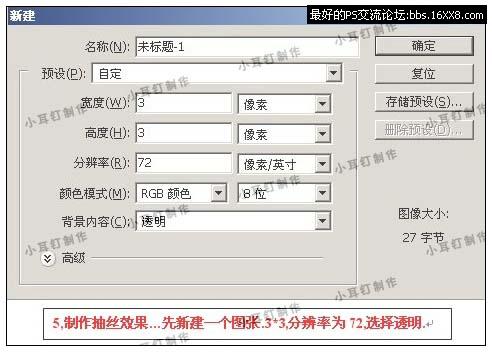
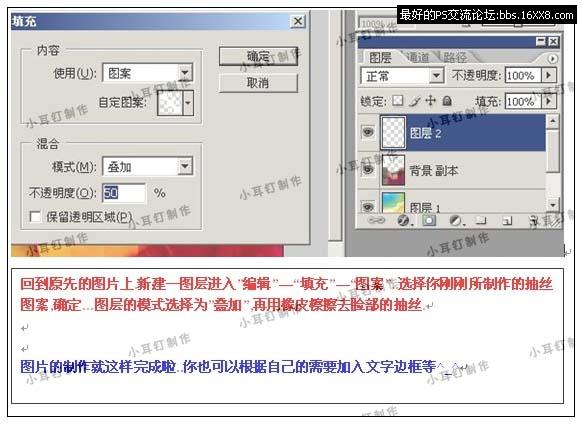
5、制作抽丝效果,先新建一个图3 * 3像素,背景为透明,参数设置如下图。
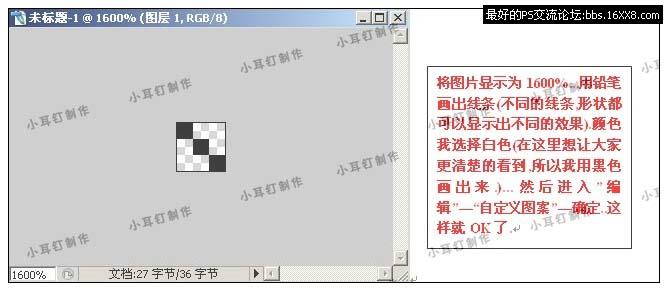
将图片稍微放大,用铅笔点出下图所示的图形,选择菜单:编辑 > 自定义图案。
回到原来的文件,新建一个图层,选择菜单:编辑 > 填充,选择刚刚定义的图案,参数设置如下图,确定后,用橡皮工具把人物脸部位置擦出来,完成最终效果。
学习 · 提示
相关教程
关注大神微博加入>>


网友求助,请回答!