photoshop合成雪中女王(5)
来源:
作者:
学习:2547人次
Place it on a layer under the girl's one. Mark it out and erase the background which it was situated on and then decolorize the layer.
放置在MM层下面,使用橡皮擦将胸针外的地方擦除,并将胸针大小调整到刚好和MM脑袋大小吻合当作MM的皇冠。

Make the brooch look bluer, applying Image -Adjustments -Photo Filter.
点击图像-调整-图片滤镜将胸针的色调也变成蓝色。

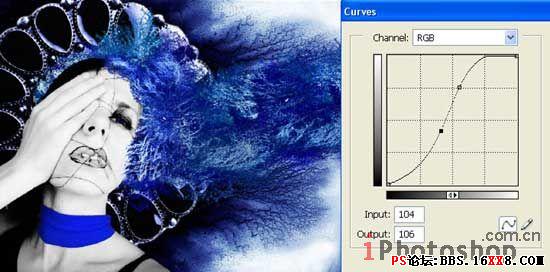
Get back to the background's layer and work with the color: make it profounder: (Curves)
回到背景层,调整色彩曲线,使得背景色更深邃一些。

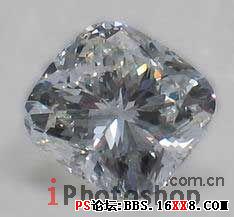
Insert on a new layer the picture of a diamond.
新建层,添加一款钻石的图片。

学习 · 提示
关注大神微博加入>>
网友求助,请回答!


