photoshop合成雪中女王(3)
来源:
作者:
学习:2547人次
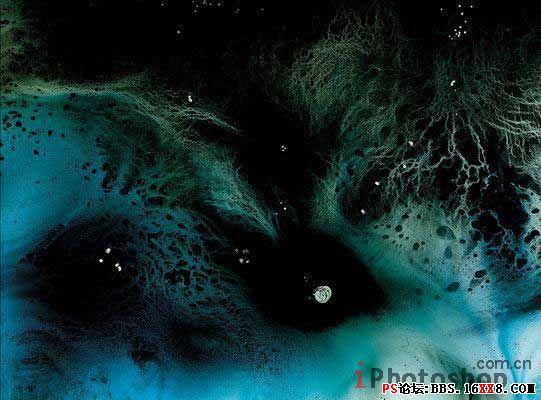
Open now on a new layer a certain texture (File - Open).
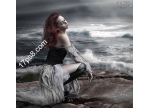
在心图层中打开一幅特定纹理的图片(文件-打开)。
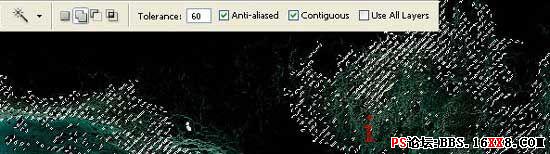
Choose Magic Wand Tool and mark out a certain part of this texture for copying it: Edit -Copy (ctrl+c). Insert it on a new layer and get back to the processed picture: Edit -Paste (ctrl+v)
选择魔术棒工具,选中纹理的一部分,复制(ctrl+c),粘贴到新层中。
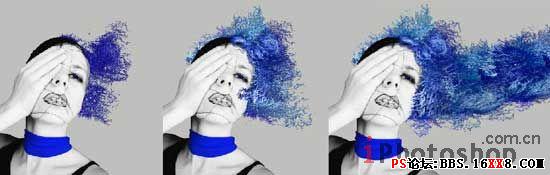
Insert a texture's part on different layers, changing their colors also (Hue/Saturation)
将刚刚粘贴过来的纹理颜色更改为MM围巾颜色相同色调的颜色,纹理多复制几层,包在MM头上形成假发的效果^_^(这种做法一定要学会哦~)
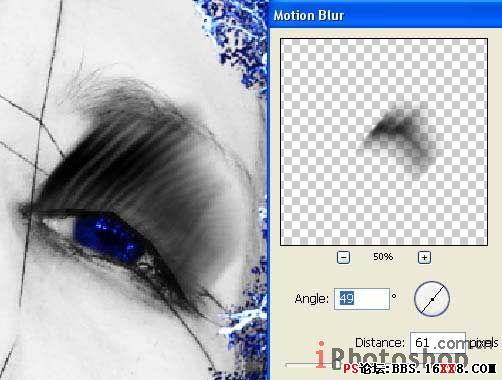
Then finish the eyes' make up on a new layer, using for this the Brush Tool and Filter -Blur -Motion Blur.
给MM美化一下眼睫毛,新建层,使用画刷工具给MM画上睫毛,点击滤镜-模糊-动感模糊。
学习 · 提示
关注大神微博加入>>


网友求助,请回答!