教你如何制作自己的个性涂鸦(5)
来源:
作者:
学习:11969人次
来源:构成论坛 作者:天佑勤酬
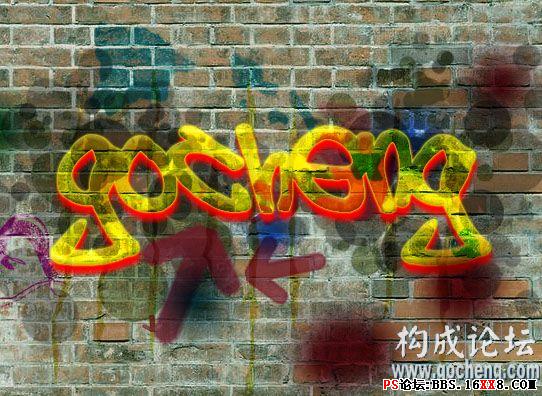
本教程介绍墙壁涂鸦效果的制作方法。思路:找好相关的墙壁素材,然后自己就可以任意的的去涂鸦,可以加字或者文字,也可以适当的给图形加点阴影等样式。作品越夸张越好!
最终效果
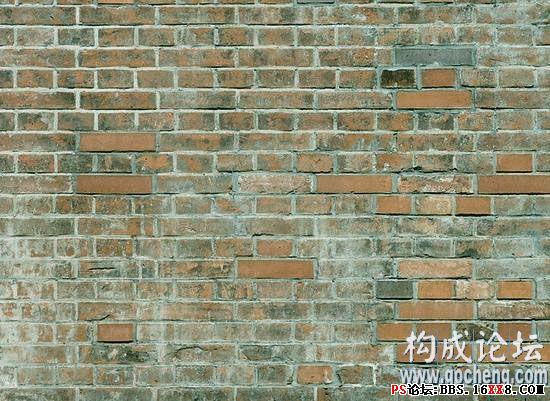
素材
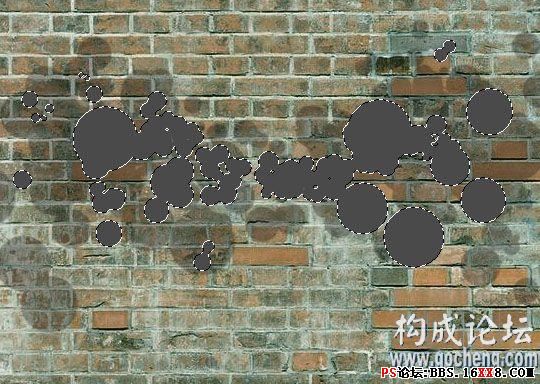
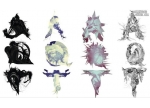
1、打开图像,新建图层,用画笔或者椭圆工具,画出图1的效果。
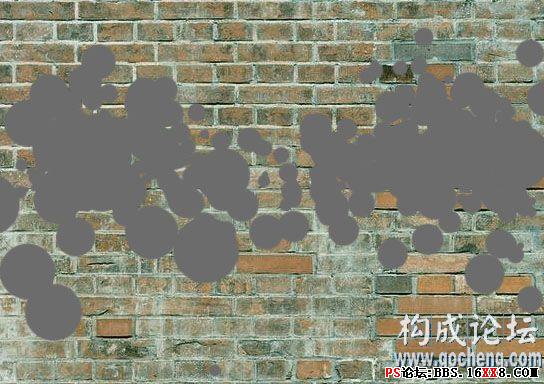
<图1>
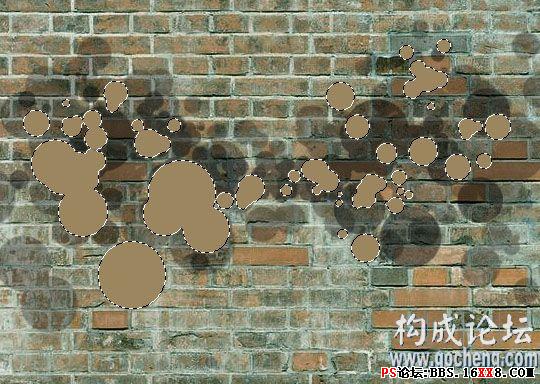
2、设置层模式为“正片叠底”,调节透明度 得到如图2的效果
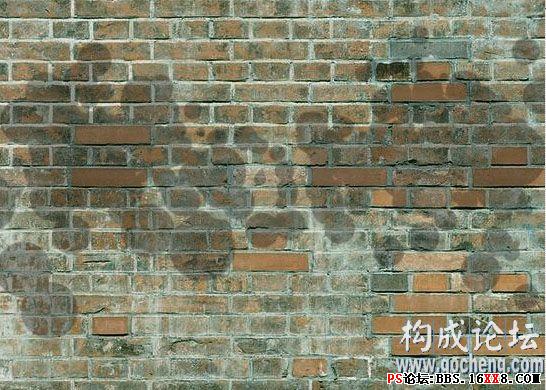
<图2>
3、继续添加圆形,如图3,颜色可以比上一次用的灰度深一些,然后模式设置成“正片叠底”,效果如图4
<图3>

<图4>
4、重复刚才的步骤,画出员 效果如图5、图6
<图5>
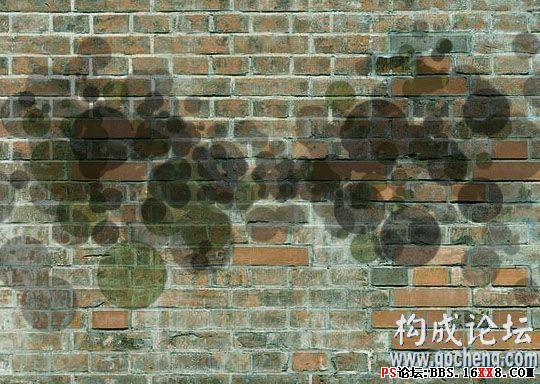
<图6>
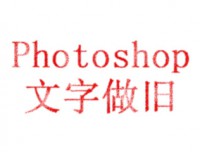
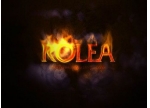
5、输入文字,字颜色随你选了,栅格化图层文字,双击栅格后的图层、设置图层属性。参数如图7、8、9.得到图10的效果
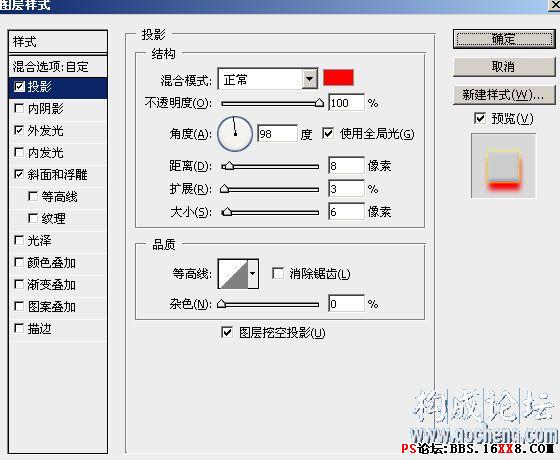
<图7>
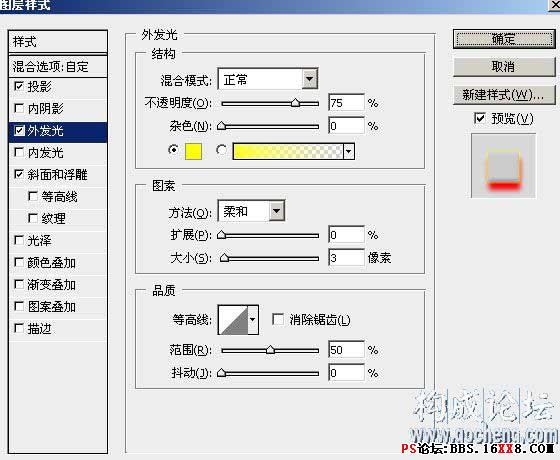
<图8>
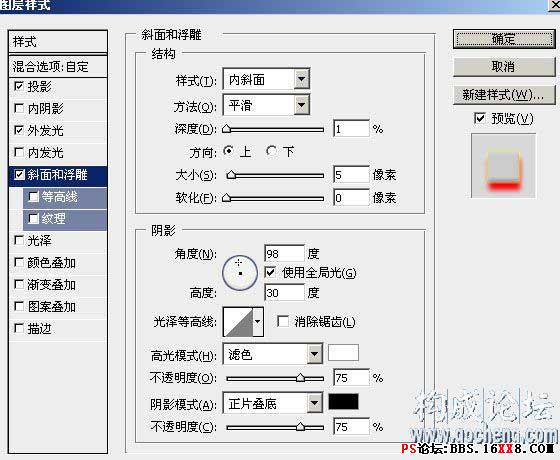
<图9>
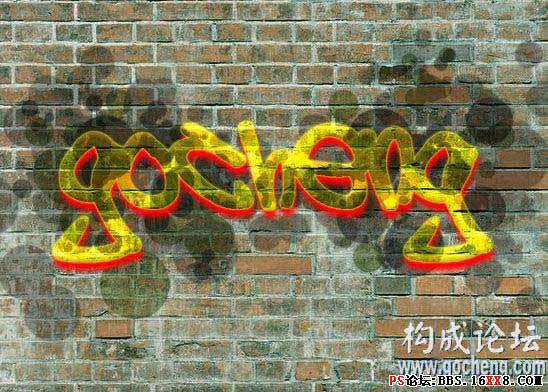
<图10>
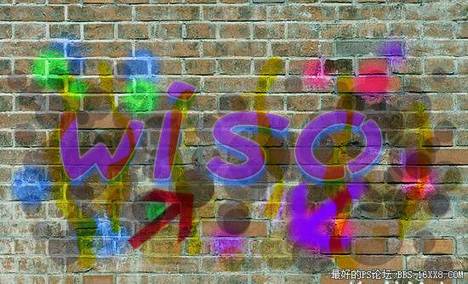
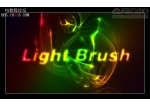
6、新建图层,使用软边缘画笔工具,在画面上随便的点上几点,层模式改为“叠加”,如图11的效果。
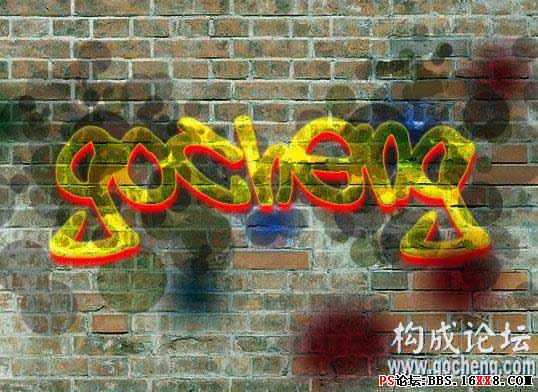
<图11>
7、隐藏所有图层,只显示背景层,用画笔工具在画面上画几道,如图12

<图12>
8、执行滤镜-液化,画出如图13的效果
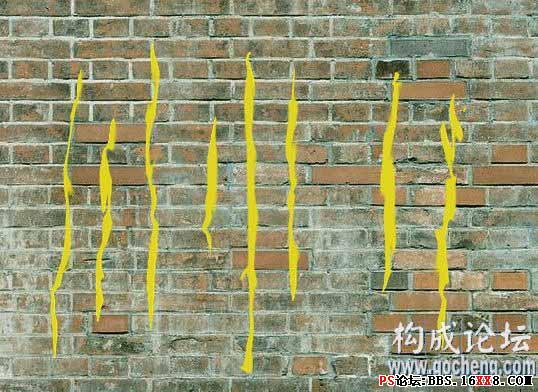
<图13>
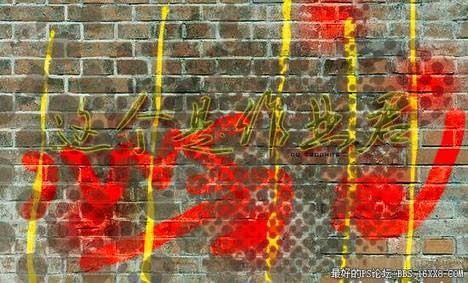
9、设置层属性为叠加,现实所有图层,如图14的效果。基本就完成
<图14>
本教程介绍墙壁涂鸦效果的制作方法。思路:找好相关的墙壁素材,然后自己就可以任意的的去涂鸦,可以加字或者文字,也可以适当的给图形加点阴影等样式。作品越夸张越好!
最终效果
素材
1、打开图像,新建图层,用画笔或者椭圆工具,画出图1的效果。
<图1>
2、设置层模式为“正片叠底”,调节透明度 得到如图2的效果
<图2>
3、继续添加圆形,如图3,颜色可以比上一次用的灰度深一些,然后模式设置成“正片叠底”,效果如图4
<图3>
<图4>
4、重复刚才的步骤,画出员 效果如图5、图6
<图5>
<图6>
5、输入文字,字颜色随你选了,栅格化图层文字,双击栅格后的图层、设置图层属性。参数如图7、8、9.得到图10的效果
<图7>
<图8>
<图9>
<图10>
6、新建图层,使用软边缘画笔工具,在画面上随便的点上几点,层模式改为“叠加”,如图11的效果。
<图11>
7、隐藏所有图层,只显示背景层,用画笔工具在画面上画几道,如图12
<图12>
8、执行滤镜-液化,画出如图13的效果
<图13>
9、设置层属性为叠加,现实所有图层,如图14的效果。基本就完成
<图14>
学习 · 提示
相关教程
关注大神微博加入>>


网友求助,请回答!