ps制作绚丽的光束文字动画(6)
来源:photoshop联盟
作者:Sener
学习:11218人次
9、把光束图层复制一层,底部的光束图层锁定图层不透明度像素后填充白色,如下图。

<图12>
10、顶部的光束图层混合模式改为“叠加”,效果如下图。
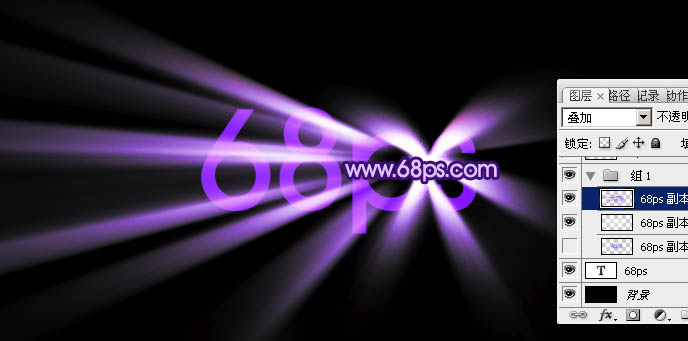
<图13>
11、新建一个组,同上的方法制作其它光束,光束的中心点需要自己调整,效果如图14,15。
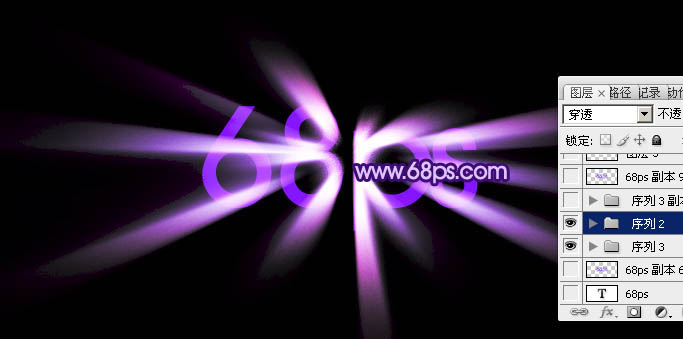
<图14>

<图15>
<图12>
10、顶部的光束图层混合模式改为“叠加”,效果如下图。
<图13>
11、新建一个组,同上的方法制作其它光束,光束的中心点需要自己调整,效果如图14,15。
<图14>
<图15>
学习 · 提示
相关教程
关注大神微博加入>>


![[IR动图教程] PS与ImageReady制作精致闪光吊坠图案](http://pic.16xx8.com/article/UploadPic/2007/10/29/2007102991935828_lit.gif)

网友求助,请回答!