加影子,在PS中给人物添加影子(3)
来源:公众号
作者:幸光设计
学习:9265人次
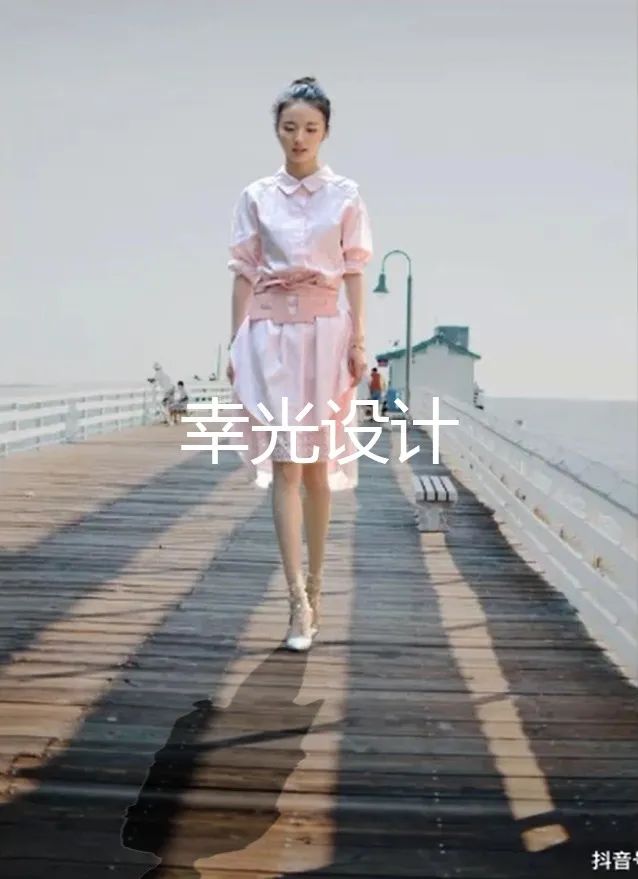
效果图:
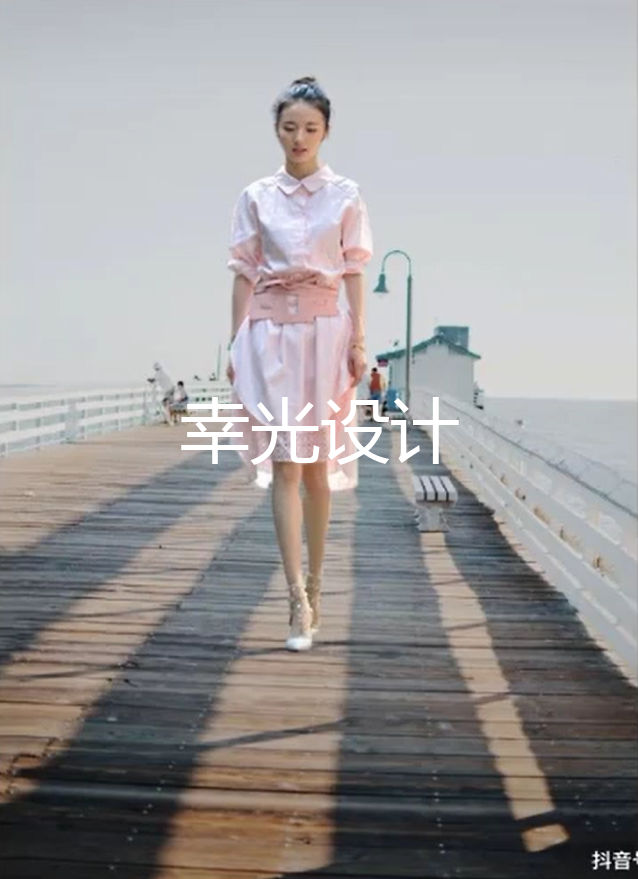
原图:
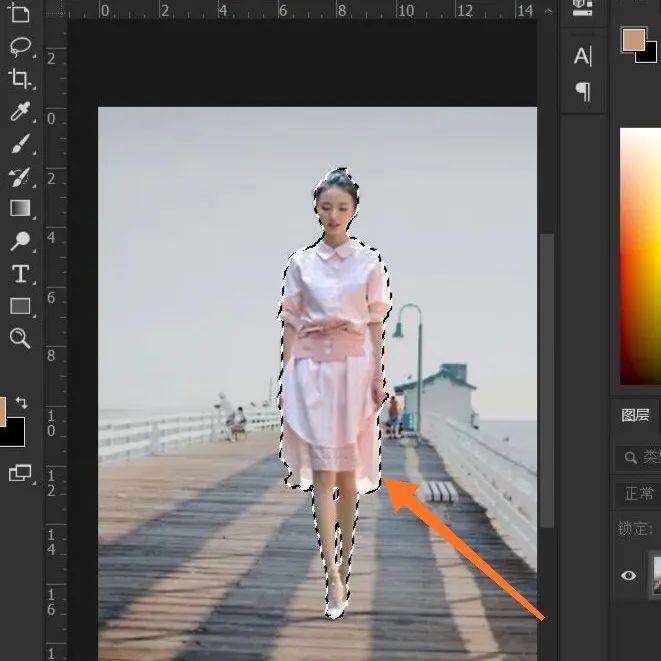
打卡素材,选择主体功能,建立选区
 搜索公众号photoshop教程论坛,免费领取自学福利
选择快速选择工具,删除多余选区(按住alt键删除)

复制两层人物图层(快捷键http://www.16xx8.com/photoshop/jiaocheng/110097.html:CTRL+J键)

选择第二个图层,勾选锁定按钮,填充黑色背景色(快捷键:CTRL+delete键),然后取消锁定按钮

打开变换选区(快捷键:CTRL+T键)

向下拖拽影子到人物腿部

右击,选择旋转180°

再次向下移动影子到合适位置

右击,选择斜切命令

向左调整影子位置,按下回车键确定

最后降低图层不透明度,效果就出来了

完成:
学习 · 提示
相关教程
关注大神微博加入>>


网友求助,请回答!