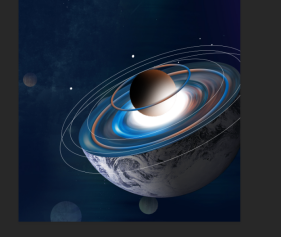
海报制作,制作一款漫步太空的科幻类海报(3)
来源:公众号
作者:火虎教育
学习:3535人次
前景色调整为黑色,
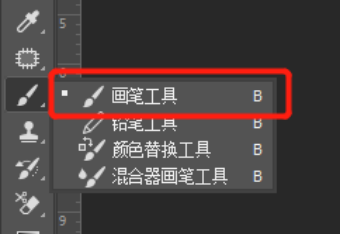
用画笔B
柔边圆(调整笔头大小快捷键【】),
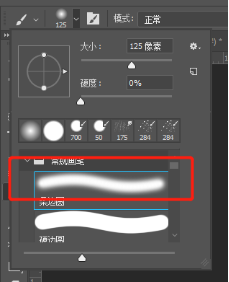
属性栏调整,

涂抹遮住小球的部分
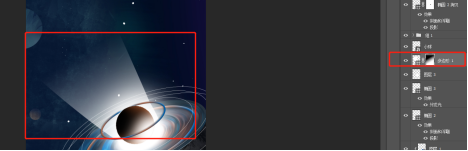
14新建图层 添加光晕
新建图层,调整图层顺序在小球下边,前景色调整为白色,用画笔B柔边圆,属性栏调整

在小球部分点点
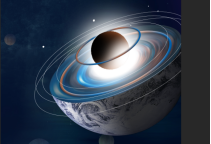 15添加背景光晕
选择多边形工具U,
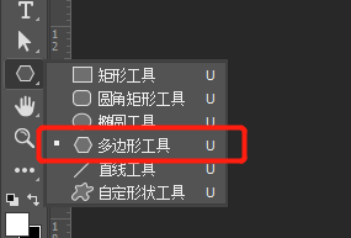
调整属性栏,

画三角形,用小白工具
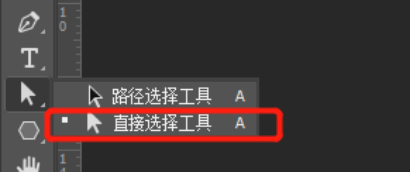
调整以及添加锚点(右击鼠标添加/删除锚点),
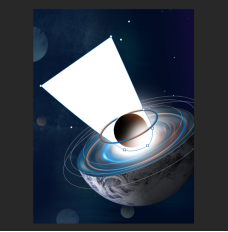
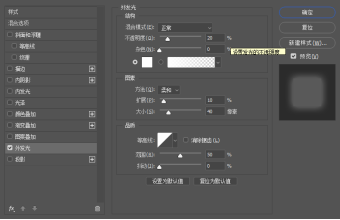
给三角形添加蒙版,用渐变工具G,属性栏调整为黑白渐变,在蒙版拖拽,
前景色调整为黑色,用画笔B柔边圆(调整笔头大小快捷键【】),属性栏调整,

涂抹下方边缘比较生硬的部分,和白色圆更融合
实在不太明白的同学可以直接给的素材哦-多边形1,根据自己的情况擦除底部的效果)
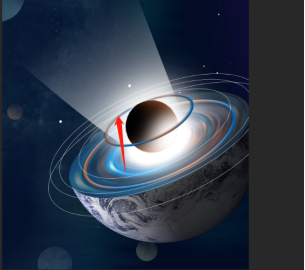
16内星球环细节补充选中上方的彩色线圈的图层蒙版,用画笔柔边圆(属性栏的不透明度适当减小)

把和白色光(三角)重合的部分擦一点,效果弱化一些
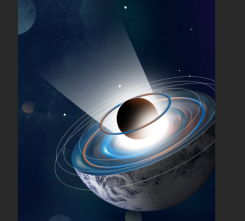
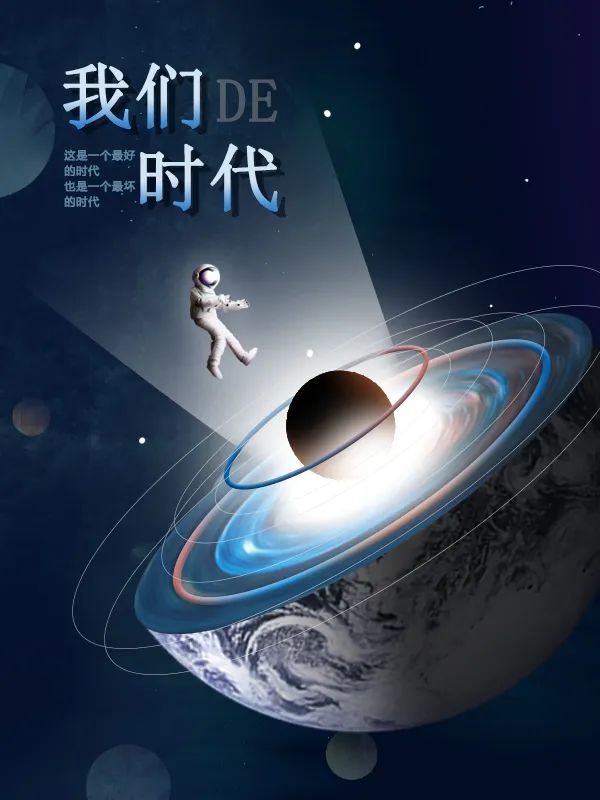
 17拖入素材调整
拖入素材宇航员,给宇航员添加一点外发光的效果(数
值可以根据自己的效果再调整)
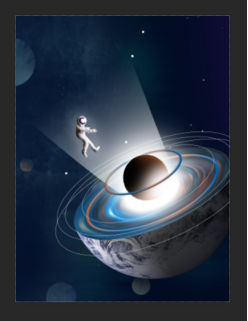 文案可自行添加,或者拖入文案素材,调整位置
18保存
保存:源文件:Ctrl+S,PSD格式,方便以后修改,Ctrl+Alt+shift+ S,存储为web所用格式,选择图片JPEG格式(可秀朋友圈或者发给别人欣赏哦)
完成:
(图片及授权来源于网络)
(图片及授权来源于网络)
通过自己喜欢的PS来拥抱太空,感觉是不是很奇妙呢?我们可以在PS里遨游在自己喜欢的场景里,这就需要同学多加练习才可以,这样就可以创建很多有趣的场景,动手操练起来吧。
学习 · 提示
相关教程
关注大神微博加入>>


网友求助,请回答!