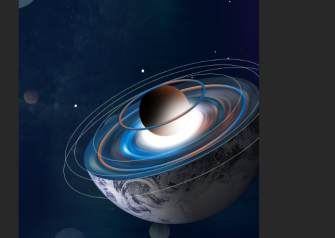
海报制作,制作一款漫步太空的科幻类海报(2)
来源:公众号
作者:火虎教育
学习:3535人次
7调整星空效果
选中调整后的星空图层,按Ctrl+T自由变换,调整大小以及位置,右击鼠标,创建剪贴蒙版http://www.16xx8.com/tags/38848/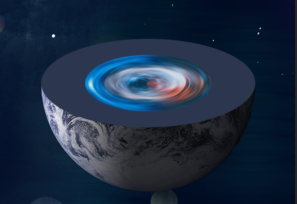
(注意图层顺序,椭圆图层在下,星空图层在上,下移一层Ctrl+【,上移一层Ctrl+】),Ctrl+J复制一层星空图层,按Ctrl+T自由变换调整大一些,不透明度调整为70
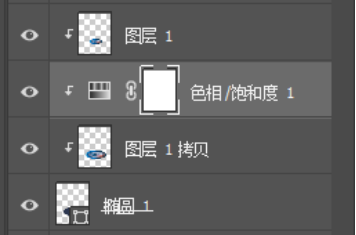
找到图层面板下方的鸳鸯锅图标
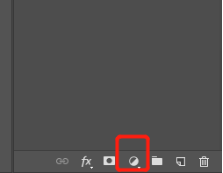
选择色相饱和度
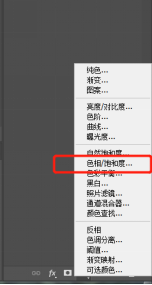
注意创建剪贴蒙版,图层位置在大星空图层上方,小星空图层下方
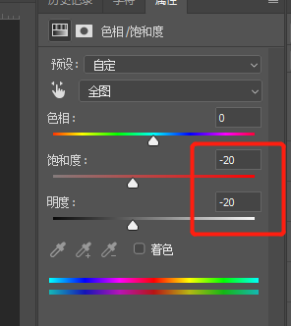
在属性面板调整数值
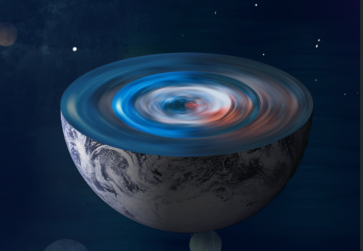
效果如下
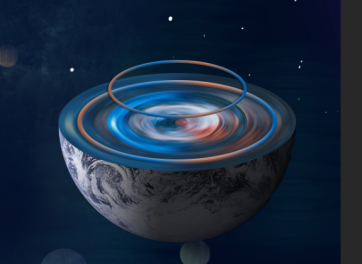
8添加内星球环
选择椭圆工具U,调整属性栏

填充描边数值为8,颜色数值依次为#0064b3,#ae6b50
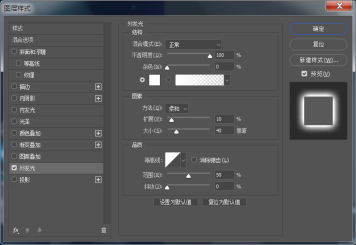
画一个椭圆,找到图层面板下方的FX,添加图层样式,斜面和浮雕
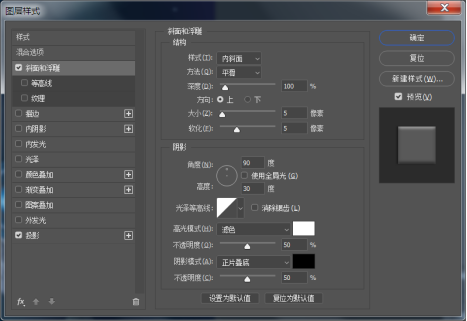
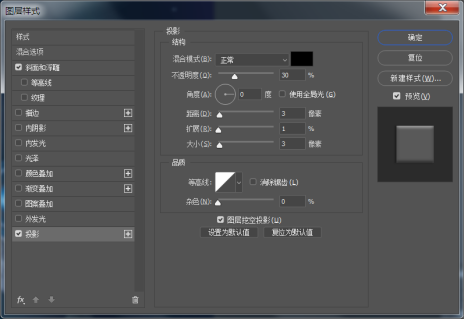
投影
再Ctrl+J复制一层描边圆,描边数值调整为5,大小调整小一些
9添加小球光晕
选择椭圆工具U,调整属性栏填充颜色为白色

画一个椭圆,调整位置及图层顺序
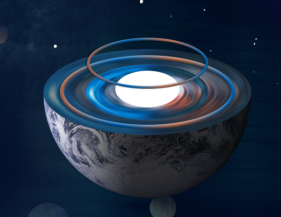
找到图层面板下方的FX,给白色小圆添加外发光
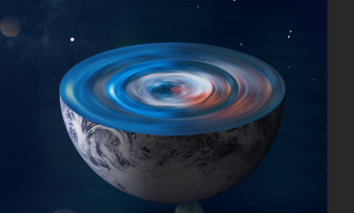
效果如下
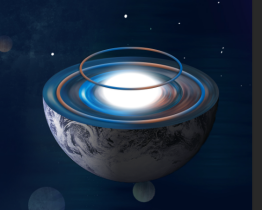
10拖入小球
拖入素材小球,调整位置及图层顺序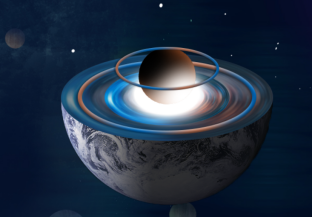
11添加外星球圈
选择椭圆工具U,调整属性栏,
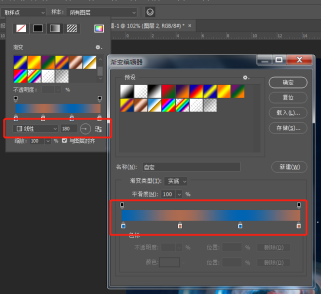
填充描边数值为0.6,颜色为白色,画线圈,按Ctrl+J复制几层,Ctrl+T自由变换,调整大小以及位置,
Ctrl+G给线圈打组
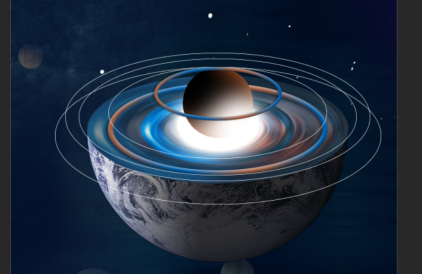
12调整整体大小选中所有图层(背景除外),Ctrl+T自由变换,调整大小以及位置
(18版本及以下的同学加上shift键等比缩放)
13内星球环细节处理 选中上方的彩色线圈,添加图层蒙版,

学习 · 提示
相关教程
关注大神微博加入>>


网友求助,请回答!