场景合成,合成洪灾城市场景(4)
来源:未知
作者:佚名
学习:13056人次
教大家利用各种素材合成类似电影《后天》的未日场景,教程创意不错,喜欢的跟着一起练习吧。做完记得交作业。
最终效果
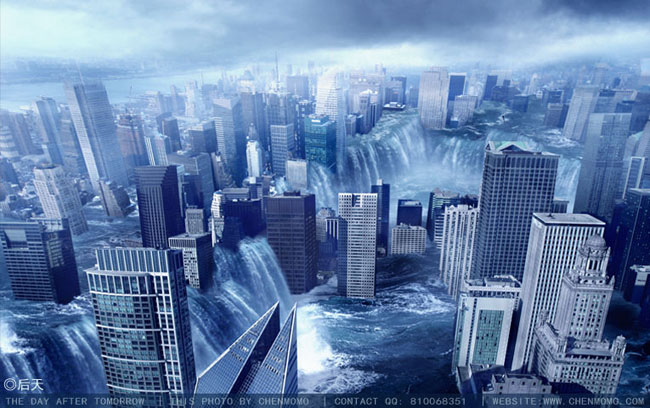


最终效果
一、新建文档,设定好尺寸,然后把背景填充成你所需要的最终色彩。
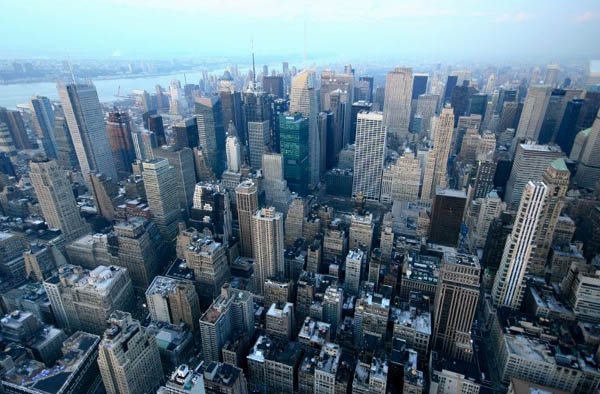
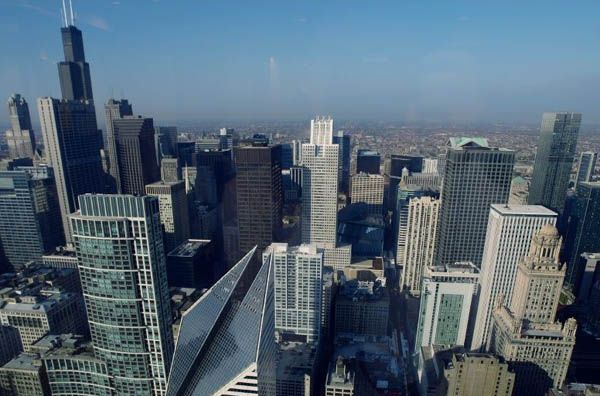
二、将事先找好的城市素材拉进来。
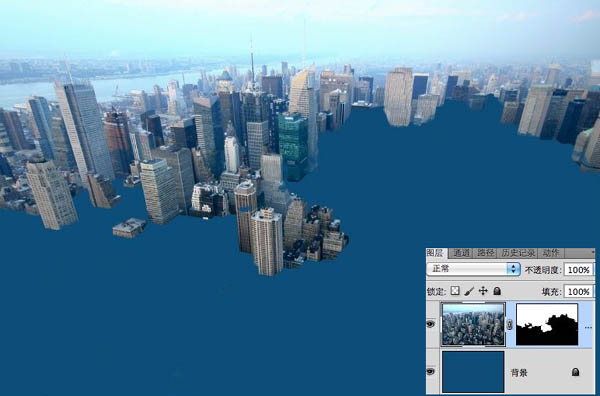
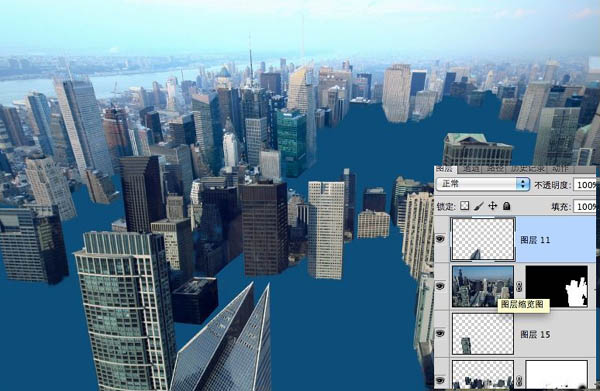
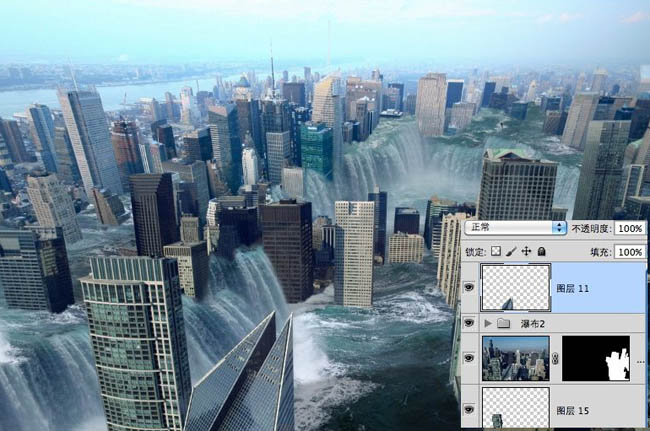
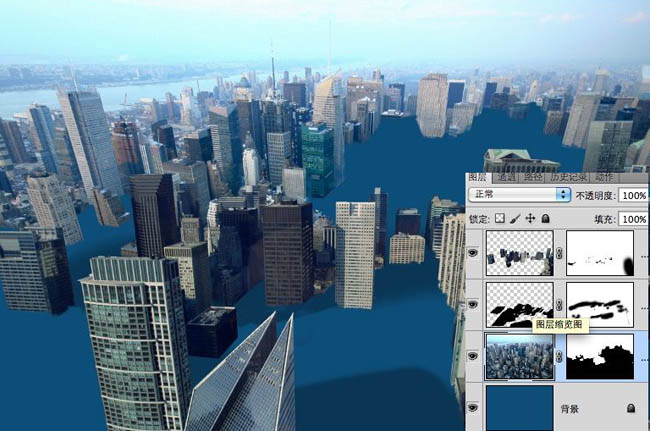
三、按照楼层的纹理将其扣出来,留下后面填充瀑布的空地。
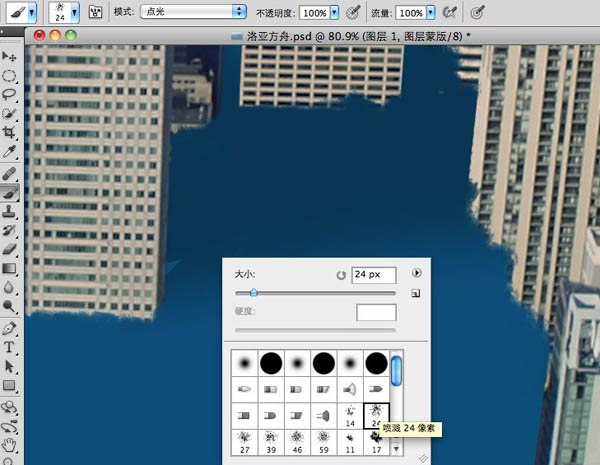
四、强调一下,在扣出来后最好用笔刷将楼层断面刷一下,这样可以达到逼真的水面效果。
五、拖入第二幅两层图片,然后设置前景,和第一次扣出楼层一样。
六、扣出来后,将对前景进行加阴影处理。复制-变型-填黑-透明。
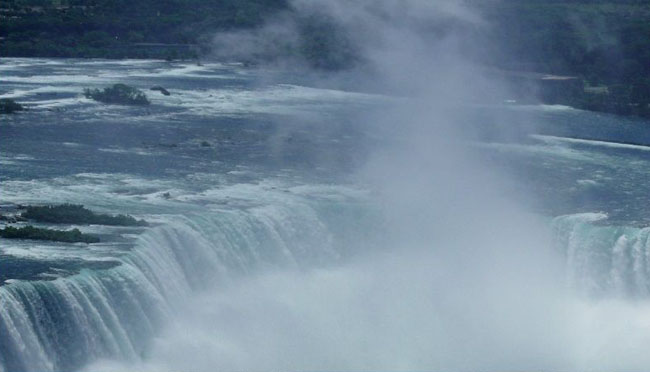
七、开始放水。
八、这是一个很需要心思去做的活儿,不能急,想做好这张片子至少得三个小时吧。
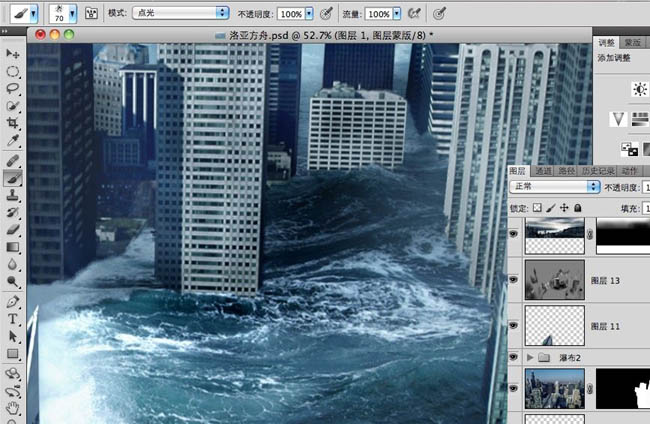
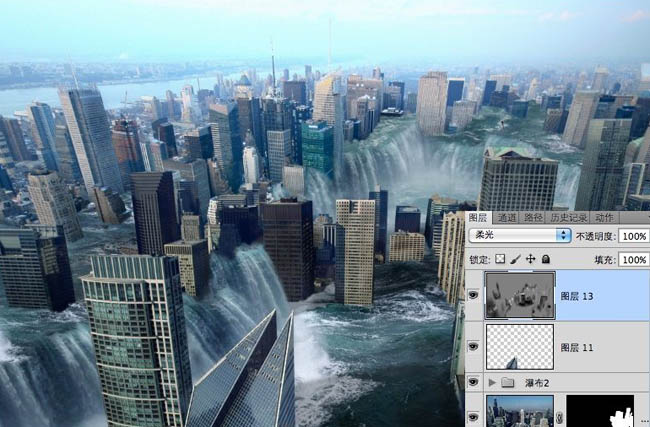
九、见下图右边图层,知识点一:填充50%灰,用加深减淡工具可以对整张图片的光影进行调整。
十、加天空,看下面右边图层的透明度和模式。
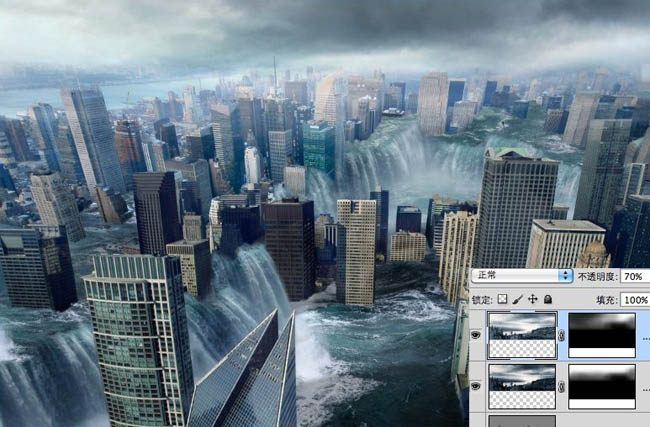
十一、新建图层,填充一个整体色,改图层模式,改透明,改显示区域。
十二、用画笔在空白图层上加烟雾。

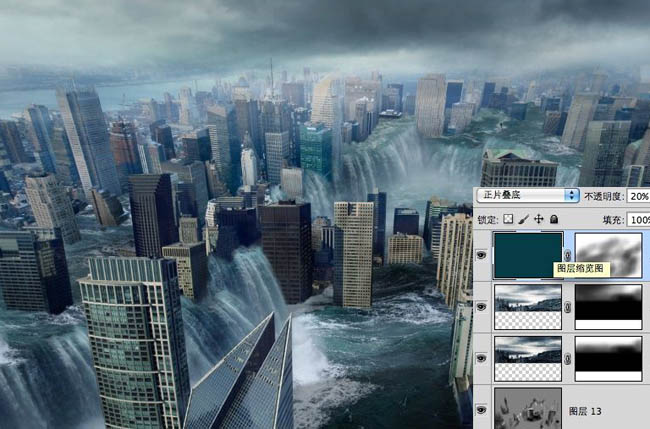
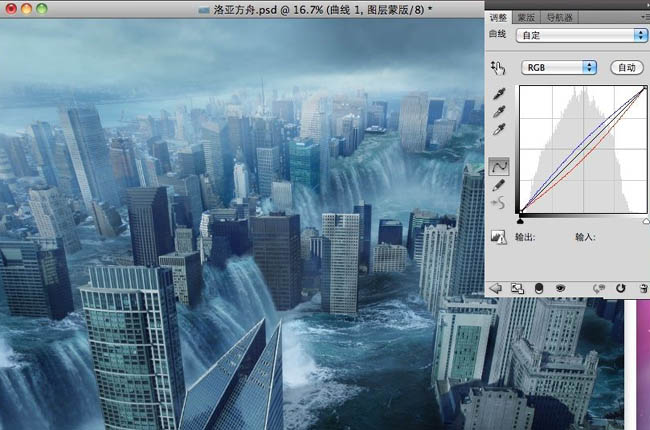
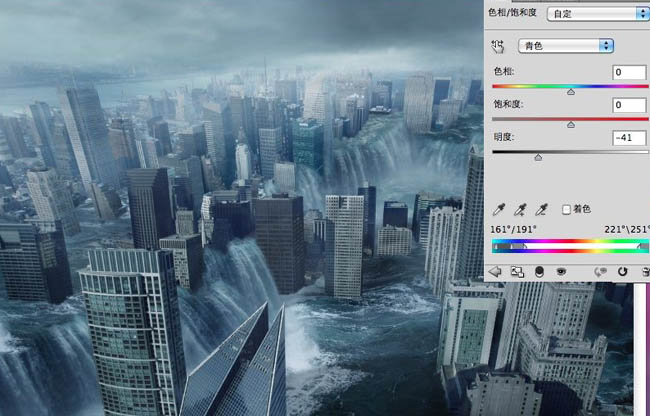
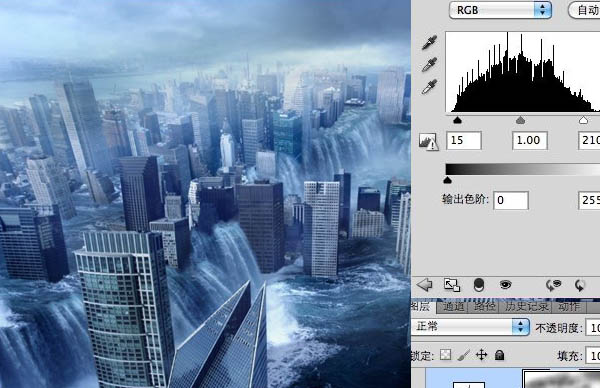
十三、下面三个图全部都是关于调色,有图有真像。不多说了。
最终效果:
学习 · 提示
相关教程
关注大神微博加入>>


网友求助,请回答!