眼睛转手绘,如何制作漂亮的转手绘效果眼睛(5)
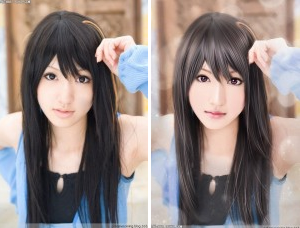
素材图
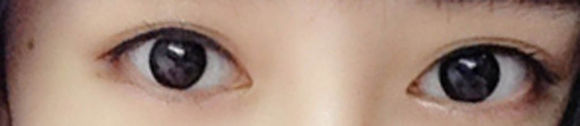
1.首先打开眼睛的图片,复制一个图层为图层一,调整图片大小,像素调到300。然后稍微做下磨皮美白调色(这个太多数人都会的吧,我就不细说了,不会的问我)。
2.图层一【滤镜_杂色_中间值】,数值大概在8左右。调完大概就是下图的样子。
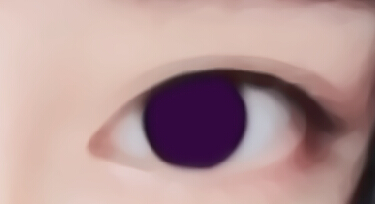
3.新建一个图层,按住shift画一个正圆(也就是眼球),填充暗紫色(#46005a),高斯模糊两个数值,删掉多余的部分。
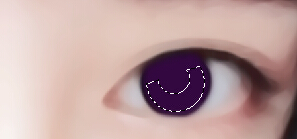
4.新建一个图层,再按住shift画一个比眼球稍微小一点的的正圆,然后利用多边形套索(或者钢笔)和椭圆工具做出下图的选区,然后填充紫色(比眼球的颜色稍微浅点)。
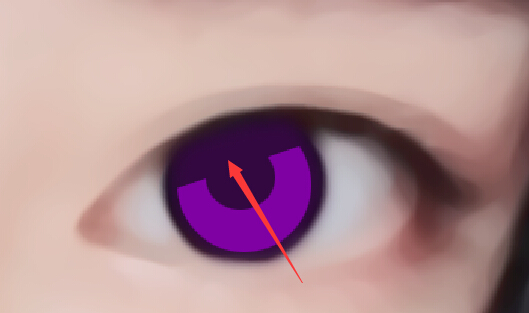
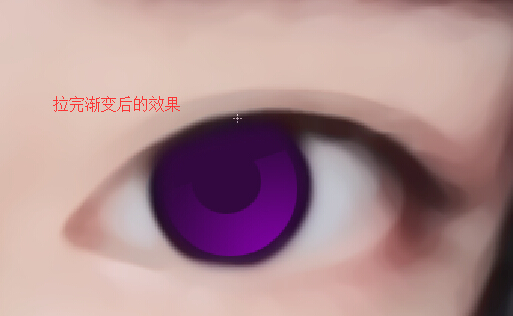
5.添加一个蒙版,默认前景色与背景色,然后如箭头所示方向拉一个渐变。
6.钢笔沿着眼球末端画一个路径,如下图,然后用减淡工具描边,勾选模拟压力,3~5像素左右,不明显的话可以多描几次。
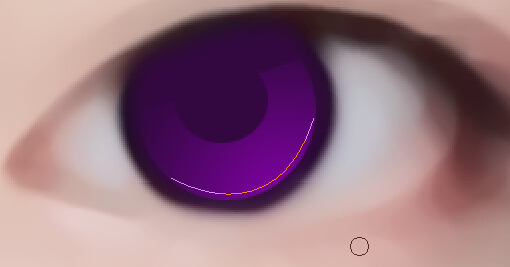
然后在如下图所示的位置画几条路径,用橡皮擦描边,勾选模拟压力,数值3~5左右。

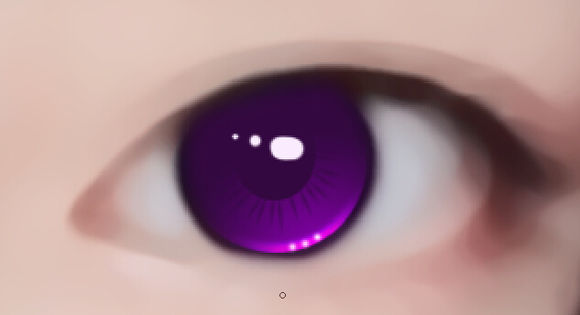
7.新建图层,在上次涂抹的位置中间加几个高光白点。
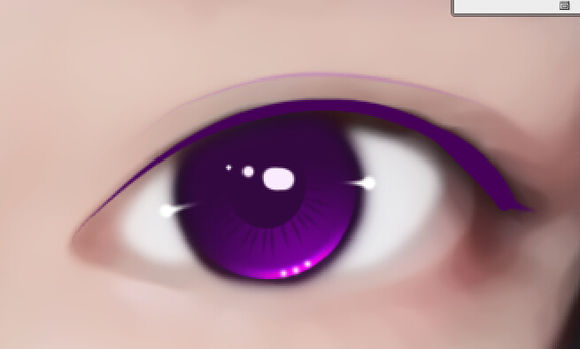
8.新建图层,用画笔画出整个眼球的高光点,这个不用做太多解释吧。(然后眼球就画完了)
9.新建一个图层,放在图层一上面,勾选眼睛眼白的部分,填充白色,高斯模糊3,不透明度60%。
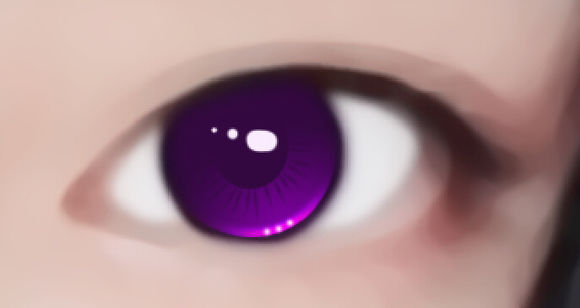
10.新建图层(图层顺序回归正常,不要把这个图层建在下面了),用画笔在眼球左右两侧点两个白点,数值5~7左右,然后用涂抹工具往中间涂一些(涂抹工具的数值大概为3)。
11.新建图层,用钢笔勾出上眼线,前景色设置为暗紫色(#46005a),描边路径(勾选模拟压力)。
12.新建图层,钢笔勾出双眼皮路径,颜色选为紫色,描边路径,适当减低不透明度。(勾选模拟压力)。
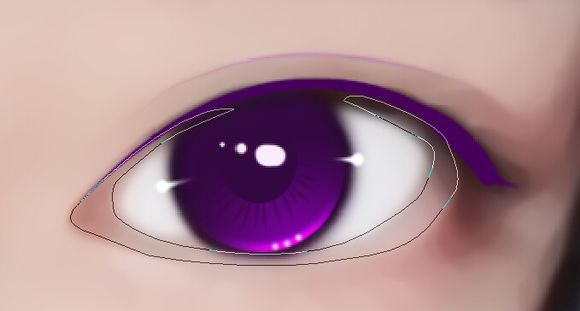
13.新建图层,放在眼白图层的上方,用钢笔画出如下图的路径,然后载入选区,填充暗紫色(#46005a),不透明度降至20%(原谅我画的这个路径太丑),画完可以用橡皮擦稍微修一下边缘。
14.新建图层(刚才图层的上面),用同样的方法在眼皮的位置画出阴影。(大家认真画,不要在意我的路径)

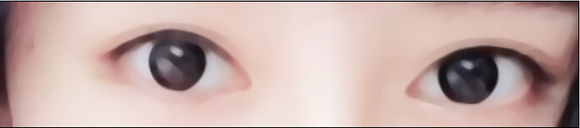
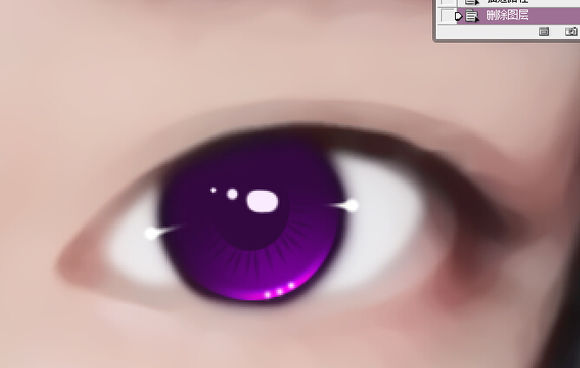
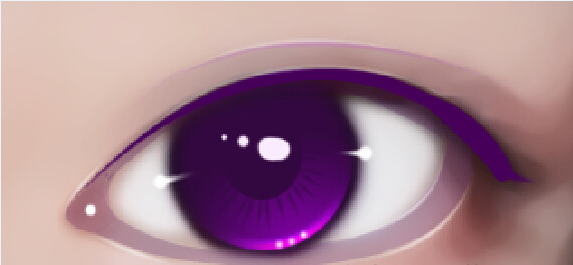
15.新建图层,在眼角的位置点一个白点,画完就是这样子的
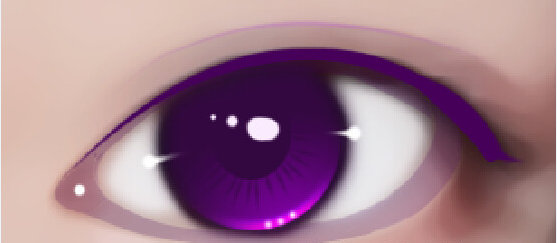
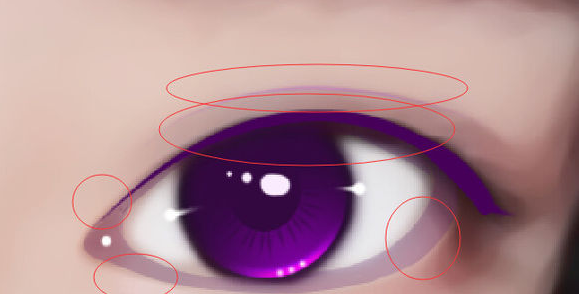
16.新建图层,在我圈到的地方画出高光(其实我也不怎么会加高光)
画笔加完高光后
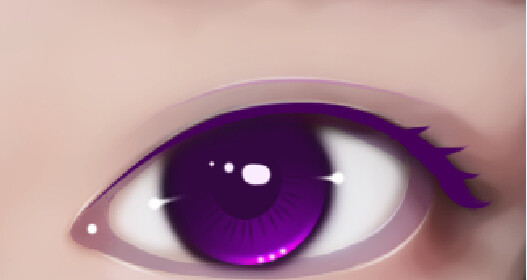
17.新建图层,画出睫毛,表示只会画长一点的睫毛,不会画短的,而且反正这个不怎么能看出睫毛,然后我就省略了。
学习 · 提示
相关教程