ps机器人效果教程(3)
来源:网络
作者:不详
学习:2935人次
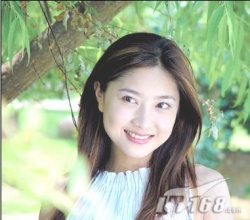
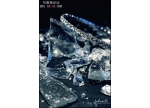
教大家用真人照片做成机器人效果,效果超酷,有兴趣的可以学习一下.先看一下,最终效果:
")
其它转机器人效果教程: http://www.16xx8.com/photoshop/jiaocheng/2014/134749.html
")
http://www.16xx8.com/photoshop/jiaocheng/108415.html
")
1、打开美女素材。
")
2、将人物从背景中扣出。
")
3、创建新图层,并选用20px,不透明度50%的白色画笔绘制如下效果,注意人物关节处绘制成圆形。
")
4、创建新图层,并用椭圆工具绘制如下所示黑色椭圆形。
")
5、使用椭圆选框工具在上述椭圆形中建立一选区,并删除选区内的部分。重复步骤 4和步骤 5完成
")
其他关节部分的绘制。
6、使用笔刷工具按照个人喜好绘制其余接口部分。
")
7、删除之前建立的粗轮廓图层,选择模特层,滤镜 >> 模糊 >> 表面模糊,半径设为5,阀值设为8。
")
8、选择减淡工具,笔刷大小设置为5px,在模特层描绘黑色轮廓线的底部和左侧,得到类似浮雕效果。
")
9、选择加深工具,笔刷大小设置为5px,在模特层描绘黑色轮廓线的顶部和右侧。
")
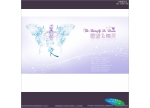
10、添加三维特效背景。
")
")
其它效果:
")
")
学习 · 提示
关注大神微博加入>>


网友求助,请回答!