ps简单几步P出雪景效果教程(5)
来源:POCO摄影网
作者:Adrian Scheff
学习:58749人次
很多时候,想给照片改变一下意境,怎么办?那就自己动手为你的照片加点雪吧!简单的步骤,让你的照片有另一种效果,大家一起往下看一看吧! ")
")
")
")
")
")
")
")
接着打开 滤镜>模糊>高斯模糊,模糊量的大小将决定雪花的大小。")
将图层的模式调整为滤色,大体上一些雪花已经出来了")
")
")
")
")
")
")
")
然后再对该图层(Falling snowflake)进行调整,选择滤镜>模糊>动感模糊。")
")
")
")
")
")
最后得出成片,同样的方法你也可以应用到其他照片的环境中去,会得出什么样的意外效果,就由你们去尝试啦!")
第一步
先打开一张图片,这里以一张木屋为例子第二步
再在之上创建一个新图层,暂且命名标记为snow(Ctrl + Shift + Alt + N),并填充白色(按D设置为默认颜色,然后按Ctrl +退格来填充背景色),这个图层即用来作为后面的雪景图层。
第三步
双击这个图层snow,调整混合图层样式,各项参数如下所示。 第四步
再添加一个图层蒙板到图层snow,然后对蒙版填充黑色,并把房子和周围的树擦出来,如图示 第五步
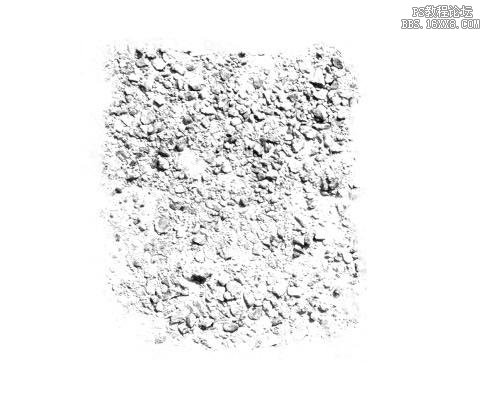
创建一个新图层,填充它为黑色(按D,然后按Alt +退格来填充前景色)。打开滤镜>杂色>添加杂色,具体参数如下:接着打开 滤镜>模糊>高斯模糊,模糊量的大小将决定雪花的大小。
将图层的模式调整为滤色,大体上一些雪花已经出来了
第六步
但现在的雪花看起来不太好看。因此,可添加一个曲线调整层来解决这个问题。创建一个新的曲线调整图层(图层>新调整图层>曲线),并使曲线图层只对下一图层起作用(按住Alt,鼠标移到两个图层中间点击一下)。 第七步
若画面中的雪花大小都一致,感觉真实性还是差一点,可以另外再添加一些大点的雪花。重复步骤5和6,但当你使用高斯模糊的时候,参数要变得大一些(你可以试试2.5或3)。第八步
给第二个雪花图层(snowflake2)添加一个图层蒙版(选择图层>图层蒙版>显示全部)。然后用画笔擦掉一些比较大的雪花。 第九步
之后,要添加的就是正在下的雪花,增加一点动态,先重复步骤5和6再创建出一些静态的雪花。然后再对该图层(Falling snowflake)进行调整,选择滤镜>模糊>动感模糊。
第十步
为了再增加拟真度,新建一个图层(Extra Snow),用画笔给小屋的屋檐上添加一些积雪
第十一步
最后为了让雪花和背景色调融为一体,创建一个新的色彩平衡调整图层,加一点青色和蓝色。最后得出成片,同样的方法你也可以应用到其他照片的环境中去,会得出什么样的意外效果,就由你们去尝试啦!
学习 · 提示
相关教程
关注大神微博加入>>


网友求助,请回答!