ps cs6合成城中战场场景教程(4)
来源:不详
作者:MISSYOU
学习:6927人次
拖进STOP标志的素材,擦除多余部分,剩下那条金属杆子。
")
移动到辐射标志的下方,然后复制一层,降低不透明度为70%
")
为辐射标志添加点斑驳的效果,你可以把素材的破碎图案拖一个进来,图层模式改为颜色加深,多复制几个,旋转,调整大小跟方向就好
")
同样用2px大小的画笔给标志描亮光的边
")
把素材包的「爆炸效果」图拖进来,改不透明度为90%
")
这一步作火光的影子,复制一层「爆炸素材」的图,旋转180°,降低不透明度为55%,将离火光较远的部分用柔边画笔擦淡一点
")
在模特图层下面新建一个图层,图层混合模式改为柔光,不透明度降低到70%,然后用橘色画笔给人物涂抹边缘
")
26,现在修饰大局咯,新建一个图层,用画笔涂抹,画笔颜色如下
")
涂抹效果如下
")
添加50px大小的高斯模糊
")
改不透明度为60%,图层混合模式改为柔光
")
新建图层,填充颜色参数如下,图层混合模式改为柔光,不透明度65%
")
学完之后继续我们的教程。(CS6 以上版本才有这个功能噢),没有这个版本的同学不要放弃,最后也有讲解 : )
在图层底部新建一个颜色查找的调整图层
")
选择「胶片质感」的光线效果,如下,然后调整不透明度为25%,填充65%
")
继续新建一个,光线效果改为青橙(不透明度和填充都填充为50%):
")
如果你的版本较低,可以选择在底部新建一个曲线调整图层,形状如下
")
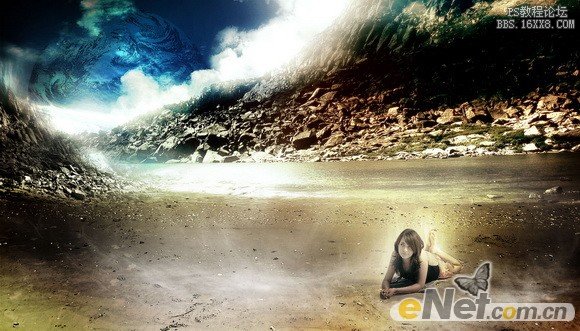
最终效果
")
到此结束啦,能坚持下来的同学真不容易,为自己点个赞吧,回头想想,这个教程,你学到了什么呢?欢迎分享唷
学习 · 提示
相关教程
关注大神微博加入>>


网友求助,请回答!